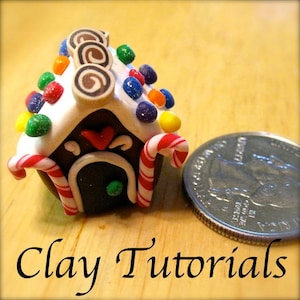
UPDATE: 02/22/18 IF YOU HAVE TROUBLE FINDING THE EMBOSSING POWDER USED IN THE TUTORIAL, PLEASE EMAIL ME. DUE TO A RECENT LOSS OF DATA, I LOST THE BACKUP WORD COPIES AND PHOTOS FROM WHICH MY TUTORIALS WERE CREATED, SO I AM UNABLE TO REVISE THEM. I CAN, HOWEVER, OFFER A SUBSTITUTE FOR THE EMBOSSING POWDER OR ANY OTHER MATERIAL YOU ARE NOT ABLE TO EASILY FIND.
This tutorial is offered in English only.
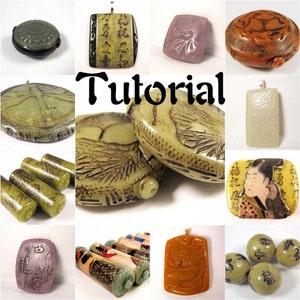
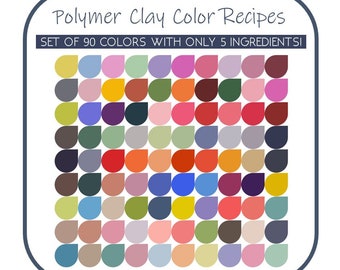
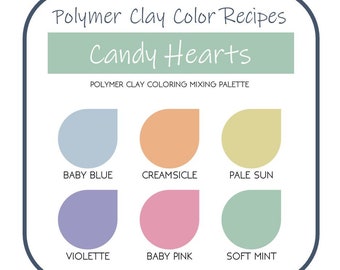
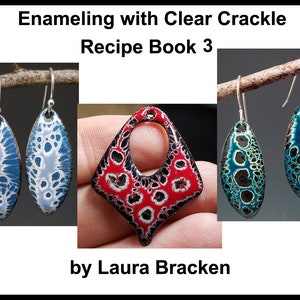
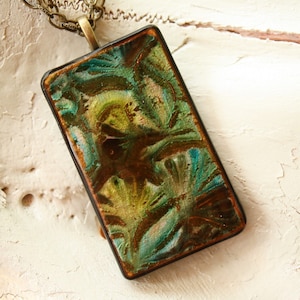
Polymer Tutorial How to Create Realistic Faux Jade 16 Color Recipes
I will instruct you how to create realistic looking jade from the six color groups found in natural Jade: Red, Lavender, White, Yellow, Black and Green.
There are a wide range of hues within each of the color groups found in natural jade. This comprehensive tutorial provides you with 16 color recipe options. It contains 55 pages of very detailed, step-by-step instructions on how to use the recipes to create 6 jewelry projects ranging from super easy to intermediate, from the first step to the last step; approximately 150 color photos, a detailed tools and materials lists, a source guide for all the items used (but if I have forgotten a source for a particular item, please email me and I will do my best to provide you with it); as well as 3 mini-tutorials: One on sanding and buffing; one on how to create a perfect, fool-proof wire loop wrap; and one on how to use plexiglas sheets to contour and refine edges and curves to achieve a more polished, professional finish to all your polymer work.
The tutorial also contains numerous tips from me which I have learned through trial and error and happily pass along to you.
Please note this tutorial contains my tried and true method of creating faux jade. Faux jade is a popular subject for tutorials, and many people have published books and lessons on creating their versions of it. It is one of the most commonly used faux techniques for polymer clay.
I do not claim to have invented the "faux jade for clay" process, but this is my own formula, which I have honed and worked on for three years, and is not taken from anyone else's formula. There are bound to be similarities between my method and other people's, but this process is entirely mine in creation.
This tutorial will give you the chance to practice the technique and learn what works best for you before you put out a lot of money in the process. The recipes are calculated for 2 oz. of clay per color batch, so you can purchase as little as one small block of clay to experiment with, if you wish.
Some basic knowledge and experience with polymer clay is helpful, but not absolutely necessary. The instructions are aimed at the novice and the experienced clayer.
There are a few basic tools and supplies you will need to purchase if you have not previously worked with polymer clay, none of which are very expensive or hard to find; as well as other tools and supplies specifically needed for the jewelry projects, although I have included a focal bead project which does not require any special jewelry tools, only your basic clay tools.
A special note: The recipes contained in the tutorial does use alcohol ink, specifically Ranger Adirondack ink. You should know currently, alcohol ink cannot be shipped outside the U.S. If you live outside the United States, you may find a listing of international sources for Ranger Inks at http://www.rangerink.com/store_locator_intl.htm. If you are not able to find a source inside your country, email me. I have many international customers and contacts worldwide who would be happy to help you find a source for them.
This tutorial was road tested prior to publication and given the seal of approval for ease of use by a few of my friends and colleagues, some of whom have no experience with polymer clay and some of whom are renowned polymer clay artists. If you have any questions after purchasing it, or need clarification about any step or instruction, I am just an email away and will gladly answer any questions or clarify any step you do not understand. While learning with this tutorial, it is my intent to give you as much information as possible without actually being there beside you as you work.
You will need Adobe Reader to access the tutorial. If you do not have the Adobe Reader program, you may download the latest version at no cost at www.adobe.com.
If you are new to polymer clay, welcome! Polymer clay is one of the most, if not the most, versatile medium for artistic creativity you will find. If you can imagine it, you can pretty much achieve it with polymer. I am honored, and thrilled to be able to help you learn more about it to create your own beautiful, one-of-a-kind works of art.
Trish Hodgens at www.polyclayplay.com has generously agreed to offer my customers a discount off the supplies in my tutorials that she carries. Trish will carry as many of the supplies and materials as possible used in my tutorials. Each tutorial has its own discount code, and I will email it to you upon purchase. If you don't hear from me within 24 hours, please contact me here through Etsy.
NOTICE: You may sell work you create using this tutorial, but any redistribution, re-sale or reproduction of the tutorial itself, in whole or in part, in ANY form, is strictly prohibited. If I determine that you are redistributing or selling any part of my tutorials, you will be barred from purchasing from my shop and I will take whatever legal action available to me to prosecute the theft of my property. To be clear, this means you may not share any part of this tutorial with a friend or family member who has not paid me for that additional copy or material first. If you want to order a copy for someone else, I would be happy to deliver it to an email address of your choosing as a gift from you. You may not share a print-out of, or your actual digital copy of, this tutorial with any other person who has not paid me for it first, such as a polymer clay class, or guild meeting with another person, either in person or digitally via Skype or other internet outlets or social media websites. I regret that I even have to mention this, but unfortunately, it has become necessary to address this issue.
I DO NOT ISSUE REFUNDS FOR TUTORIALS WHICH HAVE BEEN DOWNLOADED.
Thanks so much!
Lynda
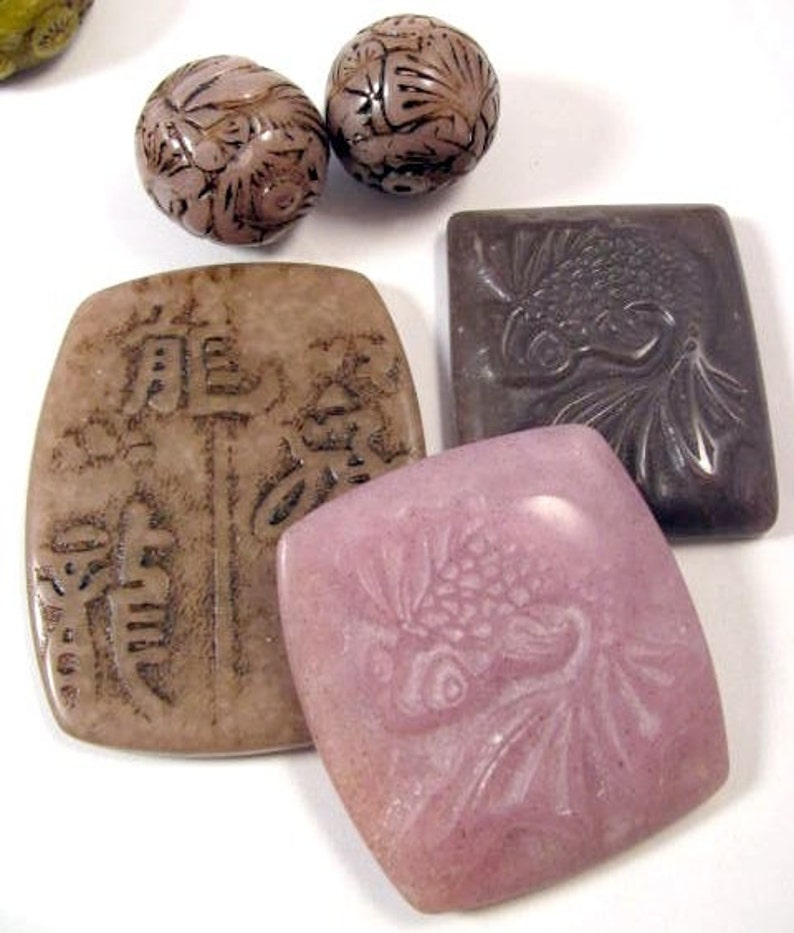
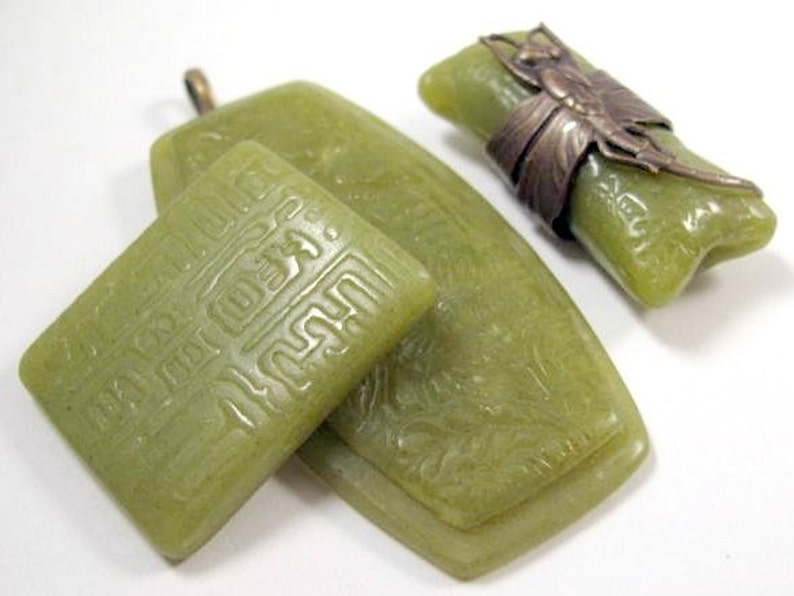
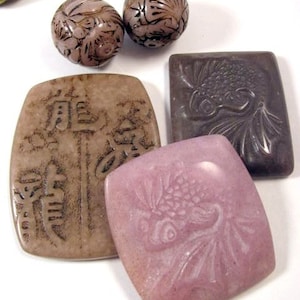
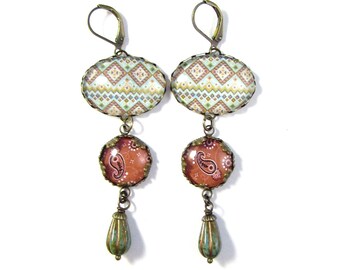
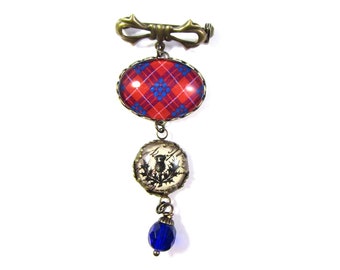
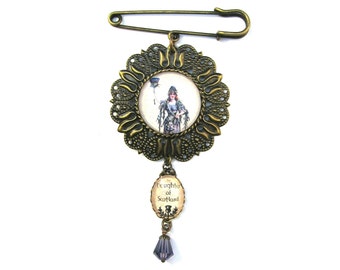
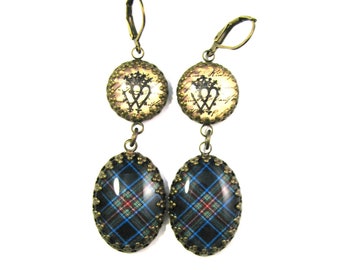
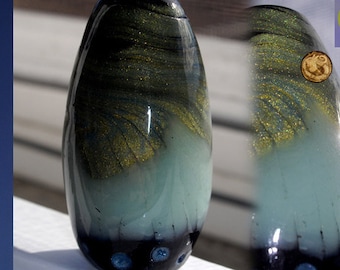
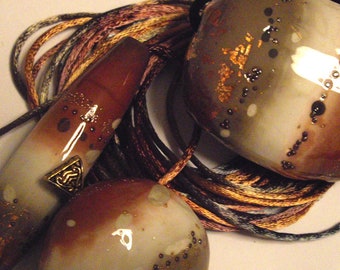
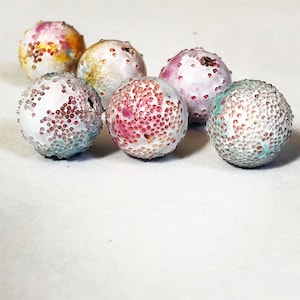
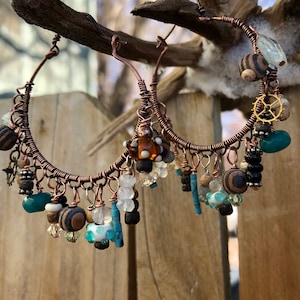
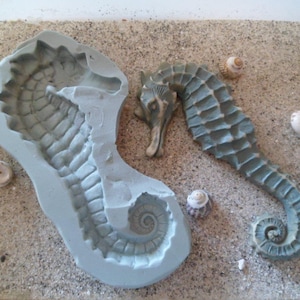
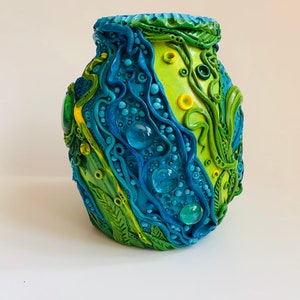
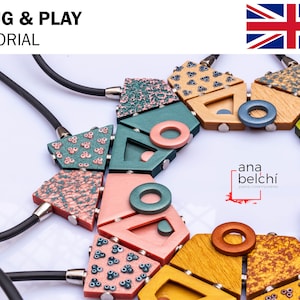
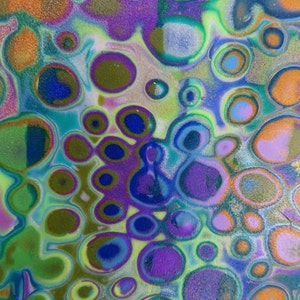
THE PHOTOS SHOWN IN THIS LISTING ARE PENDANTS AND BROOCHES I HAVE MADE USING THIS METHOD OF CREATING FAUX JADE AND ARE FOR ILLUSTRATIVE PURPOSES ONLY TO SHOW YOU WHAT CAN BE DONE WITH THIS TUTORIAL.
Feedback for this tutorial:
"Amazingly fast "delivery". WOW.. very well thought out tutorial that is extremely well written. Lynda takes you through each step of the way with loads of photos and tips. Full of hints to help you with any challenges."
"A work of art in itself. Stunning detailed, exciting....worth every penny, don't hesitate to purchase you will not be disappointed. Lynda is a pleasure to deal with, with prompt delivery and offer of assistance although tutorial is so well detailed you probably won't need it!!!!!!!"
"Lynda, I just went through the tutorial and I must say I'm flabbergasted. That's the only word I could think of. When I saw the price on the tutorial I thought to myself this must be really something for $25. I have quite a few of your tutorials that are nothing less than inspiring but this one took my breath away. It kept going and going and there was more and more and more information not only about the jade but all the other finishing tips and jewelry making tips that were so incredible. I think you deserve a Pulitzer for this one. Do they give those for polymer clay tutorials? I'll vote for you if they do."
"This tutorial is great and easy to follow. The faux jade is so realistic looking. The best I've seen."
"What an incredible labor of love it was to create this tutorial. Lynda's formulas are perfectly detailed and complex as they should be in order to realistically capture faux jade characteristics. These are NOT the "usual" faux recipes - Lynda has taken it to a whole new level!"