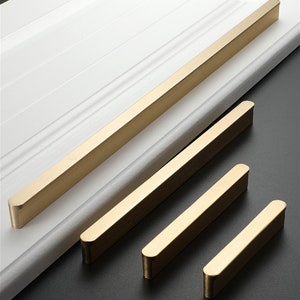
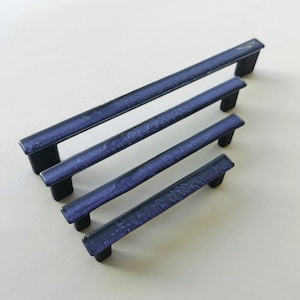
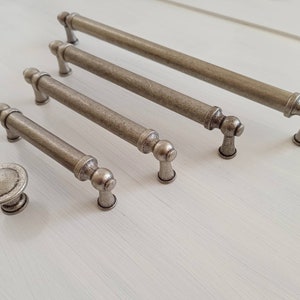
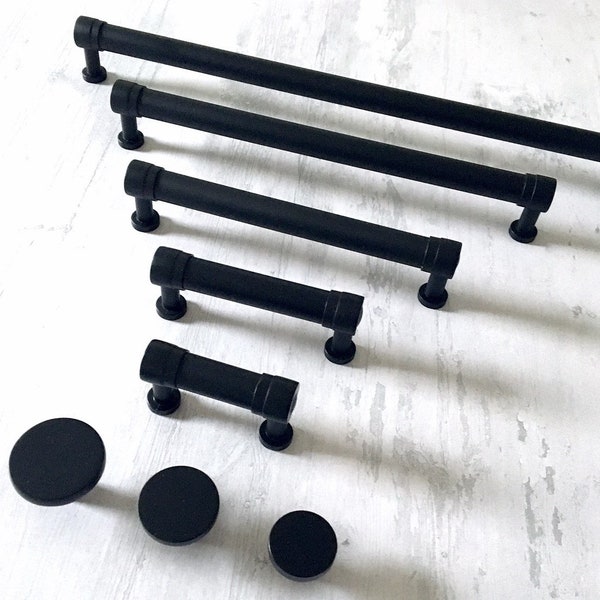
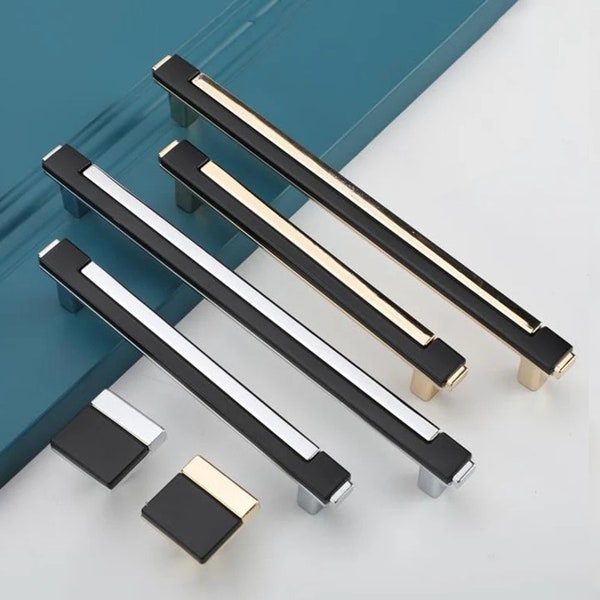
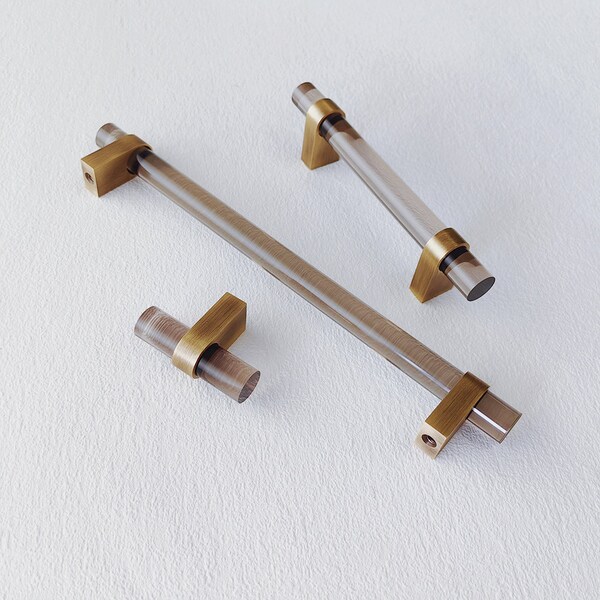
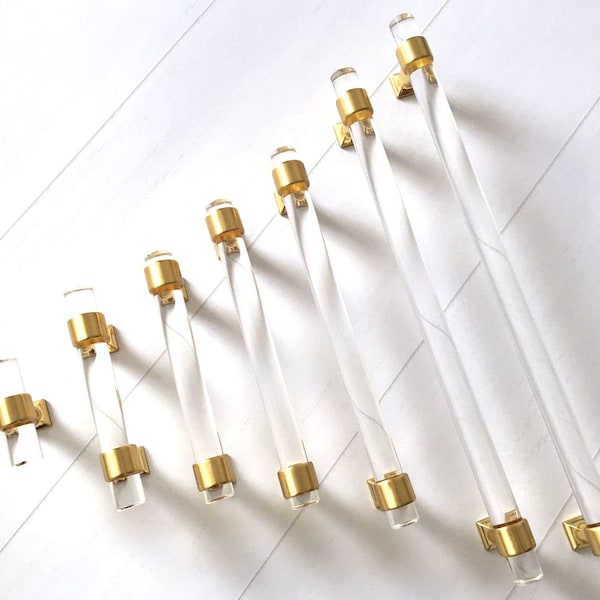
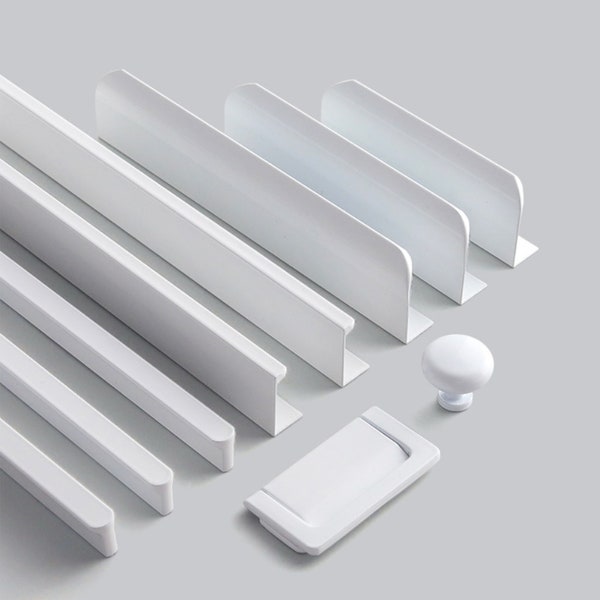
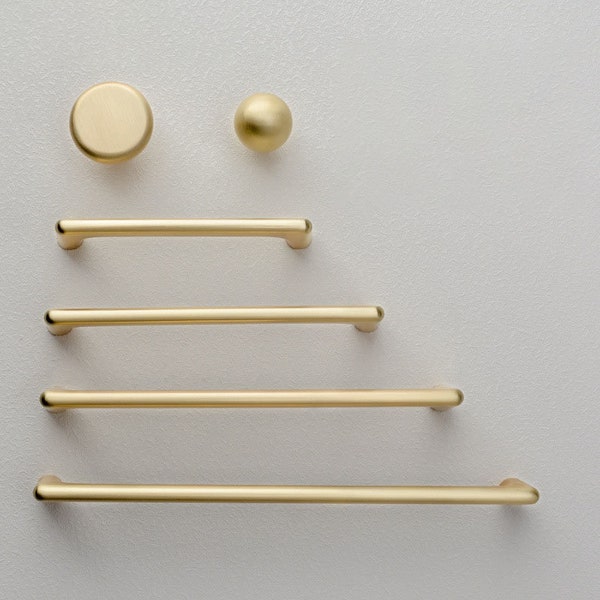
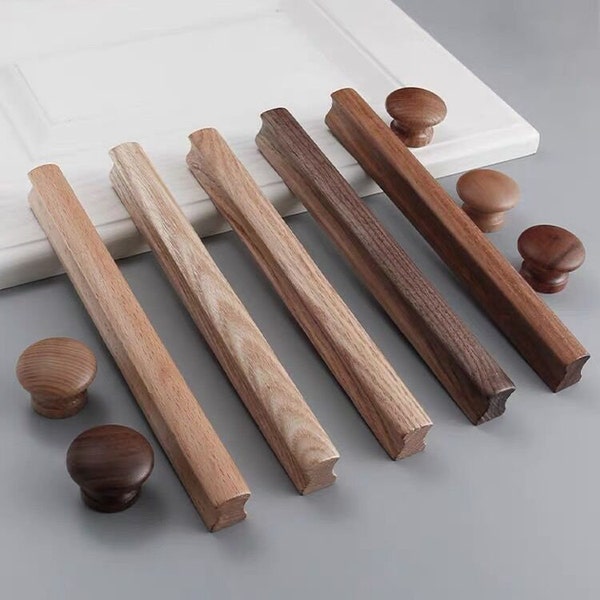
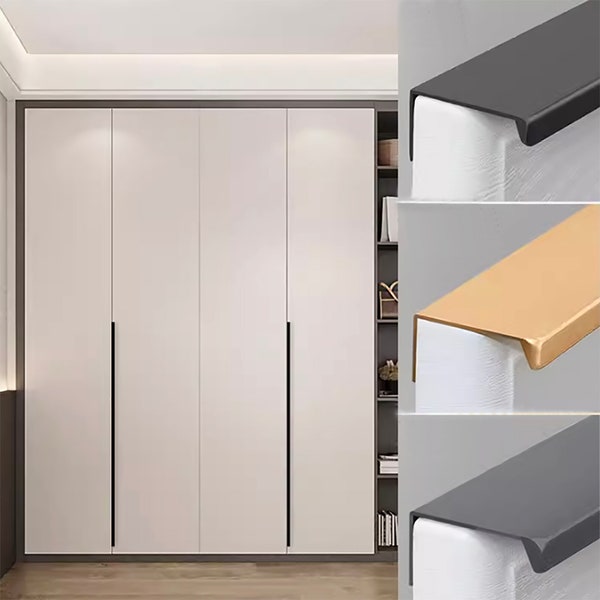
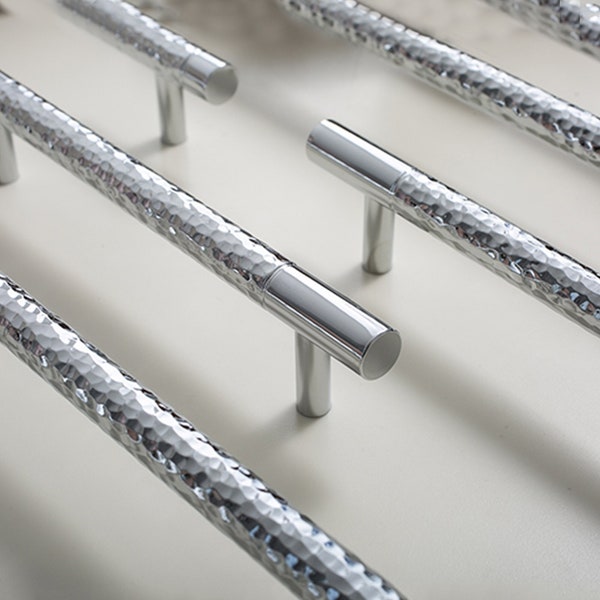
Cabinet Pulls
(1 - 60 of 5,000+ results)


Related to cabinet pulls
Review spotlight
These 4 or 5-star reviews represent the opinions of the individuals who posted them and do not reflect the views of Etsy. The ratings/reviews displayed here may not be representative of every listing on this page, or of every review for these listings. Please click on a specific listing for more information about its average rating and to see more customer reviews.
Here is a selection of four-star and five-star reviews from customers who were delighted with the products they found in this category.


