


Price: AU$8.68
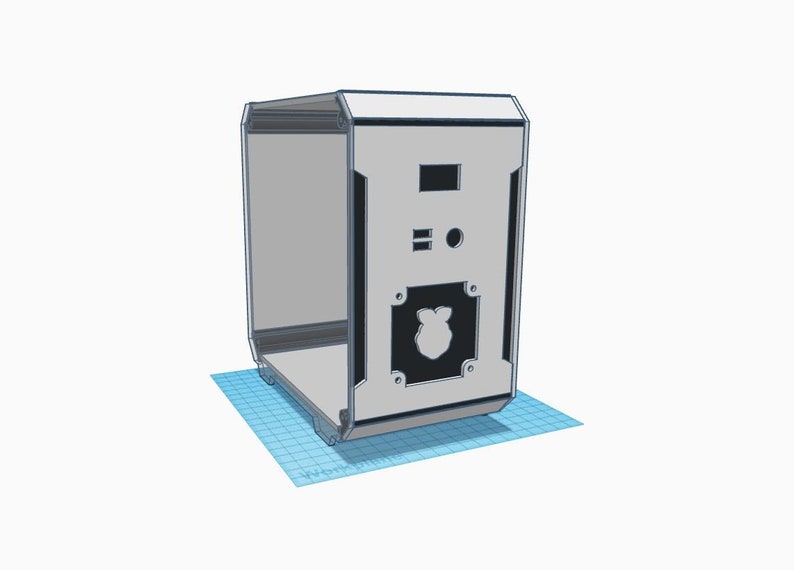
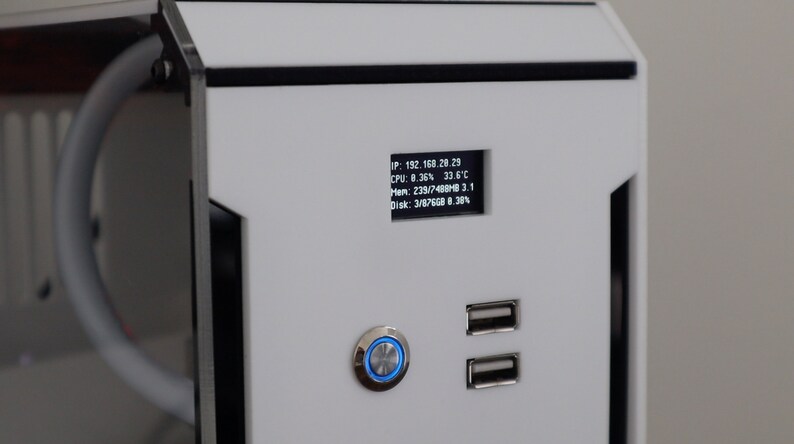
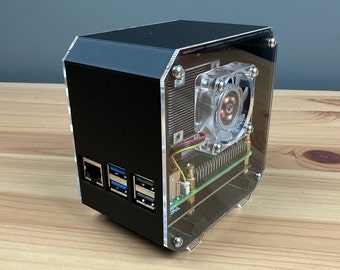
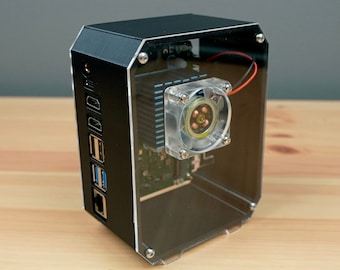
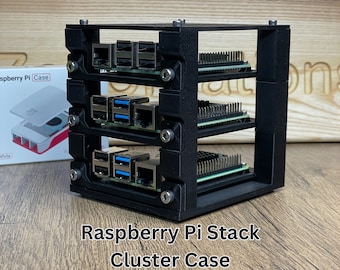
Raspberry Pi CM4 IO Board Case - 3D Print & Laser Cutting Files
You can only make an offer when buying a single item.
Instant Download
Your files will be available to download once payment is confirmed. Here's how.
Instant download items don’t accept returns, exchanges or cancellations. Please contact the seller about any problems with your order.
Etsy Purchase Protection: Shop confidently on Etsy knowing if something goes wrong with an order, we'll make it right for all eligible purchases — see programme terms

485 reviews
5 out of 5 starsit's nice raspberry pi chassis
Purchased item:
Raspberry Pi CM4 IO Board Case - 3D Print & Laser Cutting FilesMartin 12 Apr, 2024
Very good support received from the owner.
Purchased item:
Raspberry Pi CM4 IO Board Case - 3D Print & Laser Cutting Files
Adrian Ambroziak 24 Jan, 2023
as you are used to from Michael,Super
Purchased item:
Raspberry Pi CM4 IO Board Case - 3D Print & Laser Cutting FilesAndre 11 May, 2022
Purchased item:
Raspberry Pi CM4 IO Board Case - 3D Print & Laser Cutting FilesMichael Salvestrin 16 Sep, 2023
Photos from reviews
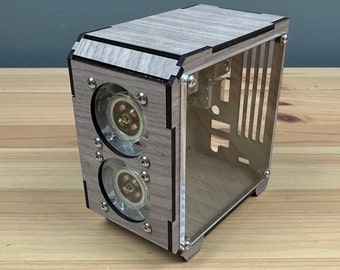
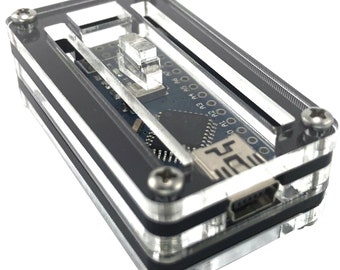
More from this shop


Disclaimer: Etsy assumes no responsibility for the accuracy, labelling, or content of sellers' listings and products. Electrical or electronic products may pose a risk of fire or electrocution. Vintage, handmade, refurbished, or modified electrical or electronic products may not meet current safety standards and may not be in safe working order. Inspect carefully before use and message the seller if you have concerns relating to the product. Do not use a vintage electrical or electronic item if its safety can't be verified. To reduce the risk of fire, never leave vintage electrical or electronic products plugged in unattended. See Etsy's Terms of Use for more information.


