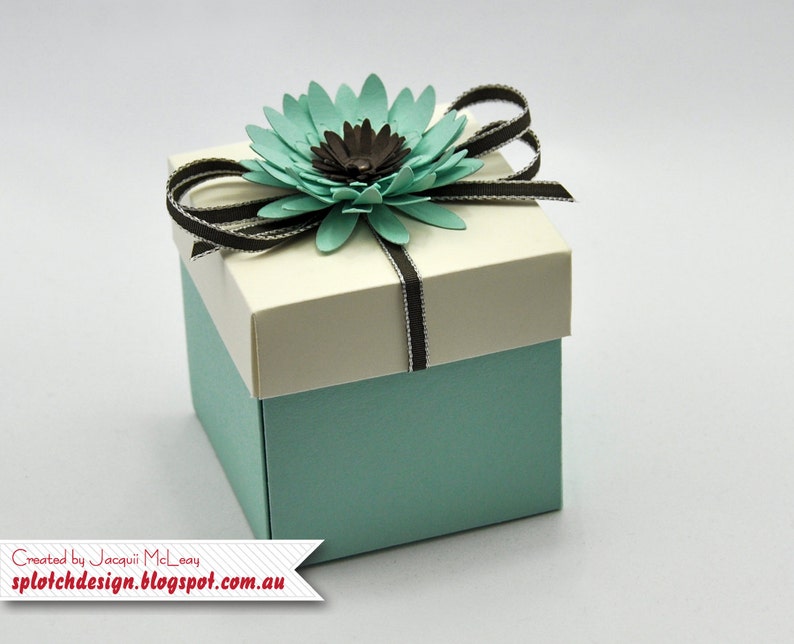
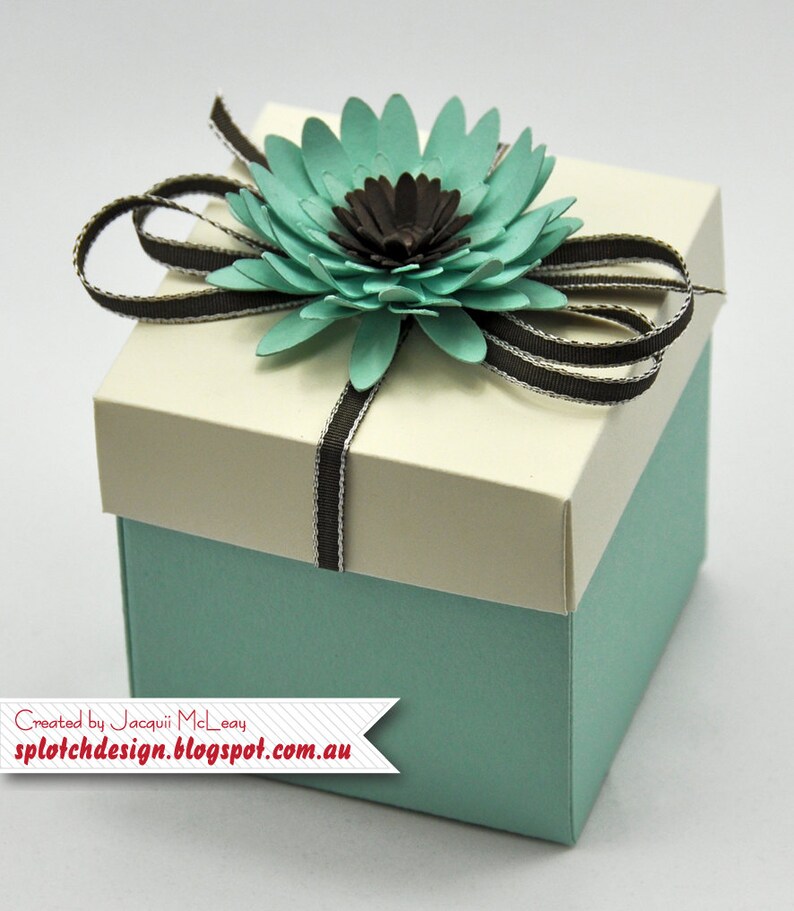
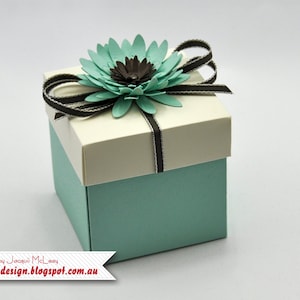
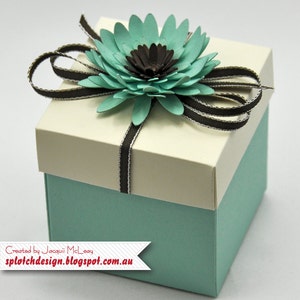
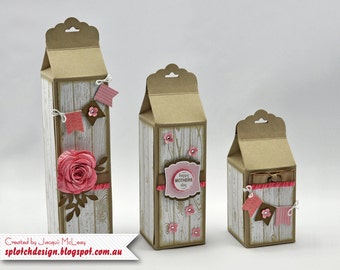
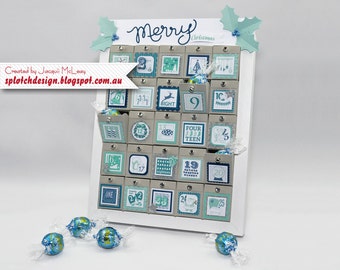
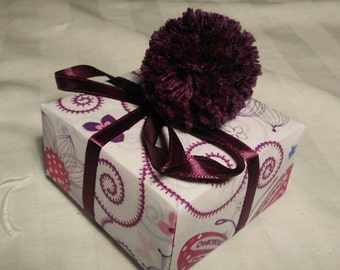
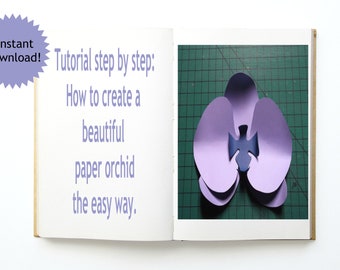
Learn how to make this no adhesive box. The completed box (with flower) measures approximately 70mm wide x 70mm long x 85mm high.
Please read all information before you make your purchase, this will ensure you know exactly what you are purchasing. If you still have questions after you have read all the information, then please contact me, as I am more than happy to answer your queries.
This listing is for digital files only, not for the finished box or any products.
You will receive a zipped file which includes the following:
• A pdf tutorial with step by step instructions, coloured images and diagrams.
• 2 pdf printing templates.
• A pdf scoring guide.
• SVG files to make the box base, lid and Flower.
Please note: the SVG files for the box base and lid includes score lines, however these may need to be reconfigured in your cutting machine software if they import as cut lines instead of score lines. I show how to do this in Cricut Design Space in Step 1 and step 4 of this tutorial. Also, the box base and lid SVG files are not suitable for a Cricut Joy machine. You'll need a machine with a minimum 11 x 11 inch cutting area. I have tested the files on a Cricut Maker using Cricut Design Space.
After you complete the payment you should automatically receive an email with a link to download your file/s. Digital items you’ve purchased can also be viewed and downloaded from the Purchases and reviews section of your Etsy account.
RULES FOR THIS TUTORIAL
The content including text and images in this tutorial are copyright to Jacquii McLeay.
This content is provided solely for your personal use and can not be used for any commercial purposes, publications, competition submissions or any other monetary gain as I reserve that right for myself. You cannot copy, sell or redistribute any part of this tutorial.
DISCLAIMER
To achieve the desired outcome, you need to ensure that you follow all my specifications correctly. Failure to do so may lead to an imperfect result.
This tutorial uses a combination of both metric and imperial measurements, so it is highly recommended that you use a ruler that has both millimetres and inches. All my tutorials are in English only.
REQUIREMENTS FOR THIS TUTORIAL
I mostly use Stampin Up products for all my tutorials. This tutorial may use some retired products, however you can easily substitute the retired products with current products available from the latest Stampin Up catalogue/s or similar products of your choice to complete your projects.
Please see list below for products used:
• Card stock - your choice of colour for the base, lid and flower
• Stylus or bone folder
• Paper piercing tool
• Metal ruler with millimetres
• Ribbon for lid
• Brad for flower
• Stampin Up mini glue dots for ribbon and flower
• SVG cutting machine (only if doing option 1, see below)
• Printer - to print the cutting template (only if doing option 2 or 3, see below)
• Scissors or craft knife/scalpel & cutting mat (only if doing option 2 or 3, see below)
INSTRUCTIONS
There are 3 ways you can prepare the box base, lid and Flower. Choose option 1, 2 or 3 below.
• OPTION 1 (recommended) - Use a SVG cutting machine to cut out the provided SVG files. Please note I have tested the files on a Cricut Maker using Cricut Design Space. Also, the box base and lid SVG files are not suitable for a Cricut Joy machine. You'll need a machine with a minimum 11 x 11 inch cutting area.
• OPTION 2 - Print out the provided printing templates on your choice of colour card stock (providing your printer accepts card stock).
Please note: I have provided two printing templates (one in A4 size and one in letter size). Both options are included with the purchase. Please ensure you select the correct size template (for your country) and that the scaling remains at 100% at all times when printing. Once printed, carefully cut along all printed lines using scissors or a craft knife. (This option is not recommended to do on dark card stock as it is very hard to see the printed lines on the dark card).
• OPTION 3 - Print and cut out the provided printing template on paper and trace around the edges onto your card stock. Carefully cut along your traced lines using scissors or a craft knife.
For more tutorials or inspirational ideas please visit my blog http://splotchdesign.blogspot.com.au/