


10 views in the last 24 hours
Price: $1.90
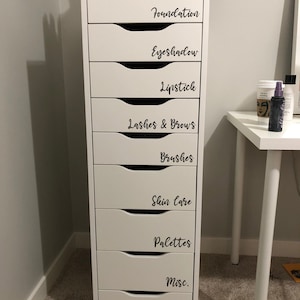
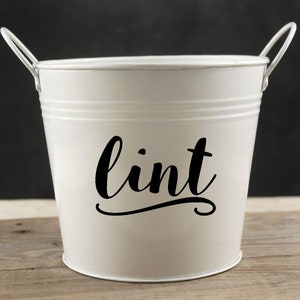
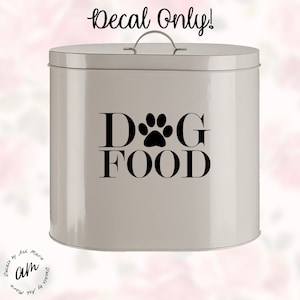
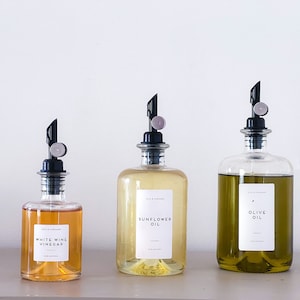
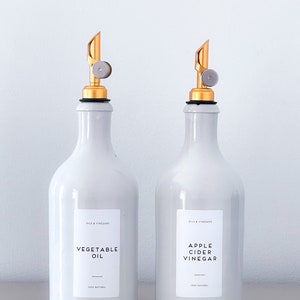
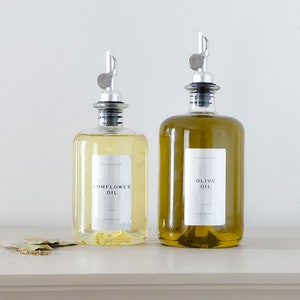
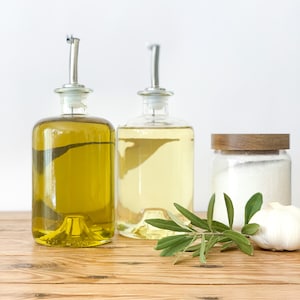
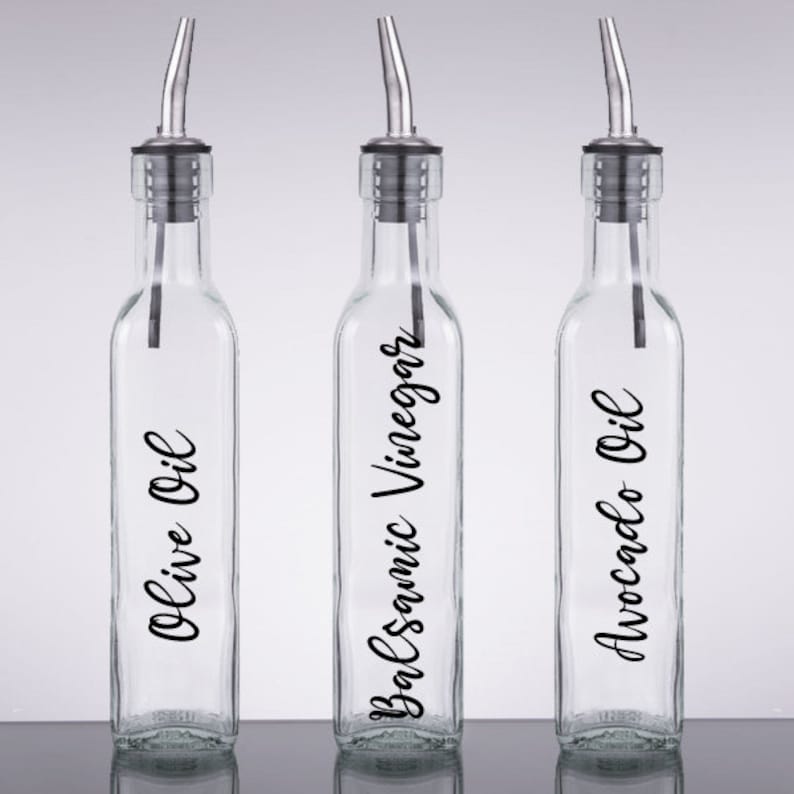
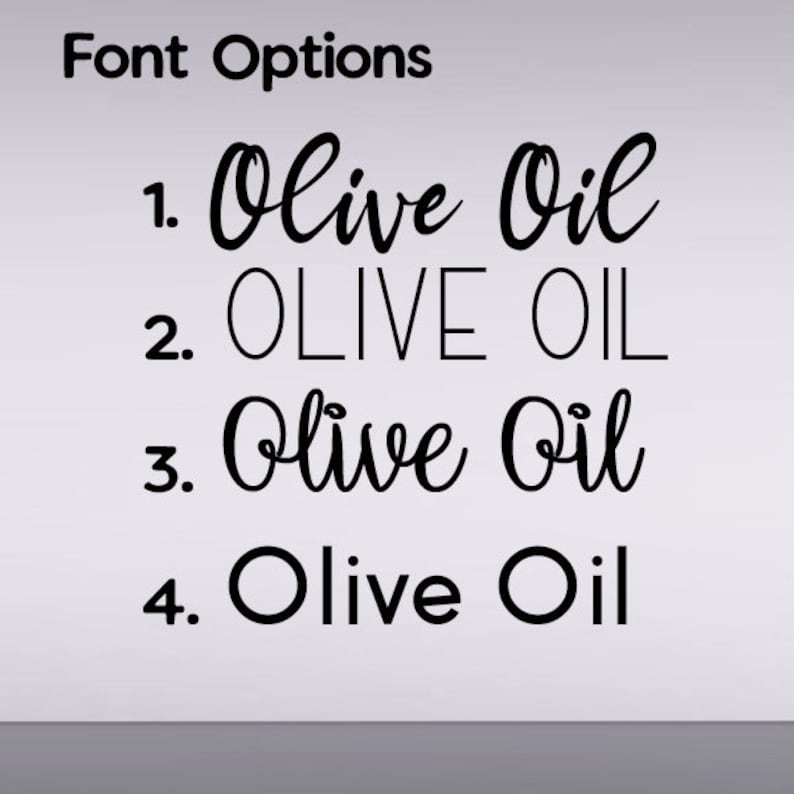
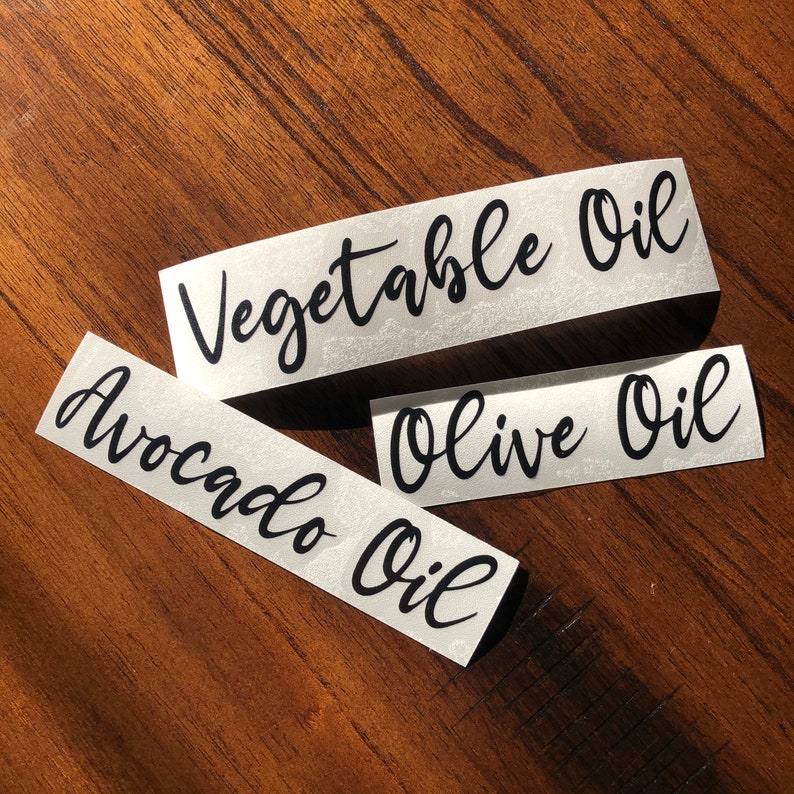
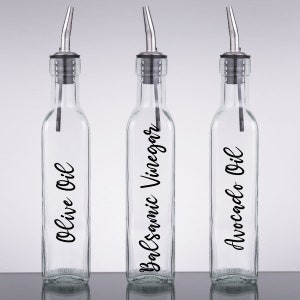
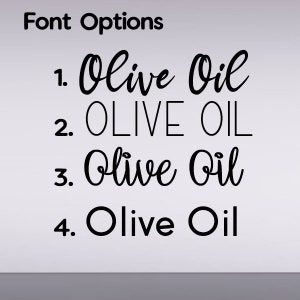
Oil and Vinegar Bottle Labels | Olive Oil Bottle Decal, Kitchen Decal DIY
Enter the label name here (1 name per label)
**Each label is sold seperately**
**NO EMOJIS**
You can only make an offer when buying a single item
-
Order today to get by May 1-21
Your order should arrive by this date if you buy today. To calculate an estimated delivery date you can count on, we look at things like the carrier's latest transit times, the seller's processing time and shipping history, and where the order is shipping to and from.
-
Cost to ship: $1.14Enjoy free shipping to the US when you spend $35+ at this shop.
There was a problem calculating your shipping. Please try again.
Etsy Purchase Protection: Shop confidently on Etsy knowing if something goes wrong with an order, we've got your back for all eligible purchases — see program terms

4,682 reviews
5 out of 5 stars
Great product, just as described and ready to install. Thanks!
Bob Wadsworth Feb 13, 2024
Photos from reviews
More from this shop


Disclaimer: Etsy assumes no responsibility for the accuracy, labeling, or content of sellers' listings and products. Electrical or electronic products may pose a risk of fire or electrocution. Vintage, handmade, refurbished, or modified electrical or electronic products may not meet current safety standards and may not be in safe working order. Inspect carefully before use and message the seller if you have concerns relating to the product. Do not use a vintage electrical or electronic item if its safety cannot be verified. To reduce the risk of fire, never leave vintage electrical or electronic products plugged in unattended. See Etsy's Terms of Use for more information.