



Hobbitware's Story!
I have been making and selling functional pottery since 2013, it previously was offered in my BasketsByPamela.etsy.com shop. where I sold over 500 pieces of pottery...please see my shop reviews there, as reference. My work is very experimental, and it is best to appropriate what you want when you see it, as i rarely repeat a piece exactly, each one is generally distinctly unique from its' fellows, even when i create two at the same time.
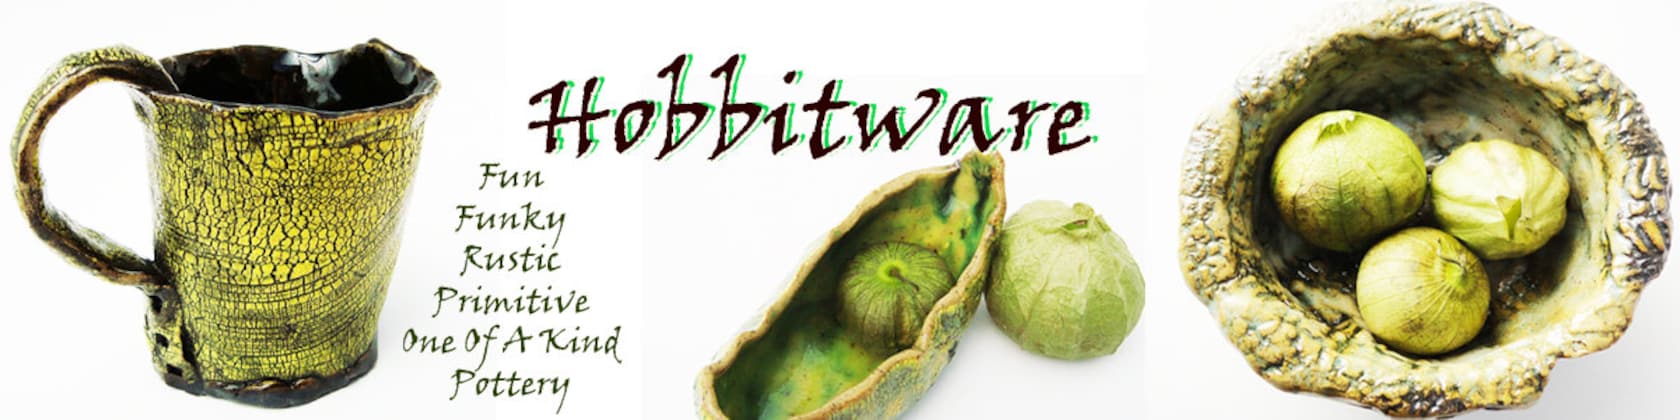
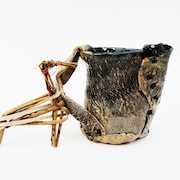
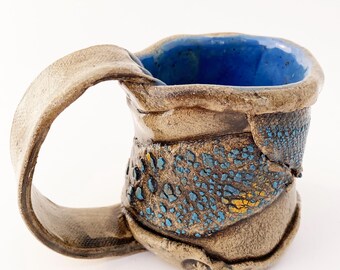
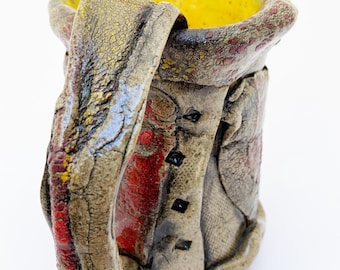
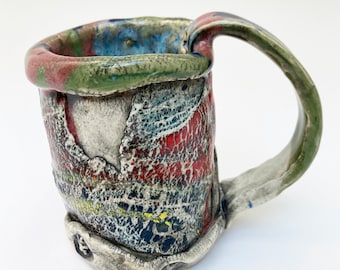
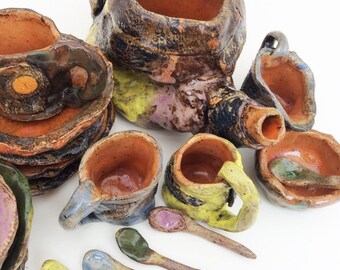
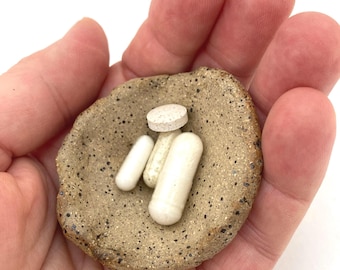
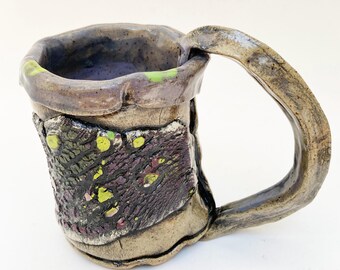
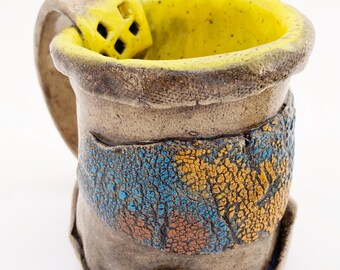
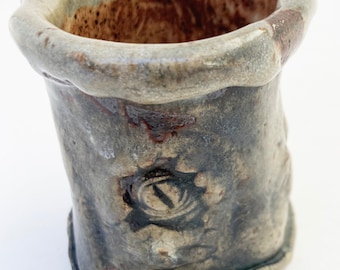
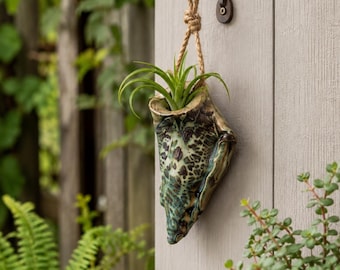
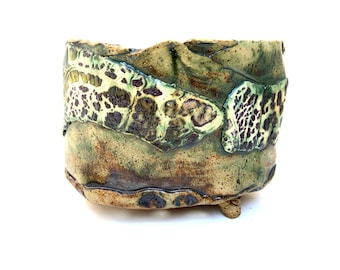
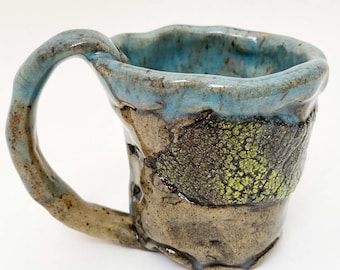
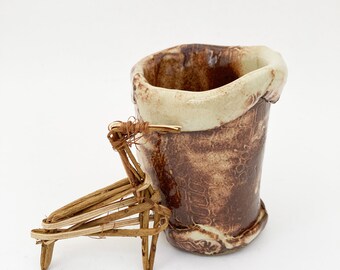
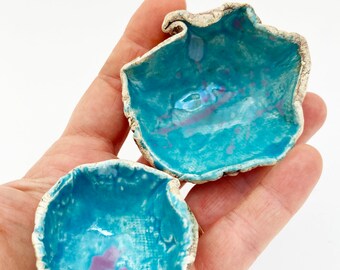
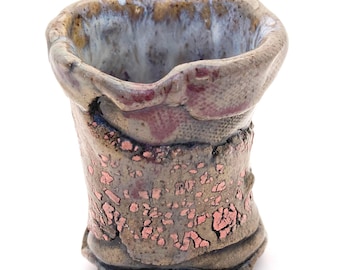
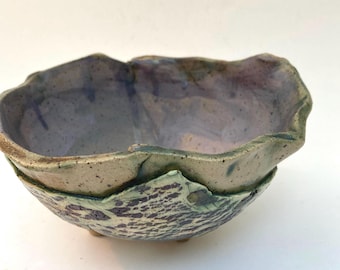
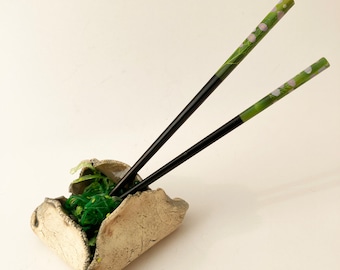
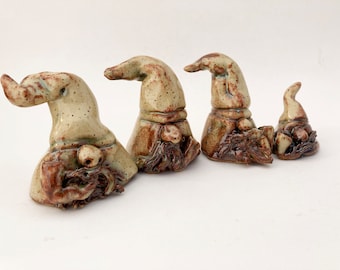
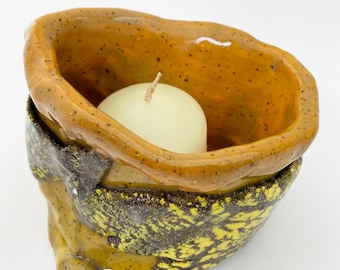
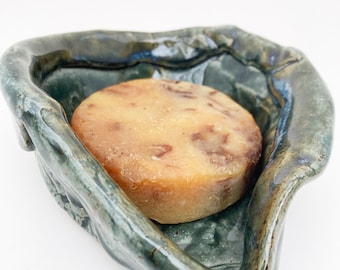
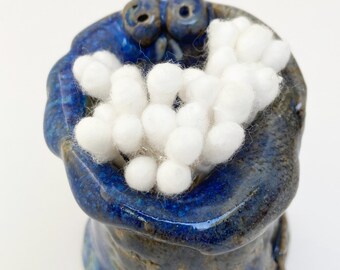
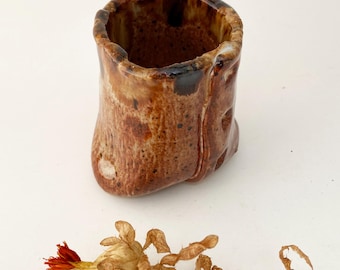
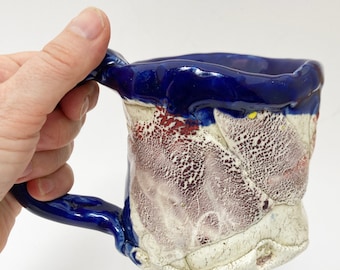
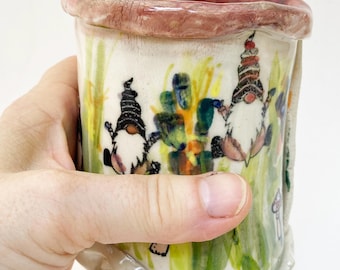
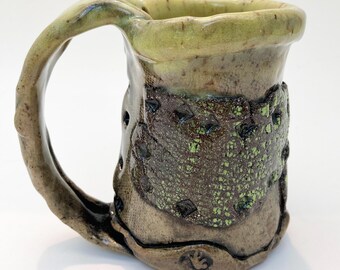
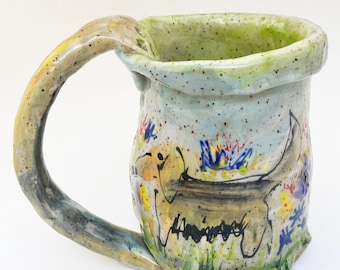
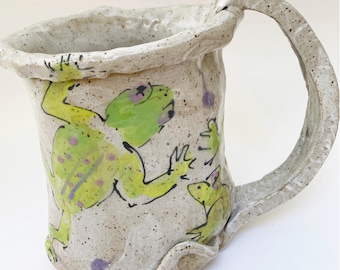
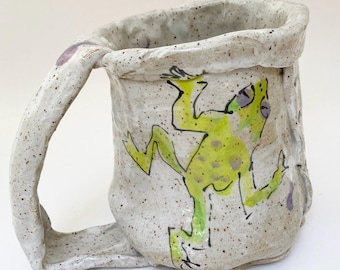
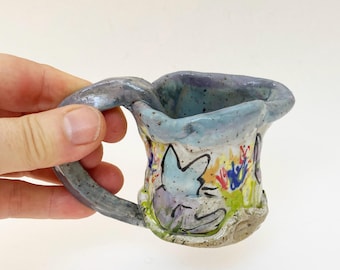
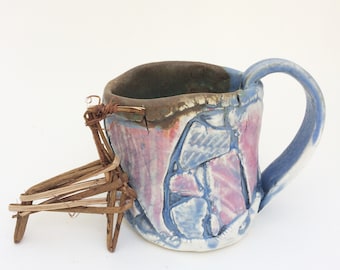
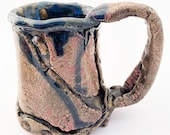
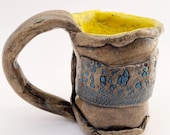
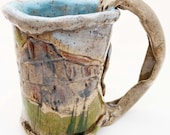
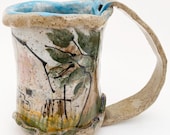
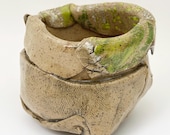
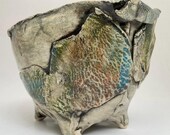
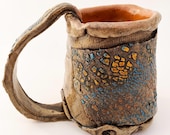
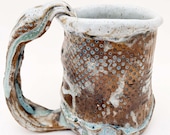
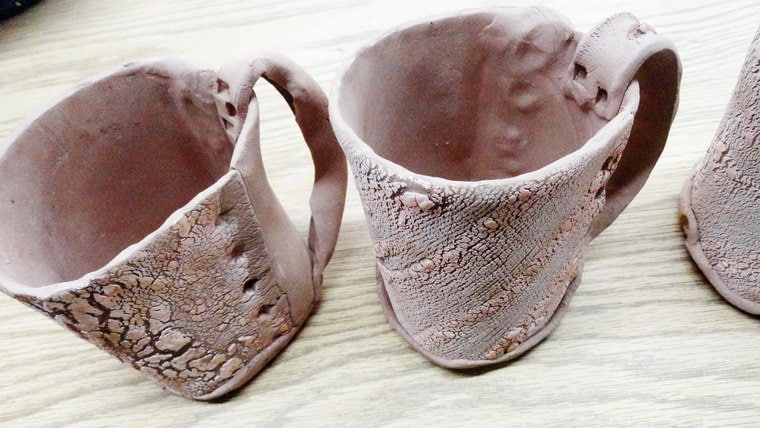
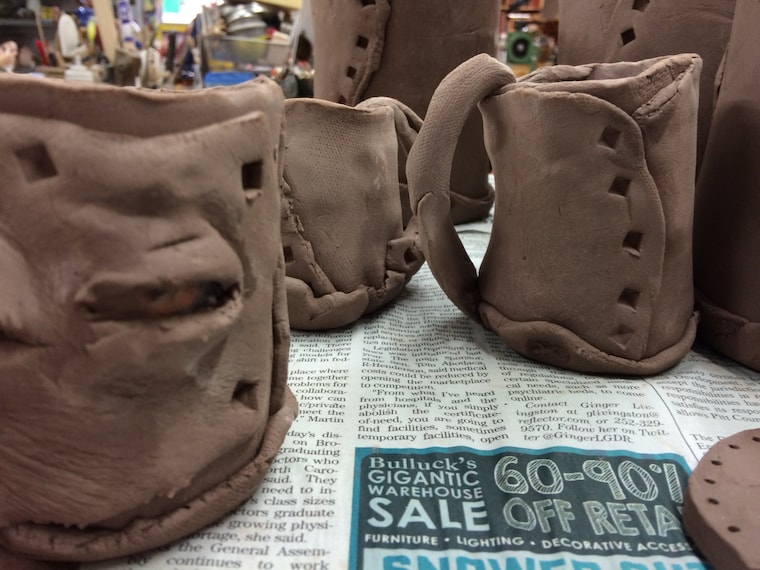
The rustic pottery I make began as a thing to incorporate into weaving...and, before i knew it, took on a life of it's own. I love organic forms, asymmetry, making torn, textured pieces, and folding clay. Soon i was making functional things, with my own twist. I have never been interested in throwing perfectly round pots. Everything is made from slabs or pinch pots. I love to make freeform vessels! I have been using these in my home for years, just loving the wonky difference of the vessels, crooked and cracked looking but oh so fun to handle.
Carrying my tea in my crookedy mugs out in the world caused a little stir, people asking where I got that most unusual pottery. So I finally gave in, and decided to start selling my "not regular" stoneware. My husband called it "Hobbitware" and the name stuck!
Many of my pottery pieces have a textured surface technique called kohiki. I have worked to develop it using color, the traditional Japanese method is done with white slip. My process is heavily influenced by the work of Akira Satake, although it resembles it not at all (his being perfect and very graceful!) I hope you enjoy it.
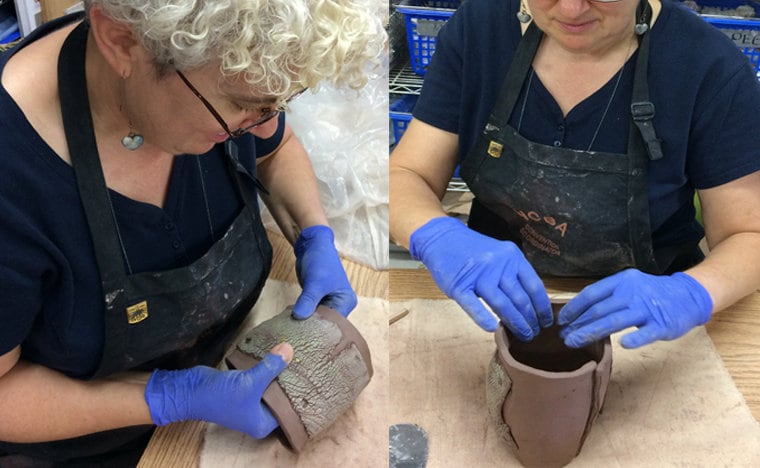
All pottery is hand-built, usually using slabs, but sometimes pinched. It is a long, involved process, generally each piece takes from 3 - 5 weeks to make, and it goes like this:
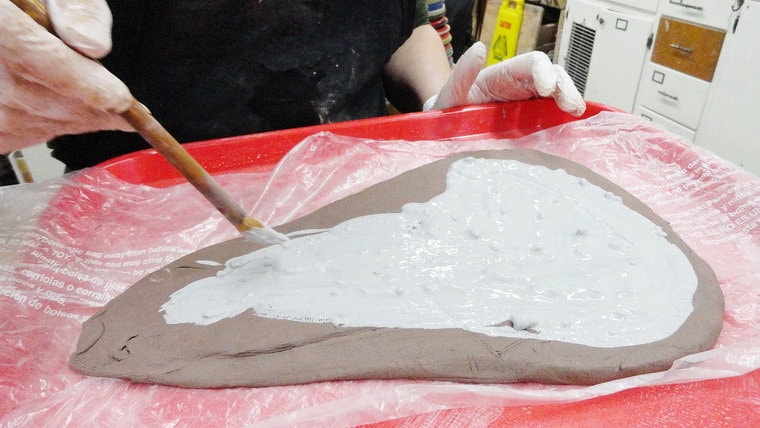
Clay is rolled out, like making cookies. It is textured or covered with liquid color. Colors require extra drying, and then are cracked and textured, this process takes anywhere from a day to a week. Then I cut out pieces of clay and assemble them into the wonky pottery. I like to patch and stretch and twist them, so each one is one of a kind. Because i love the rough, "living" edges of the clay, i strive to use all the natural edges possible, and only cut the clay when absolutely necessary. After the shapes are formed, they are dried slowly, it can take several days to a week, depending on how wet the weather has been. When thoroughly dry, the items are bisque fired, a low fire process that takes about 2 days. This is where things might blow up if they were not dried properly! It is hard to rush things.
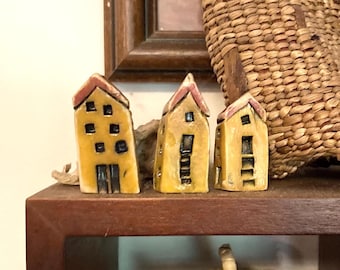
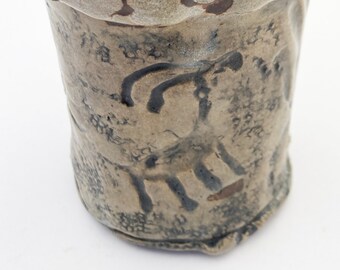
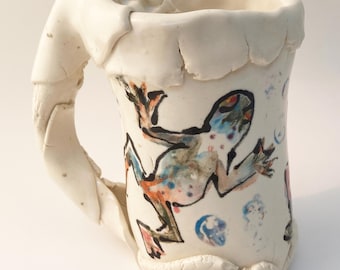
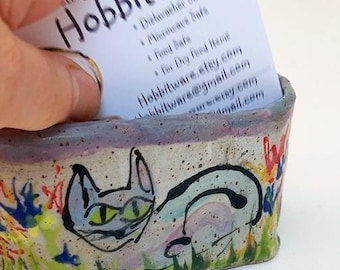
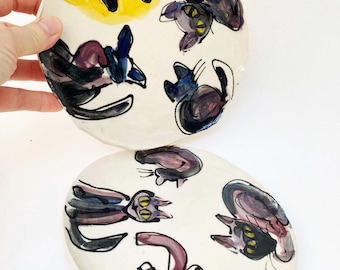
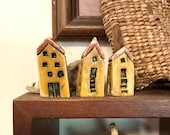
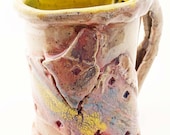
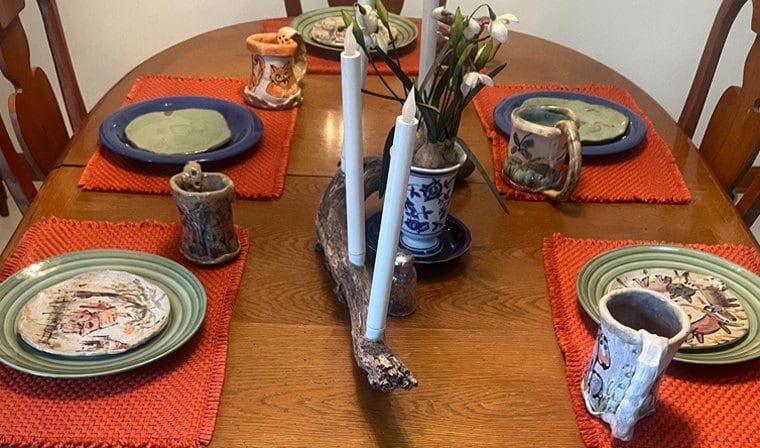
After cooling, the bisque is sanded or polished to remove the roughest places...I like my pottery to be quite rustic, so most of the crinkles and twisty spots are left alone. Then I apply underglazes, glazes, and other coloring agents, often in layers. For the past several years, i have also been experimenting with using underglazes as one would watercolor, with diffused, relaxed sort of edges and very abstractly, just suggesting shapes and accenting with lines, as one would use ink for emphasis. As a beginner painter it is very satisfying to be able to convey as quirky animal caricature or primitive building representation with just a few blobs of color and a stroke of the "pen." Layering glazes requires drying in between, again of anywhere from a few hours, to a week. After glazing, everything is fired again, this time to over 2200 degrees, which takes a couple of days.
Sometimes pieces crack in firing, or get stuck to a kiln shelf and break, or explode, all sorts of things happen to them. Often glaze combinations turn out to be surprises...So I try not to fall in love with anything until it is completely finished.
And, because i tend to mix things all the time, i never can duplicate anything i have made before! If you see it, and you like it, buy it now, because there will not be another!
My other shops are
BasketsByPamela.etsy.com
PurpleToedGypsy.etsy.com
FoldedAluminumStars.etsy.com
MakeABasket.etsy.com
