


Price: $1.51
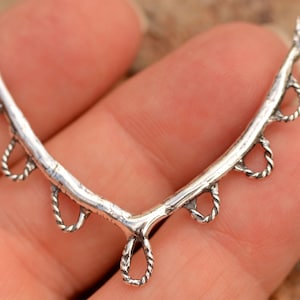
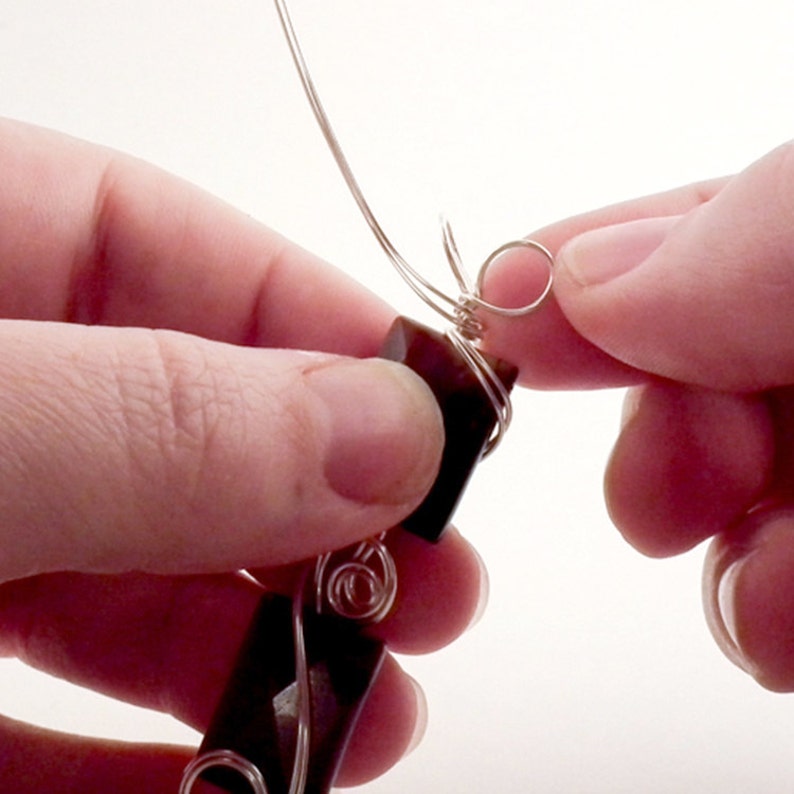
TUTORIAL: Double Rectangle (Wire-Wrapped Pendant Instructions)
You can only make an offer when buying a single item
Instant Download
Your files will be available to download once payment is confirmed. Here's how.
Instant download items don’t accept returns, exchanges or cancellations. Please contact the seller about any problems with your order.
Etsy Purchase Protection: Shop confidently on Etsy knowing if something goes wrong with an order, we've got your back for all eligible purchases — see program terms

533 reviews
5 out of 5 starspretty and easy to follow directions
Purchased item:
TUTORIAL: Double Rectangle (Wire-Wrapped Pendant Instructions)
Donna Molnar Oct 26, 2021
I haven't had a chance to try it yet, but the pictures are very clear and detailed. I think its going to be fun! Thank you Bonnie
Purchased item:
TUTORIAL: Double Rectangle (Wire-Wrapped Pendant Instructions)
Bonnie Nieman Jul 26, 2020
Very detailed, clear pictures, love the design.
Purchased item:
TUTORIAL: Double Rectangle (Wire-Wrapped Pendant Instructions)Lara Nicole Janiszewski Jun 15, 2020
Great tutorial - very easy to follow and with clear directions. Very much worth the price.
Purchased item:
TUTORIAL: Double Rectangle (Wire-Wrapped Pendant Instructions)Donna D. Oct 20, 2019
Photos from reviews
More from this shop


Browse by section


Disclaimer: Etsy assumes no responsibility for the accuracy, labeling, or content of sellers' listings and products. Electrical or electronic products may pose a risk of fire or electrocution. Vintage, handmade, refurbished, or modified electrical or electronic products may not meet current safety standards and may not be in safe working order. Inspect carefully before use and message the seller if you have concerns relating to the product. Do not use a vintage electrical or electronic item if its safety cannot be verified. To reduce the risk of fire, never leave vintage electrical or electronic products plugged in unattended. See Etsy's Terms of Use for more information.