

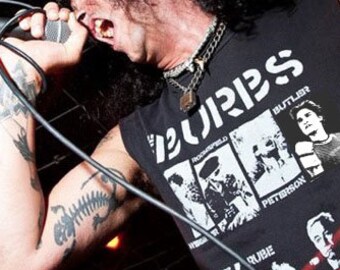
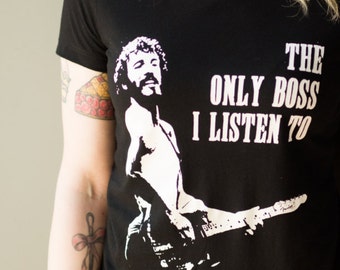
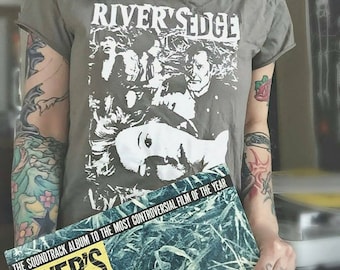
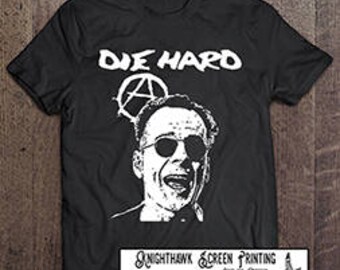
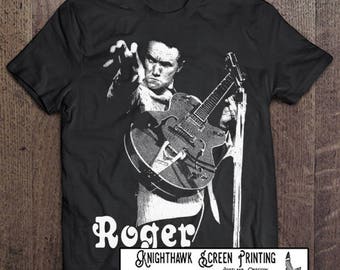
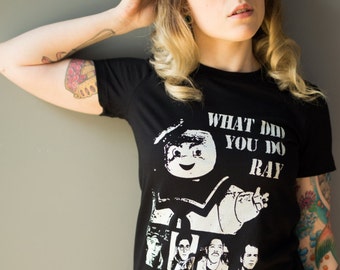

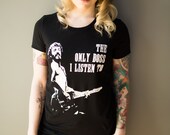

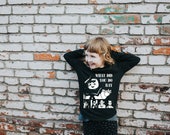
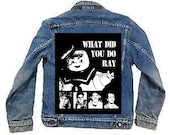
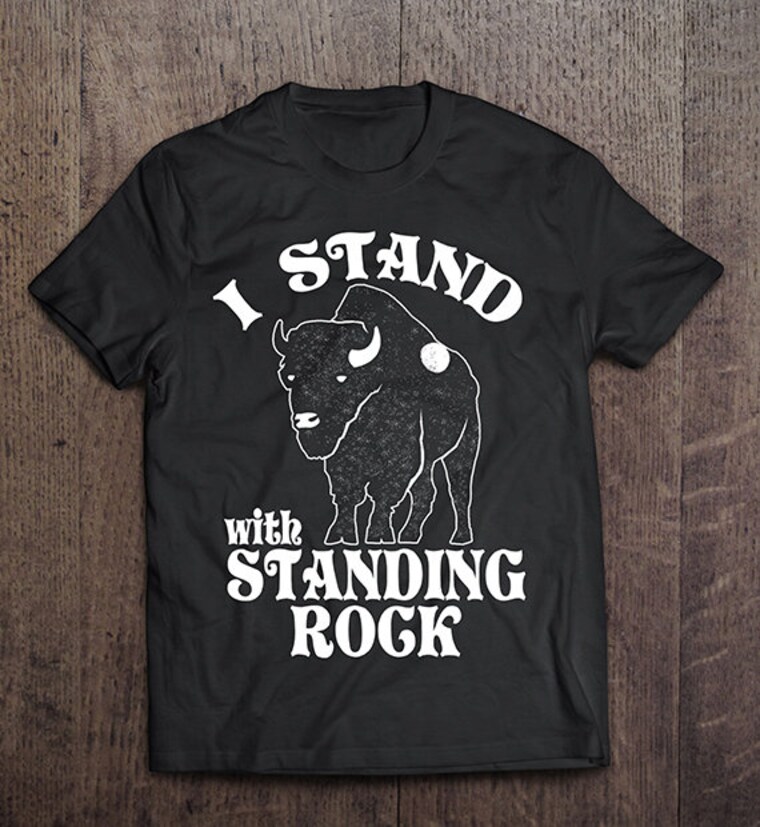
Original artwork inspired by cult classics with a punk rock aesthetic
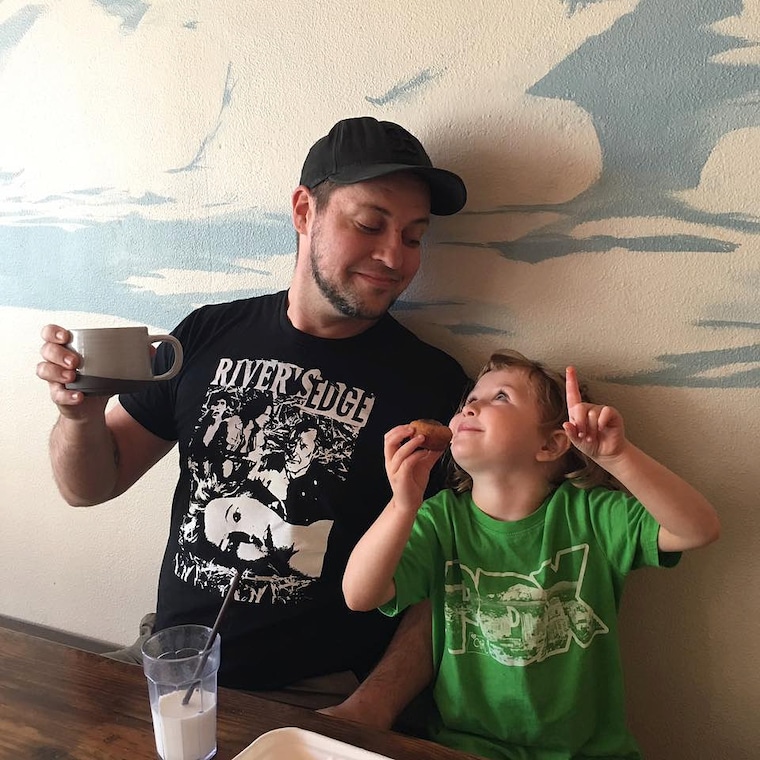
Hey, I'm Matt. I illustrate and screen print original artwork onto top quality, ethically manufactured apparel. Each step of the production process is done in-house and by hand. I'm self-taught in every aspect of the business, and put a significant amount of thought into the design, printing, and photography of each item. I use eco-friendly water-based inks, sweatshop-free clothing, and biodegradable cleaning products.
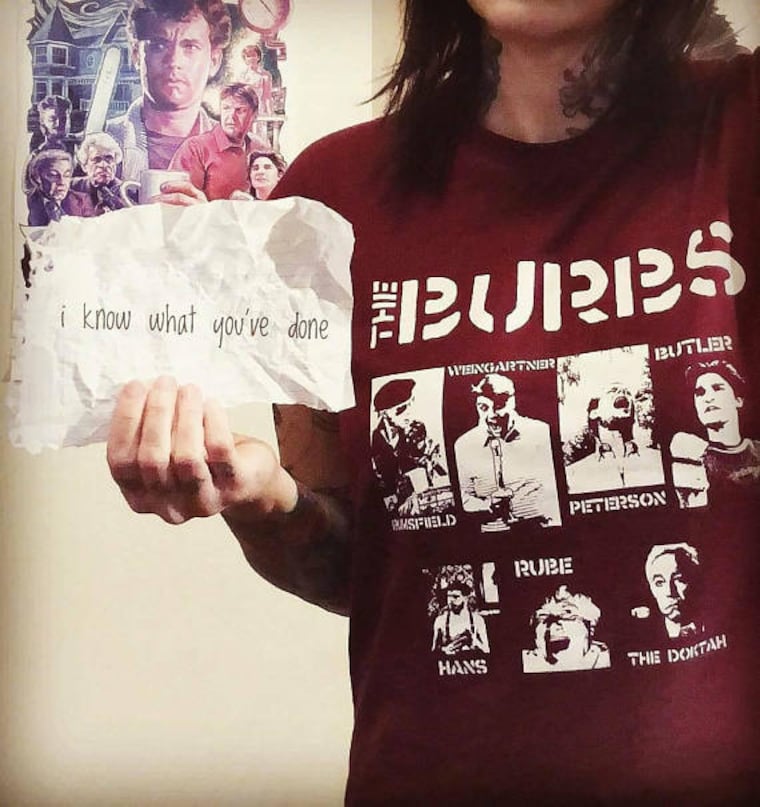
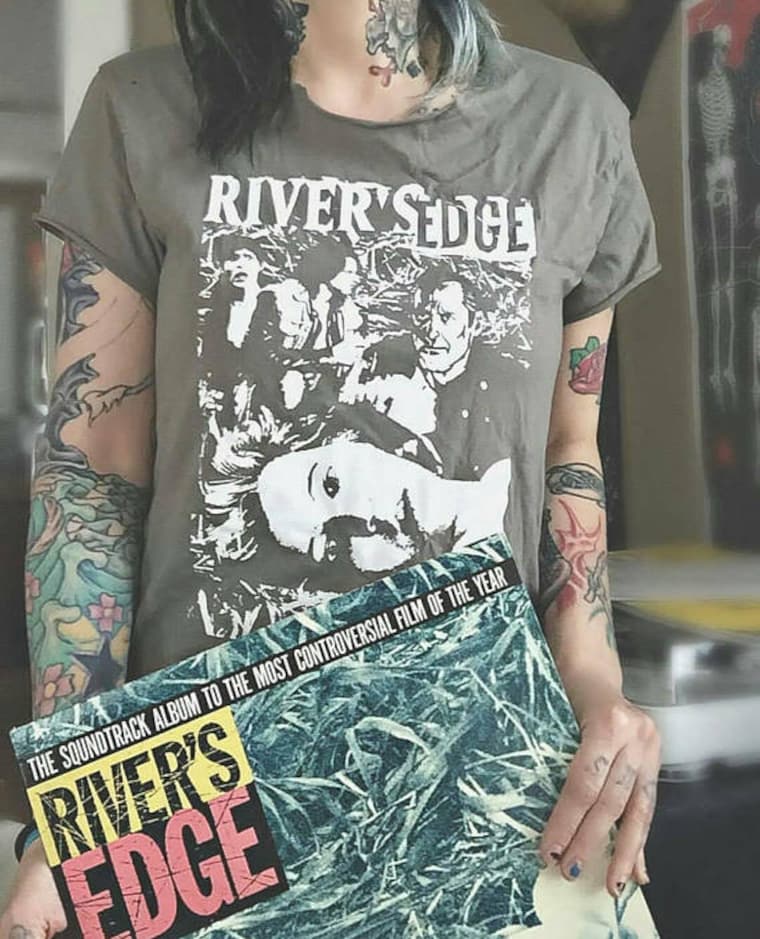
I started out making stuff I wanted to wear because it didn't exist. Growing up in punk communities I settled on a pretty rigid style aesthetic that didn't jive with the goofy garish shirts I'd seen for my favorite cult films. In most cases there weren't any at all. Designing, printing and sharing this stuff has become an amazing means of connecting with like-minded folks.
I am constantly learning about the art through daily experience and I love it more each day.
This makes me happy.
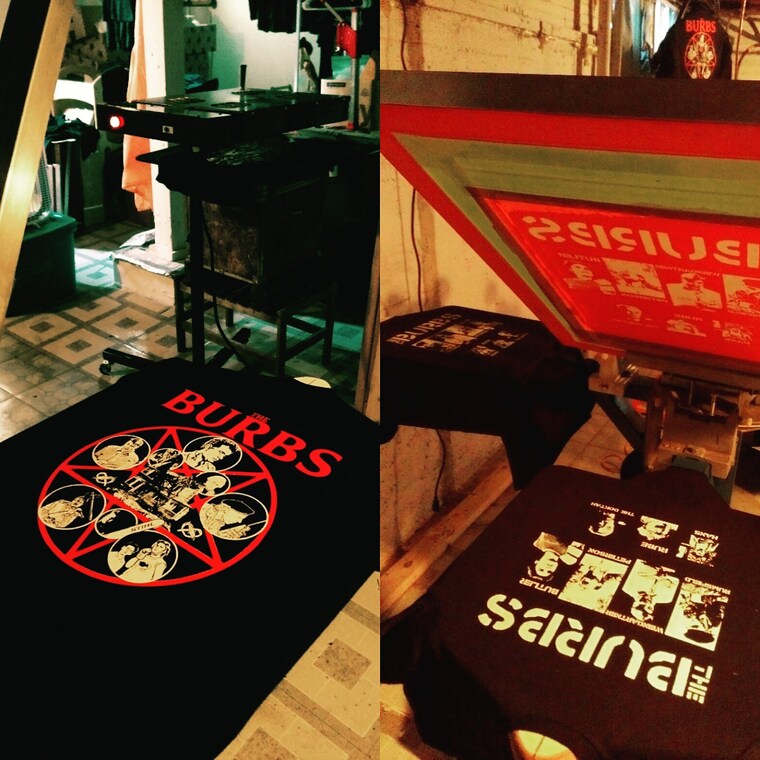
Here's a rundown of my process for getting an image from an idea to a printed creation.
I use Adobe Photoshop for pretty much all of my design work. Each project starts with either creating an image from scratch or modifying your existing high resolution original.
Prior to printing the image is inverted into a "negative" and prepared for our Epson 4300 large format film printer. The image is converted from black to CMYK and expertly adjusted to maximize opacity on the printed film positive (something like a transparency sheet you'd use with those old school projectors).
Next I prepare the screen - a 20x24" aluminum frame stretched tight as the dickens with silk. Each image has a specific mesh count that works best, so several different mesh counts are kept on hand. Once your screen is chosen it gets degreased, coated with a photosensitive emulsion under low light and left to dry overnight.
Exposure's up next. The printed film positive is placed on our dedicated Ranar exposure unit, followed by the screen directly on top. The exposure will then blast the screen with UV light, hardening the emulsion except for where it's blocked by the image on the film positive.
Immediately after exposure the screen is sprayed with water, revealing a perfect stencil of your image - I love this part, it's so much fun every time! Each screen is post-hardened in the sun and set aside to dry completely.
Now we're ready to print on the four arm/four station Hopkins press. The platens/shirtboards get prepped with a thin layer of eco-friendly adhesive to make the canvas or shirt stay put. Once the screen's loaded onto the press we're ready for the ink and squeegee action. I do a lot of white ink on dark shirts. This requires a 3 step process of printing, briefly curing the ink with a flash dryer, and printing again for maximum coverage and a print that pops.
The last stage is curing the ink. Cure times vary among different inks, but usually require the finished shirt being heated to 320 degrees for 2-3 minutes to ensure a lasting print that won't fade or crack.
Screen printing captured my heart in high school and I like it more each day (some days more than others ;P). Enough with the theatrics already.
Thanks a million,
Matt Knight
Knighthawk Screen Printing