
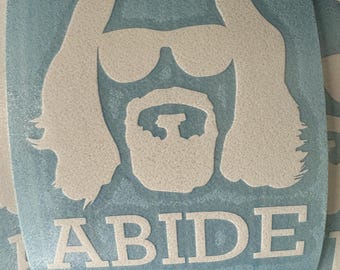
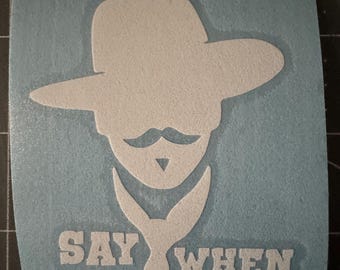
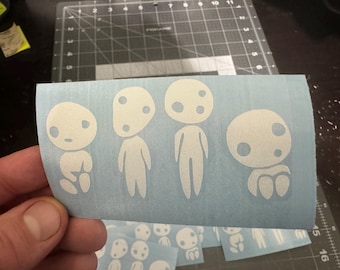


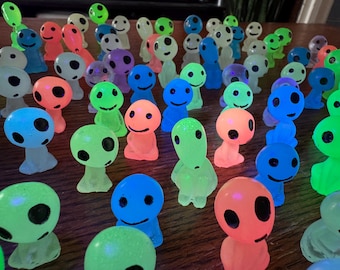


Photographs and Creative Adventures
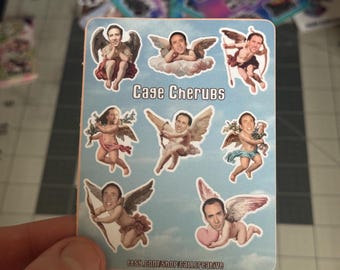
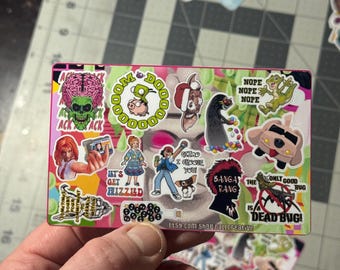
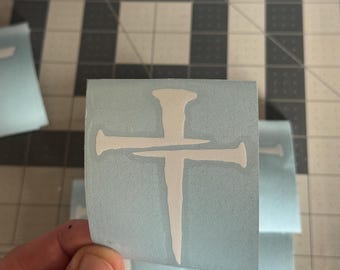
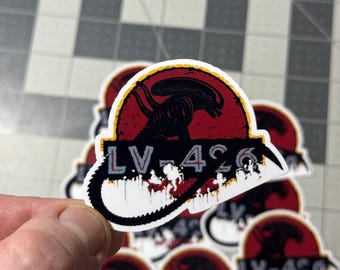
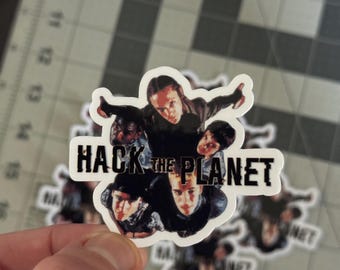
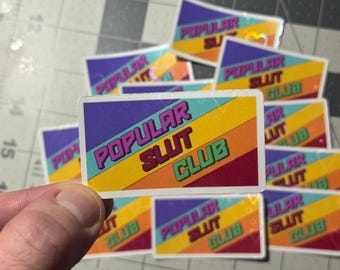
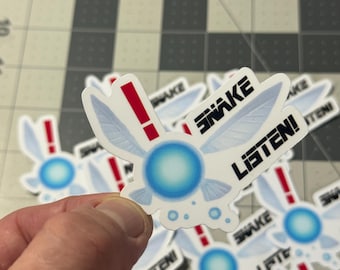
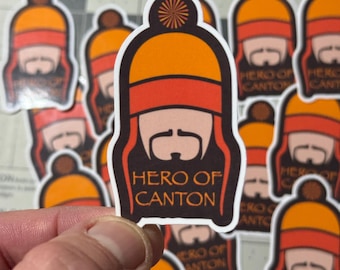
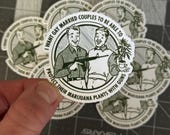
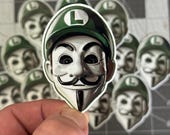
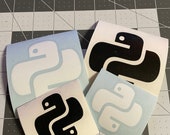
Featured items
All items
Announcement
Last updated on May 12, 2025
Reviews
5.0
(1600)
Average item review
We calculate this number using a recency-weighted average of all ratings, with a rating's value decreasing by half each year to best reflect the current experience.
Loading
-

Autumn on Apr 27, 2026
5 out of 5 starsGreat product and so cute! Shipped quickly and seller sent a photo to show it being shipped :) I love it!!
-
TTAM on Apr 27, 2026
5 out of 5 starsGreat quality, excited to slap it on the ice chest and keep people guessing as to my personal beliefs.
-
Bill on Apr 25, 2026
5 out of 5 starsperfect gift for friends/family stuck between ideologies and realities.
-
alison on Apr 18, 2026
5 out of 5 starsGreat communication and arrived quickly. As described and very cute.
-

-
-
-

Jacque on Apr 27, 2026
5 out of 5 starsI appreciated the manual updates from the seller, it arrived on time and in good condition.
-

-
About CallCreative
Sales
6,019
On Etsy since 2015
Shop members
-

Call Creative
Owner, Creator, Curator
Call Creative is an umbrella for my written content creation, artistic endeavors, photography and film efforts, and other creative enterprises.
Shop policies
Last updated on
February 16, 2023
Accepted payment methods
Accepts Etsy Gift Cards and Etsy Credits
Returns & exchanges
See item details for return and exchange eligibility.
More information
Last updated on
Dec 17, 2025
Frequently asked questions
How do I get my decal to not stick to the backing?
Sometimes during transit, decals can warm up which makes them harder to separate.
If you're having trouble with yours, try rubbing the top layer really good (but carefully) with a credit card or something similar so that the top layer sticks to the decal layer. You can also flip the decal over and do this to the back side.
Still not working? Try "dabbing" the top layer against the backing in the places where your decal is getting stuck to try and pick up the decal.
Still not working? Pop it in the fridge for a few minutes and try again!
How do I apply a decal?
A vinyl decal is actually a 3-piece sandwich. There's the top (clear) layer, the middle (decal) layer) and the bottom (backing) layer.
The goal when applying your decal is to peel off the top layer and make sure the middle layer comes with it. This is your sticker now, and the backing is garbage. So, you should have the top layer with the decal attached in your hand.
Gently apply one edge of the decal to your surface of choice and slowly work the rest of the decal down until it's fully applied. Give it a good rub to make sure it sticks. Finally, peel off the top (clear) layer, and you should have a perfectly applied decal left behind!
How do I make sure I don't get bubbles when applying decals?
It's a good idea to start at one edge of the decal and apply slowly rather than peeling the entire decal off of the backing and trying to directly apply all of it at once.
Try separating just a small edge of the decal from the backing and apply that edge to your surface. Then, as you slowly peel the rest of the backing from the decal, run your finger down the very center of the decal so that it applies evenly all the way down. You can run your fingers out from the center to apply the rest of the decal evenly.
Got bubbles? Pop them once with a very fine pin or needle and gently use a credit card to push the air out through the hole. If done carefully, you should be able to completely get rid of any bubbles.
What do I do if I haven't gotten my decal yet and it's been a while?
Send me a message and let me know. If it's been what we both consider to be a decent amount of time (considering mail transit, bad weather, and/or slight delays) and you still haven't received your decal, I'll send you a replacement free of charge.
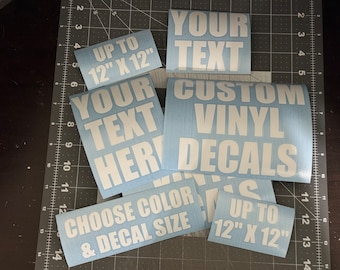
Can you make custom designs or different sizes than those listed?
Sure can! Message me with your ideas, and I'll get you the decal you're looking for!
What colors do you have for your decals?
Colors are limited. I mostly work with black and white, but I do have some sheets of other colors. Not seeing the color you want but really really want it? Message me and I'll see what I can do!
Do you ship outside of the United States?
Unfortunately, I do not. It's just not financially viable at this time. Maybe in the future.
Can you ship anywhere in the United States?
Yep! In fact, I offer FREE SHIPPING anywhere in the continental United States as well as to Hawaii and Alaska.