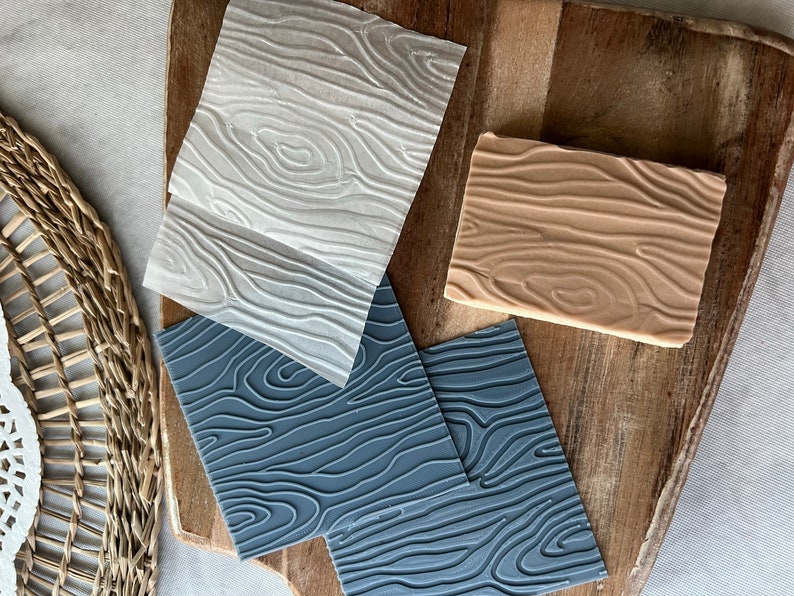
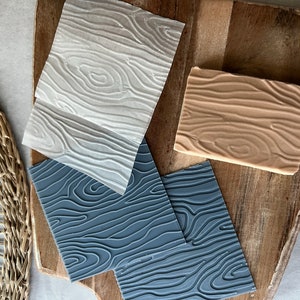
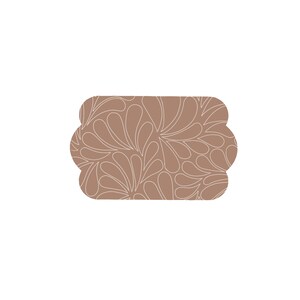
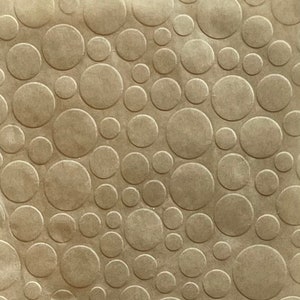
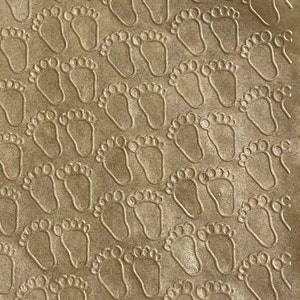
STL files to print a Wood pattern parchment paper embosser for cookie decorating.
*This is a digital file. No physical item will be sent to you.
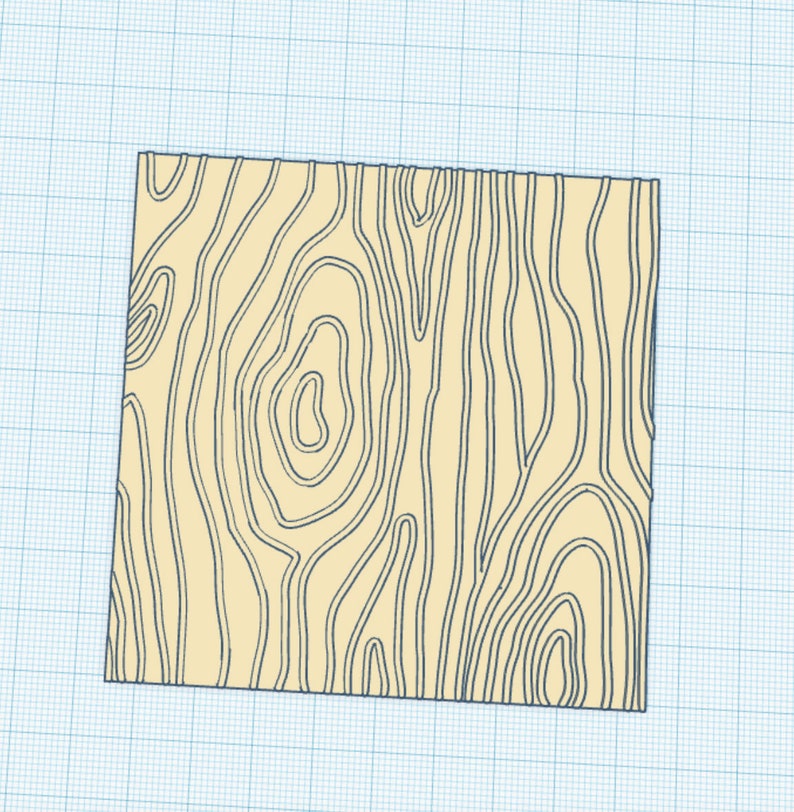
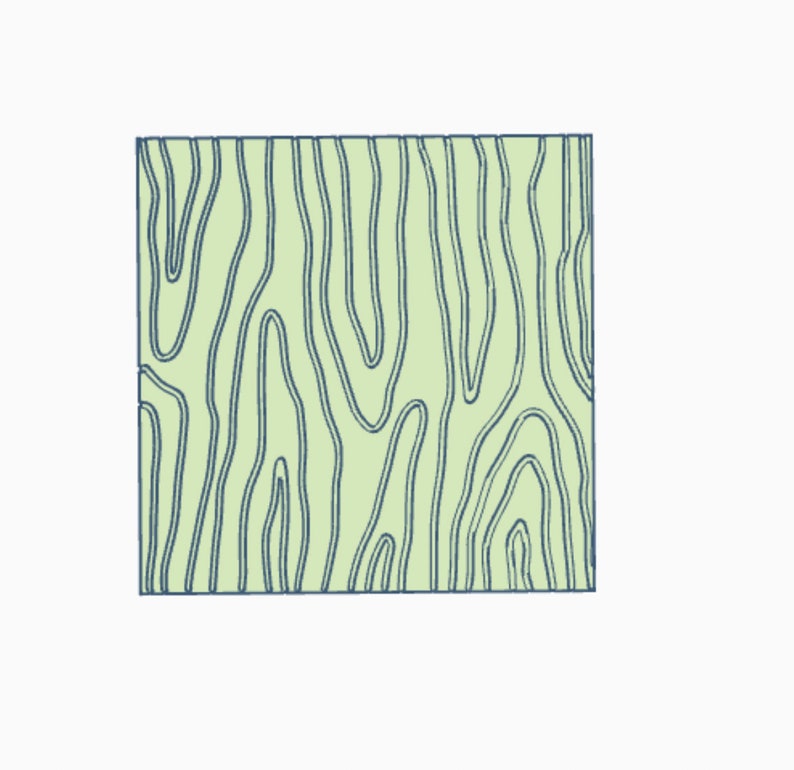
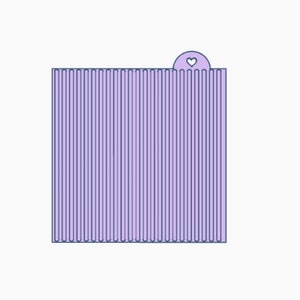
This file comes with two styles of wood grain.
Wood Style 2 is a more simplified design
**I recommend printing this on high quality settings. There are small details and lines in the print.
**each design takes an average of 4-6 Hours to print
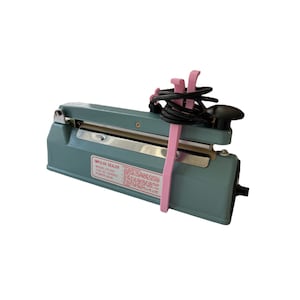
***I do NOT recommend using these plates with embossing/press machines since they only press the plates together and with these 3d printed plates, you have to shift and rub the plates together while pressing with your hands to get the clear imprint.
_________________________________________________
On average, a pack of imprinted parchment paper is around $7 for a couple sheets. As a cookie decorator that is trying to be as efficient and cost effect as possible, I struggled with justifying spending an average of $1 per sheet of imprinted parchment paper that will eventually be thrown away after a few uses.. whiiiich is why I wanted to create these embossing plates that give you an unlimited supply whenever you need it!
What You Need:
Your 3D printed embossing plates
Parchment paper (cut to size)
A flat sturdy surface for pressing
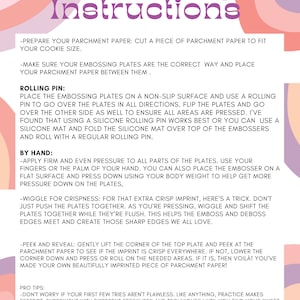
Instructions:
-3D Print all STL files included. Check your settings and print with a high quality setting as the designs need to be printed as accurately as possible to match up the two sides of the embosser.
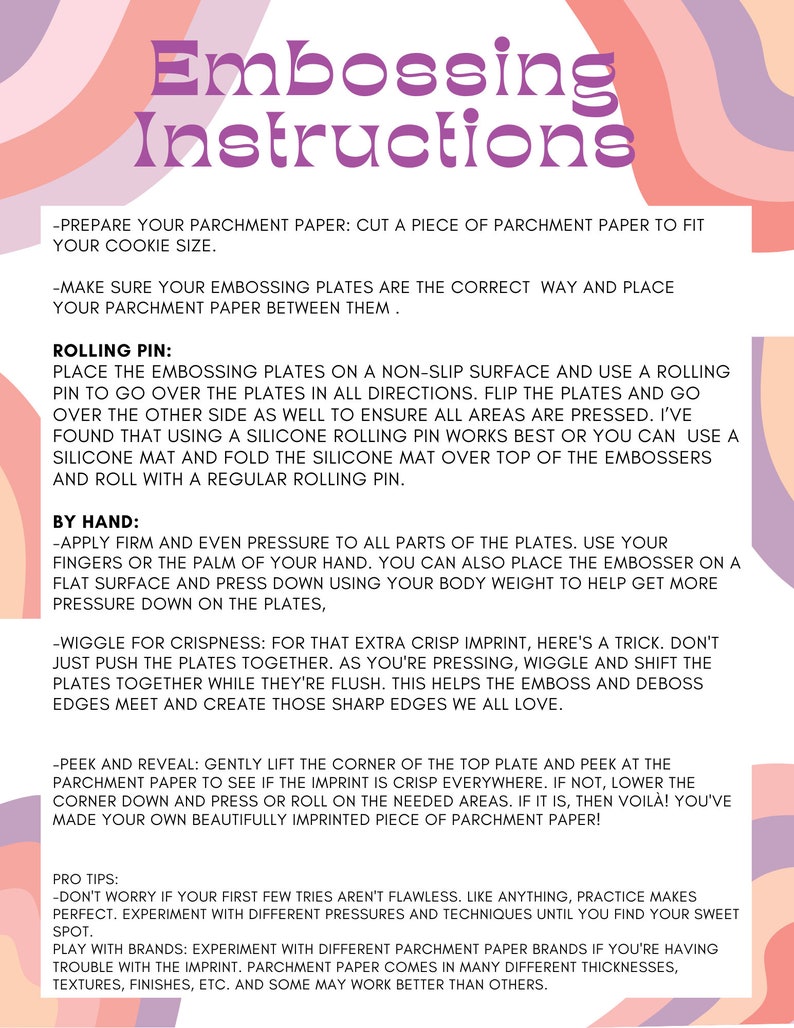
-Prepare Your Parchment Paper: Cut a piece of parchment paper to fit your cookie size.
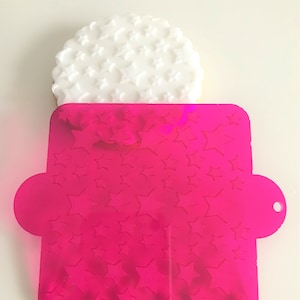
-Sandwich Time: Place your parchment paper between the two embossing plates.
-Press with Purpose: This is where the magic happens! Apply firm and even pressure to all parts of the plates. Use your fingers or the palm of your hand. Imagine you're pressing a giant stamp - it usually takes about 1-2 minutes of consistent pressure. You can also place the embosser on a flat surface and press down using your body weight to help with getting a crisp imprint.
-Wiggle for Crispness: For that extra crisp imprint, here's a trick. Don't just push the plates together. As you're pressing, wiggle and shift the plates together while they're flush. This helps the emboss and deboss edges meet and create those sharp edges we all love.
-Peek and Reveal: Gently lift the corner of the top plate and peek at the parchment paper to see if the imprint is crisp everywhere. If not, lower the corner down and press on the needed areas. If it is, then voilà! you've made your own beautifully imprinted piece of parchment paper!
Pro Tips:
-Practice Makes Perfect: Don't worry if your first few tries aren't flawless. Like anything, practice makes perfect. Experiment with different pressures and techniques until you find your sweet spot.
Play with Brands: Experiment with different parchment paper brands if you're having trouble with the imprint. Parchment paper comes in many different thicknesses, textures, finishes, etc. and some may work better than others.
If you have troubles, please feel free to message me on instagram @kiburzcookies and I will try to assist you there! ♡ you can check out my posts to see some videos of me using these embossing plates!
This comes with 2 files, the emboss and deboss sides of the set.
The plates range from 3"-4" in length depending on design.
*keep in mind this is made for parchment paper. Im not sure if it would work on any other thicker types of paper.
Important Notice: These embossing plates are protected by intellectual property laws. While we wholeheartedly encourage creativity and the use of these plates for your cookie decorating, please note that by purchasing them, you agree to respect our work and intellectual property rights. This includes refraining from purchasing the Embossing Plates for the purpose of resale or reproducing similar designs for commercial gain. Each purchase supports our small business, and we greatly appreciate your understanding and respect for our craft and intellectual property. Thank you for being part of our creative community!