


8 views in the last 24 hours
Price: $13.06
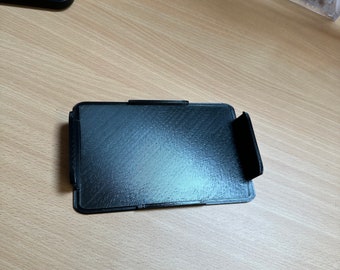
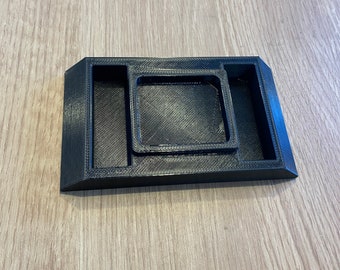
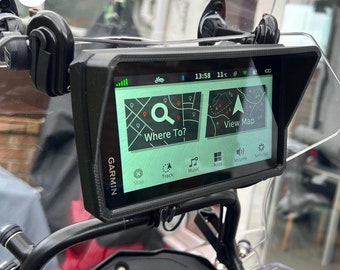
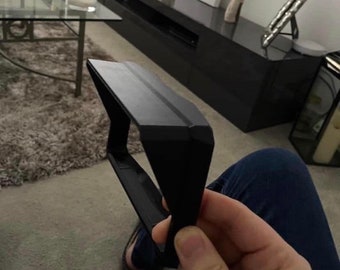
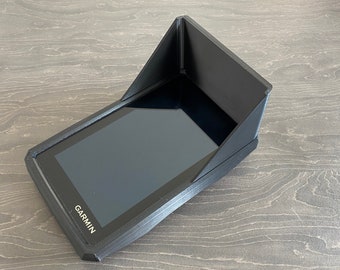
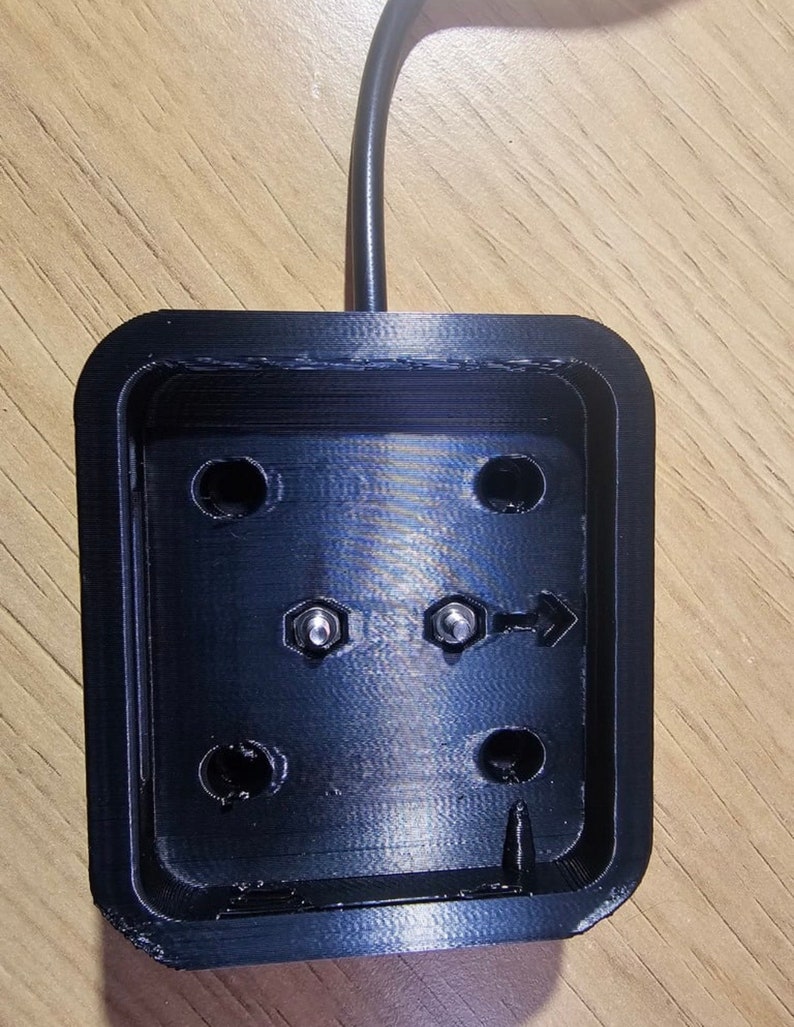
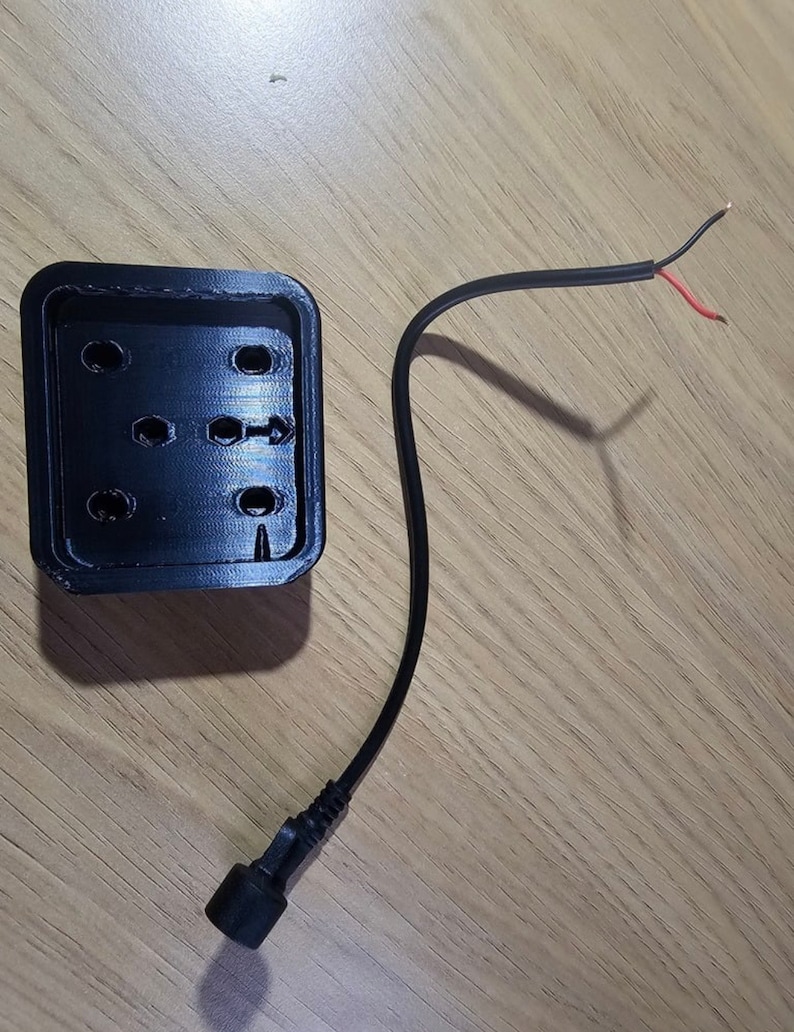
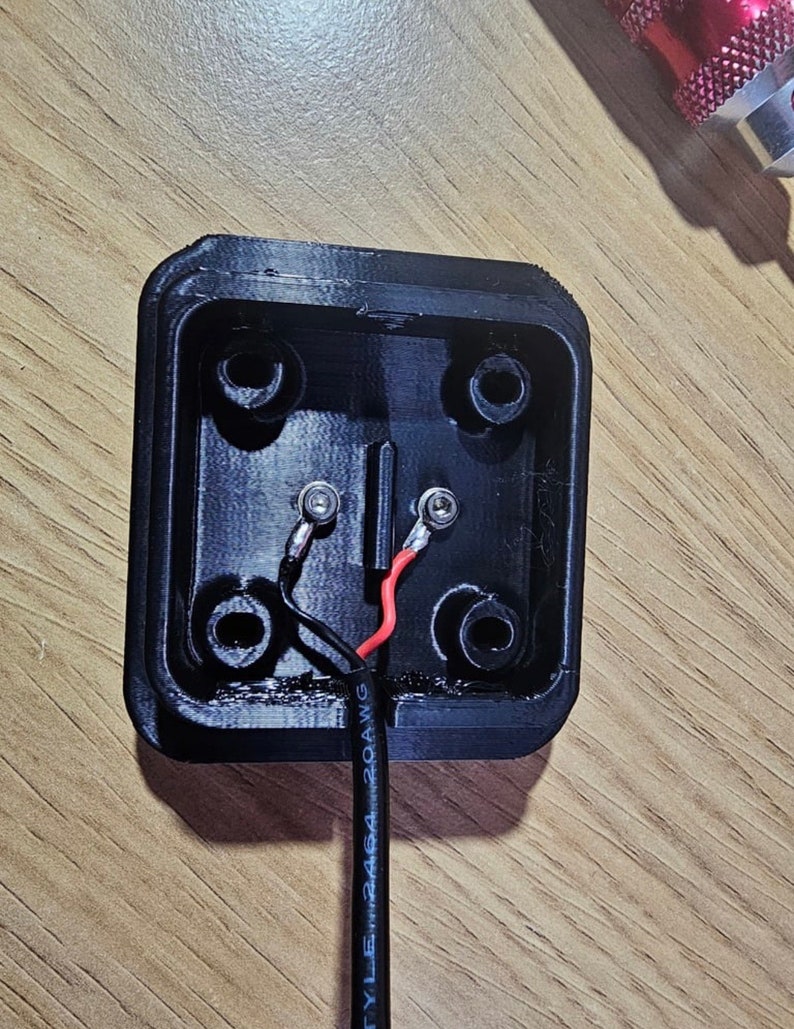
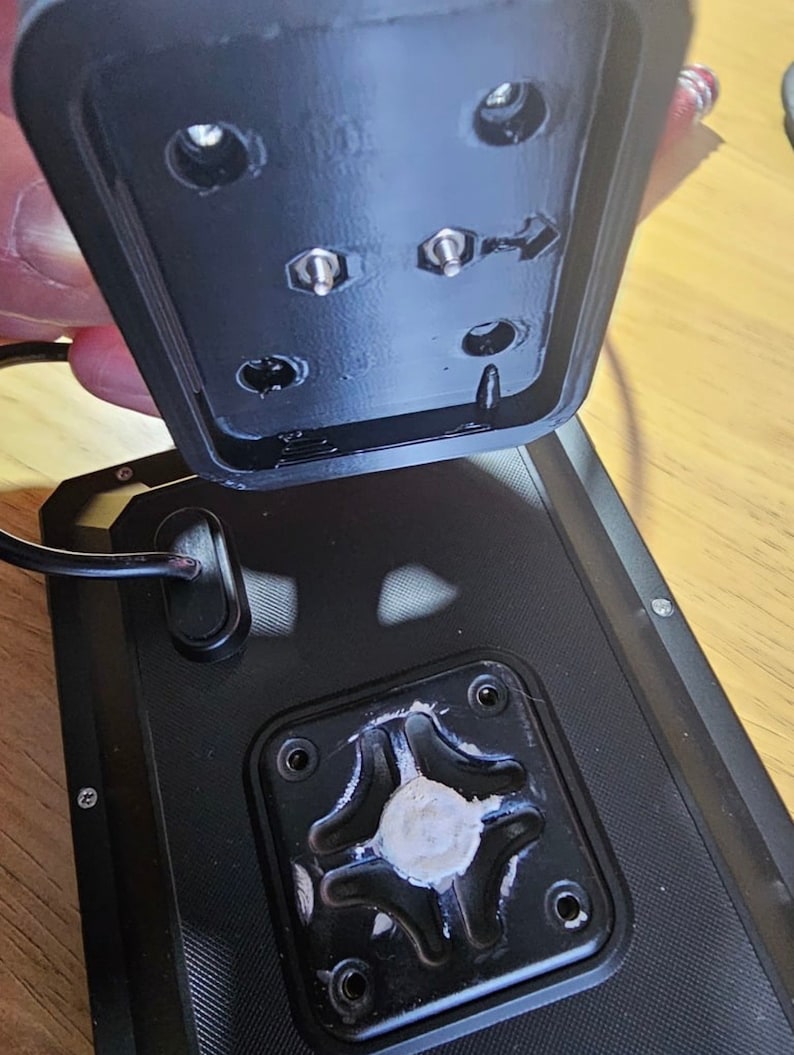
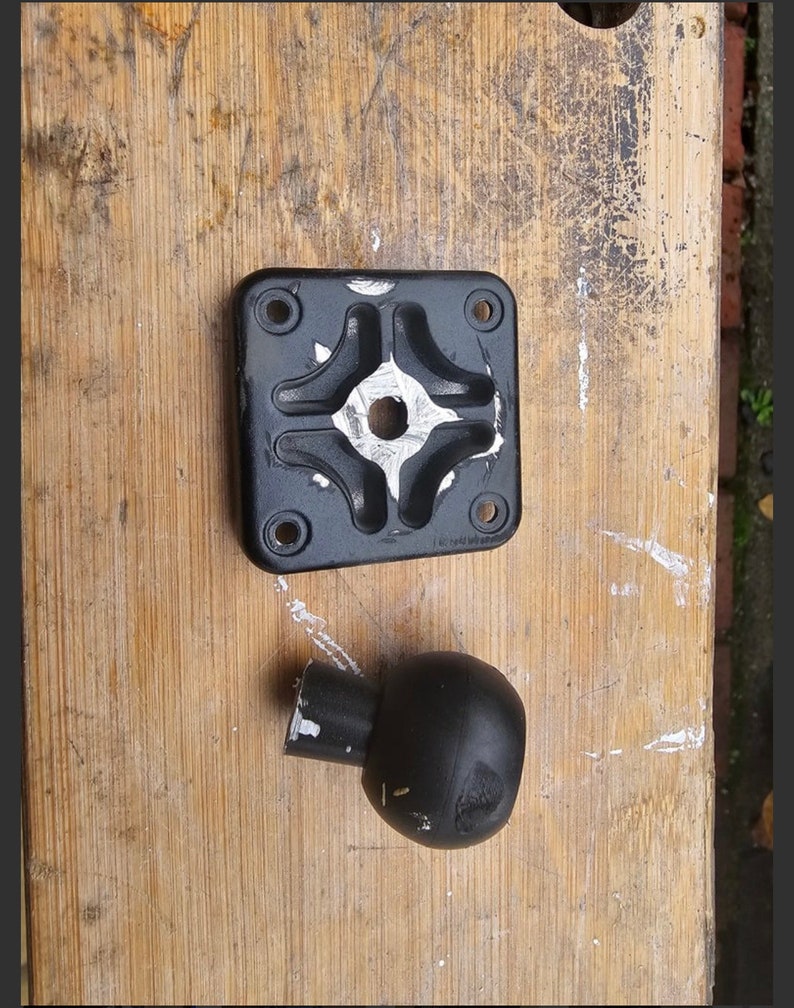
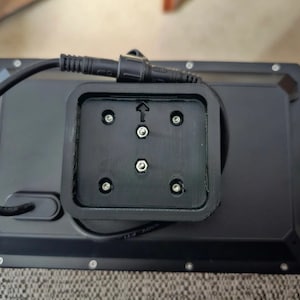
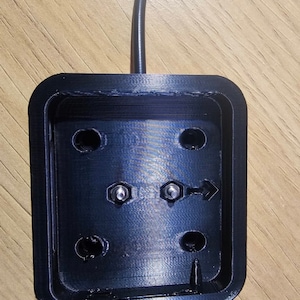
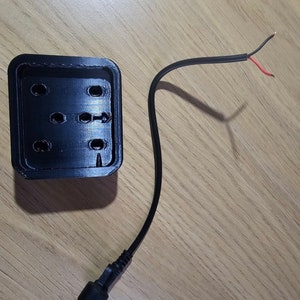
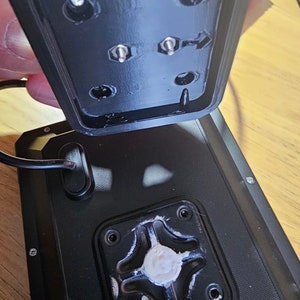
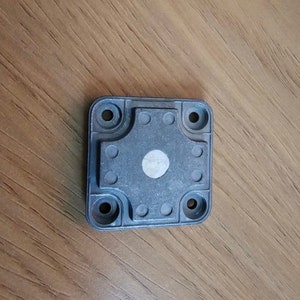
Carpuride upgrade to Garmin Zumo XT holder
Returns & exchanges accepted
You can only make an offer when buying a single item
-
Order today to get by May 23-30
Your order should arrive by this date if you buy today. To calculate an estimated delivery date you can count on, we look at things like the carrier's latest transit times, the seller's processing time and shipping history, and where the order is shipping to and from.
-
Returns & exchanges accepted within 30 days
Buyers are responsible for return shipping costs. If the item is not returned in its original condition, the buyer is responsible for any loss in value.
-
Cost to ship: $7.84Enjoy free shipping to the US when you spend $35+ at this shop.
-
Ships from: United Kingdom
There was a problem calculating your shipping. Please try again.
Etsy Purchase Protection
Shop confidently on Etsy knowing if something goes wrong with an order, we've got your back for all eligible purchases —
see program terms

Captcha failed to load. Try using a different browser or disabling ad blockers.
Other reviews from this shop
|
(570)
Great product and service from the supplier
Purchased item:
Zumo XT2 Std Bumper case
Richard Smith May 10, 2024
Quality good and happy overall but protector was damaged at one of the edges during journey and cant stick properly ,leaving an air gape at that corner
Purchased item:
Zumo XT2 Std Bumper casePiong chee liat May 7, 2024
Great Looking Item, Fits Nice and Snug, Will Have to Wait and See How it Holds up on the Road.
Purchased item:
Zumo XT2 Sun / Rain versionjasonbjennings May 6, 2024
Photos from reviews