


Price:$7.52+
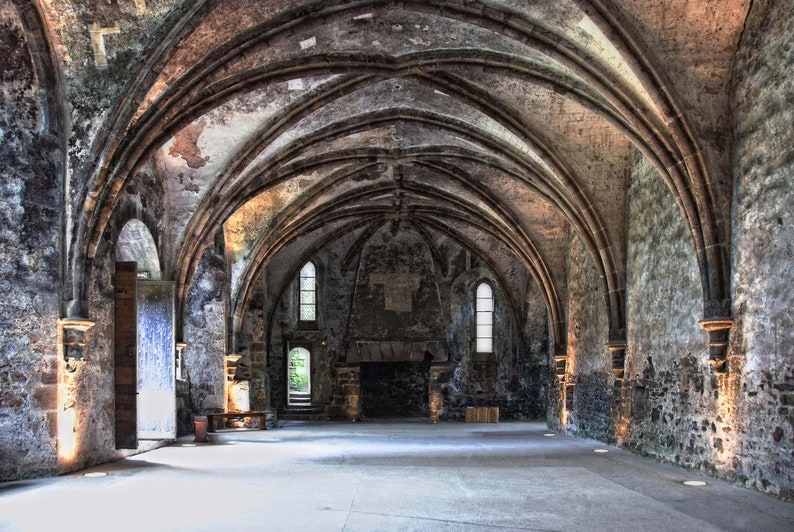
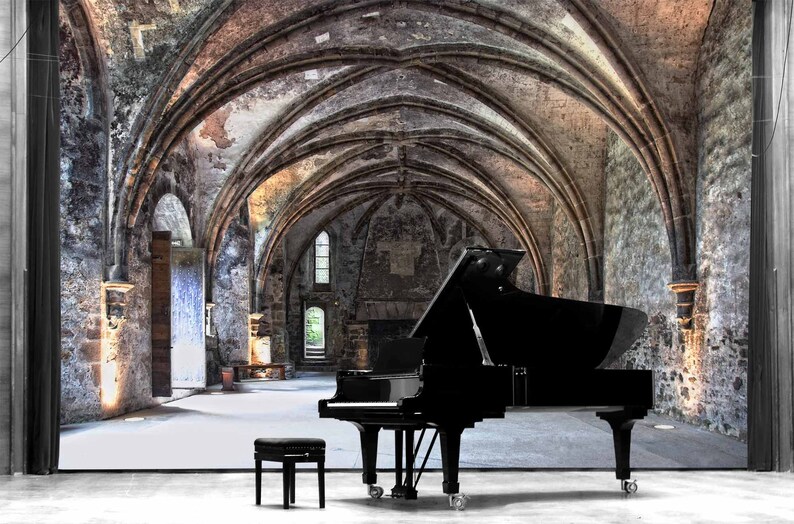
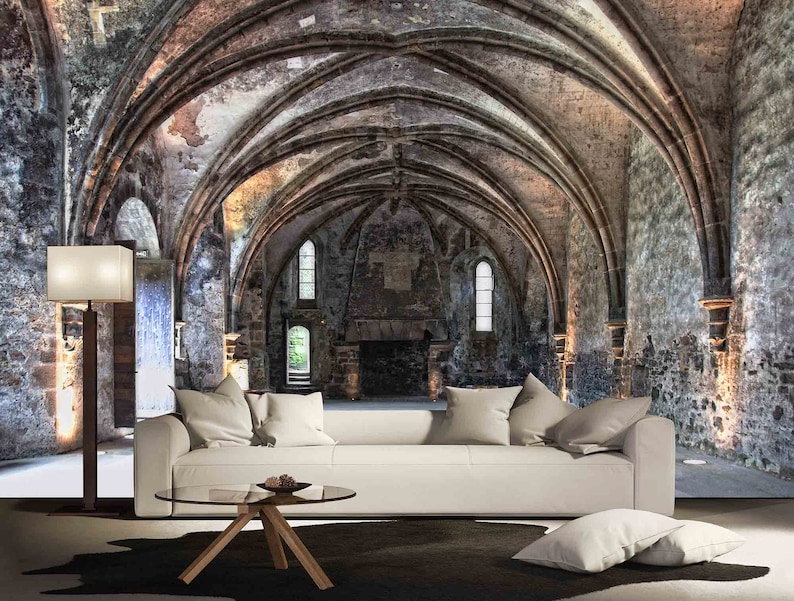
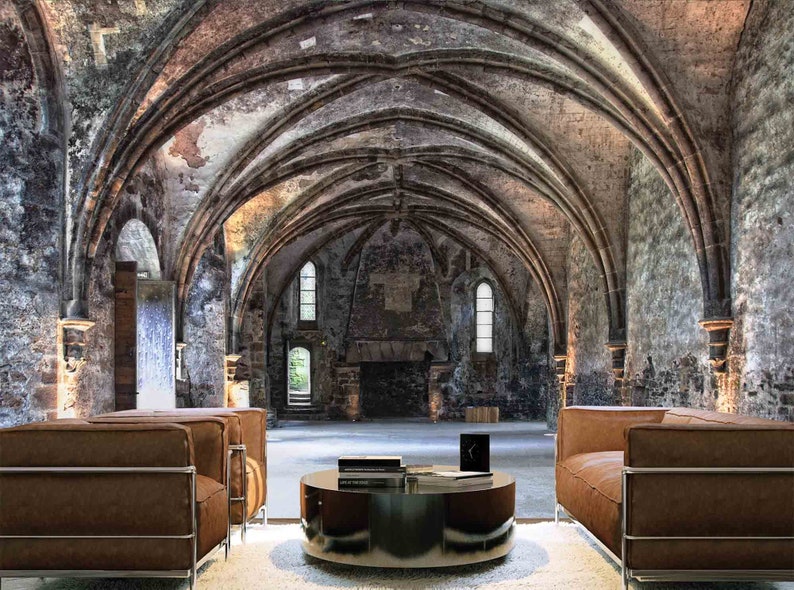
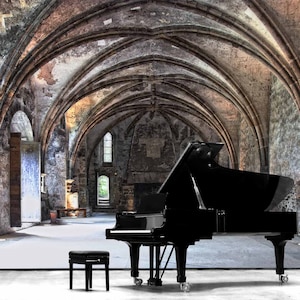
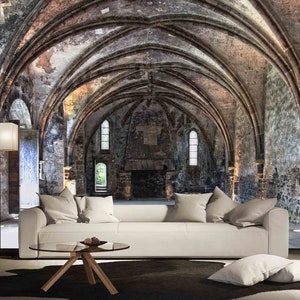
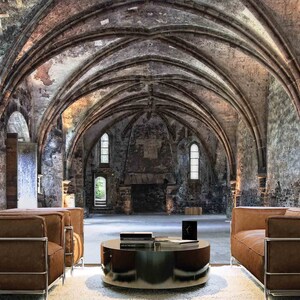
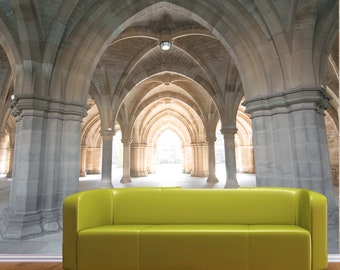
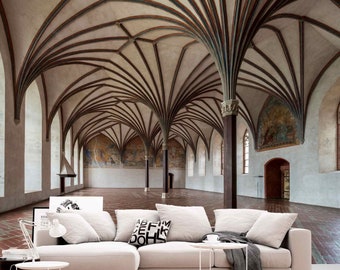
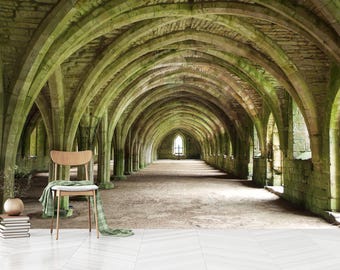
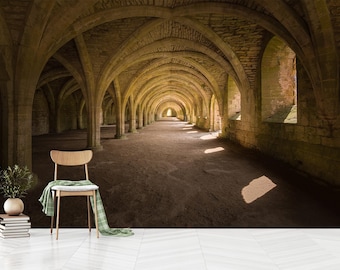
Removable Photo Mural - Medieval Great Hall - 3D effect Wall Art Print Wallpaper for Accent Wall Décor Prepasted Wall Mural #MU1544
Returns & exchanges accepted
You can only make an offer when buying a single item
Highlights
Photo wall mural of an amazing medieval great hall. This is the “Duke Room” of the Abbey of Beauport, which is located in the municipality of Paimpol in the Côtes d’Armor department in Britanny (France). This beautiful trompe l’oeil mural will give depth and perspective to your room.
- The mural is made of 18″ (45cm) wide strips. For instance, a 6′ (1,83m) wide mural has 4 strips and a 12′ (3,66m) wide mural has 8 strips.
- Prepasted, washable, dry removable and reusable wallpaper mural. Very easy to install, hangs like wallpaper.
- For custom size murals or custom image options - please contact us for details.
WHY OUR MURALS ARE AVAILABLE ONLY IN PAPER BASE RATHER THAN VINYL ( PEEL AND STICK) ?
1) Wallpaper has a matte finish, which gives a much more realistic effect than vinyl (which is shiny) and resists fading to light much longer.
2) Colors are more vibrant on wallpaper.
3) Wallpaper is ECO friendly (plastic free).
4) Our wallpaper is as robust as any vinyl available on the market of similar thickness.
5) Easy to install, easy to remove without damaging your walls.
INSTALLATION INSTRUCTIONS:
Preparing your wall before Installing your mural
Make sure that your wall already painted for at least 30 days
The surface must be clean and smooth. If you feel rough when you rub your hand on the wall, use a sheet of sandpaper to smooth it slightly (medium-end or fine (120 to 150)).
Never install a wallpaper mural on a latex primer!
New wall
Option 1: Apply a coat of latex primer followed by a layer of semi-gloss latex. It will be necessary to wait a minimum of 21 days for drying.
Option 2: Apply a coat of latex primer followed by a coat of oil primer (avoid odorless primers). Allow 3 days of drying.
Option 3 : If you are in a hurry, apply a coat of Zinsser BIN Lacquer Sealer and allow one hour of drying time.
• Our wall murals can easily be installed on glass or on a mirror. Thoroughly clean the glass or mirror before installing your wall mural. They also can be installed on melamine, pre-finished or ceramic if you apply 2 coats of oil primer or a coat of Zinsser BIN Sealant.
• Installing your wall mural on a dark wall can affect the final result. Your mural will look darker, especially if it’s a pale one. It may be more prudent to apply a coat of Zinsser BIN sealer.
• Zinsser’s BIN sealant is available in all good hardware stores.
INSTALLATION :
1. The Rolls are numbered. You can hang the mural from left to right or right to left (to hide the seams). For instance, as you walk in a room, if you install the mural on the left wall, you should hang it from right to left. For the right wall, you should hang from left to right. If there is a window that will be close to the mural on the adjacent wall, start at the side farthest from the window. Seams will be less visible that way. * IMPORTANT: The panels are designed to be overlapped by 1/4".
2. Measure the length of the wall and compare it to the length of your mural. For instance, if the mural is 4" larger than the wall, you may decide to trim 2" from the first panel and 2" from the last panel. In this case, draw a vertical line with a pencil at 15 3/4" from the beginning of the wall using a level (each panel is 17 3/4", so 17 3/4" - 2" = 15 3/4"). If the mural is shorter than the wall, say by 4", then 2" should be left at the beginning and at the end of the wall. Then draw a vertical line at 19 3/4" (17 3/4" for the panel + 2") from the beginning on the wall. You will use this line to locate the side of the first panel that you hang.
* Tip: You can install vertical moldings on each side to frame the mural.
3. Measure the height of the wall and compare it with the height of your mural. For instance, if you have an excess of 4", leave 2" at the top and 2" at the bottom for trimming. If the excess is larger, you can wish to cut more at the top or at the bottom but make sure you leave a minimum of 1" in case the floor or ceiling are not perfectly levelled. If the height of the mural is less than the height to cover, cut the white part at each end before hanging the panel.
4. Place the tray filled with lukewarm water against the wall. Roll the first panel starting at the bottom with the print inside. Submerge in water tray for 15 seconds. Then, very slowly, pull the panel out of water, making sure the prepasted side is completely wet. Hang it against the line you drew earlier. Use your hands to position your mural starting from the center. Run your hand over the seams without pressure in a vertical back-and-forth motion. For the first 2 minutes, you can move the whole strip with your hands flat on the strip. Do not hesitate to remove the panel and reposition it if you have difficulty aligning it.
5. Gently Smooth outwards from the center of the panels to the sides, removing air bubbles (with the sponge smoother). Avoid smoothing with too much pressure that could move the glue on the back. If small air bubbles develop after smoothing them out, do not worry, they will disappear after a few hours. Trim top and bottom as required with an exacto knife, changing blades frequently to avoid tearing the paper. Use a metal spatula as a cutting guide. At the top, cut with the exacto knife over the guide. At the bottom, cut with the exacto knife under the guide. For the vertical trimming, use the corner of the wall and the metal spatula as a guide to cut the excess on the adjacent wall.
6. Repeat this procedure for remaining panels. After hanging each strip, make sure your panel is level. Remember that the panels are designed to be overlapped by 1/4". The last 1/4" of a panel is identical to the first 1/4" of the next panel. Match the design in the middle of the panel, then do the top and the bottom. After hanging a panel, come back to the previous one and run a clean damp cloth over the seams (without pressure) to remove excess glue.
7. Charcoal or wax crayon For dark murals or the ones with dark sections, it is possible that a small white line will be visible at the seams. In this case, we provide a charcoal and/or wax crayon to hide this line. If you hang the mural from left to right, rub gently the left edge with the stick (on dark areas only) before soaking the strip in the water. Do the right side (on dark areas only) if you hang from right to left. The goal is not to create a black line but to hide the white line. Check your first 2 panels to assess the effect and adjust your technique if necessary.
-
Ships out within 1–2 business days
-
Returns & exchanges accepted within 30 days
Buyers are responsible for return shipping costs. If the item is not returned in its original condition, the buyer is responsible for any loss in value.
-
Ships from: Canada
Sorry, this item doesn’t ship to United States. Contact the shop to find out about available shipping options.
There was a problem calculating your shipping. Please try again.
Etsy Purchase Protection
Shop confidently on Etsy knowing if something goes wrong with an order, we've got your back for all eligible purchases —
see program terms

Be the first to review this item

More from this shop
Visit shop-
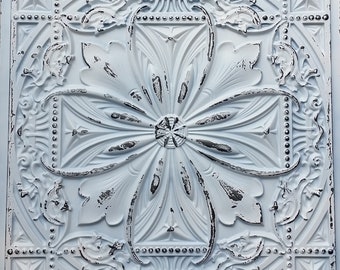
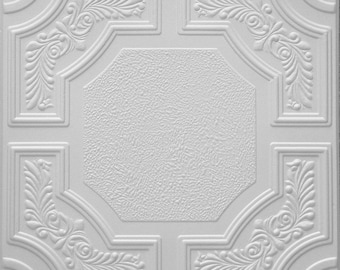
Rustic Farmhouse Faux Tin Ceiling Tiles in old black white for dropped ceiling. Glue up / Drop In (2x2 grid). Pack of 10 Decorative tiles
$180.58
-
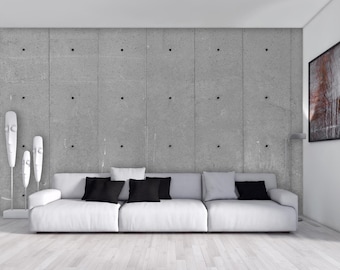
Removable Wallpaper - Bare Concrete Photo Mural 3D effect Wall Art Print Accent Wall Décor. Something Concrete Prepasted Wall Mural #MU1415
$5.27
-
Styrofoam Ceiling Tiles to cover popcorn ceiling. Decorative polystyrene tiles for Easy DIY installation - Glue up over stucco. Model #RM80
$74.49
-
Styrofoam Ceiling Tiles to cover popcorn ceiling. Easy DIY installation - Glue up over popcorn. Box of 16 white Polystyrene Decorative tiles
$75.24
-
Old castle removable wallpaper Ancient castle gothic Castle interior Peel Stick Stone wall decor Gothic arch wall decor self adhesive
Sale Price $22.48
Original Price $26.45
-
Ancient Castle Wall Mural Gothic Stone Arch Wallpaper - Medieval Castle Wall Art - Large Self-Adhesive Wallpaper - Vintage Stone Wall Decor
Sale Price $22.48
Original Price $26.45
-

Old Castle Wallpaper Mural Luxury royal interior wallpaper Self Adhesive Peel & Stick Mural Medieval Architecture Wall of ancient castle
Sale Price $22.48
Original Price $26.45
-
Corridor Ancient Castle wallpaper Stone arch print wall Gothic castle wallpapers Self-adhesive Large Wallpaper Stone wall mural art decor
Sale Price $22.48
Original Price $26.45
-
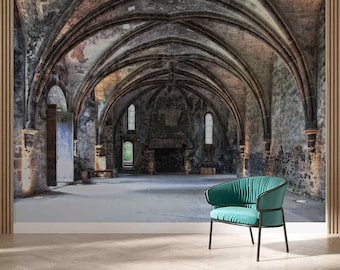
Old Castle Interior Wallpaper Peel & Stick or Non Woven Antique Stone Wall Mural Historical Great Hall Art Decor Architecture Arch
Sale Price $15.64
Original Price $18.40
-
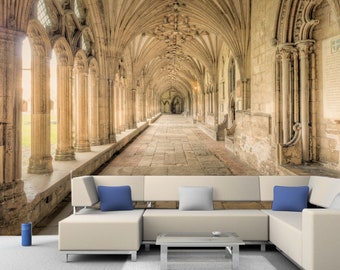
Full wall murals hall of ancient gothic castle Colorful photo of old castle interior Fine art photo wallpapers of gothic castle corridor
Sale Price $22.48
Original Price $26.45
-
Gothic Castle Corridor Wall Mural: Peel and Stick, Non-Woven
Sale Price $23.60
Original Price $40.00
-
Ancient Castle Interior Mural: Peel and Stick Wallpaper
Sale Price $23.60
Original Price $40.00
-
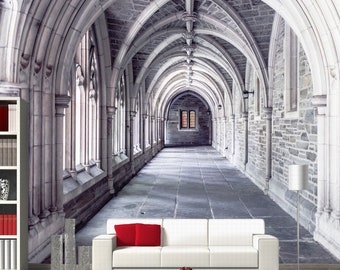
Architectural Gothic Wallpaper Peel-and-Stick, Antique Accent Wall Mural, Medieval Castle Interior
Sale Price $23.60
Original Price $40.00
-
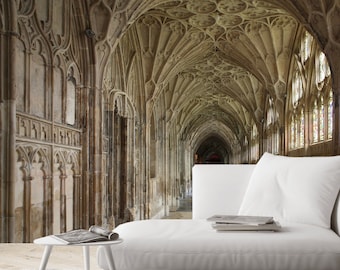
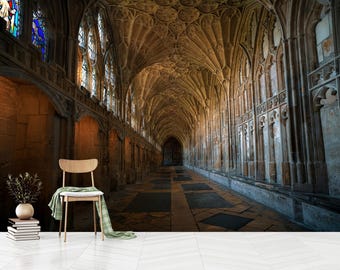
Old Castle interior Gloucester Cathedral Wall mural Wallpaper Nursery wall decor Gloucester Cathedral England Full wall for wall hanging
Sale Price $22.48
Original Price $26.45
-
Vaulted corridor removable wallpaper Castle interior wall mural Gothic castle Self-adhesive Large Wallpaper Stone wall mural art decor
Sale Price $22.48
Original Price $26.45
-
Castle Cathedral Mural Wallpaper: Peel and Stick Non-Woven Wall Art
Sale Price $23.60
Original Price $40.00


