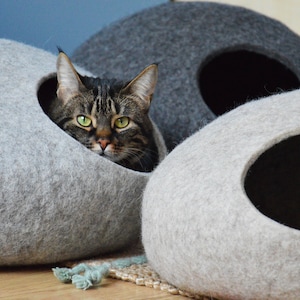
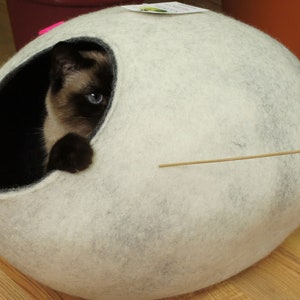
**** PLEASE READ: THIS IS A DOWNLOADABLE PATTERN, CAT BED IS NOT FOR SALE IN THIS LISTING ****
Make your own felted cat cave / cat bed with this pattern. Done using the wet felting technique. Instant PDF download after purchase.
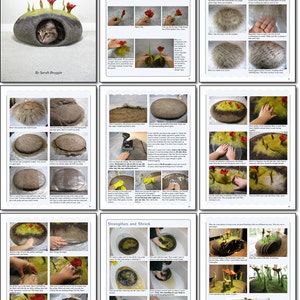
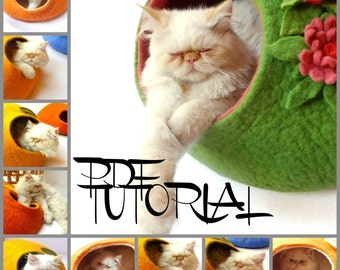
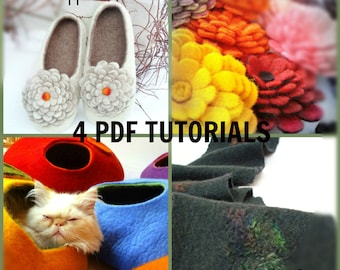
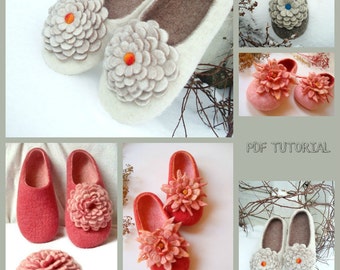
This listing is for a TUTORIAL ONLY, which is a 47-page PDF file you can download after purchase. CAT CAVE NOT INCLUDED.
FAQ:
Q: Do you sell them already made?
A: If I have any to sell they are $300+shipping. If I don't have any, I do not make them to order. Please inquire about stock. I don't sell these on Etsy usually but will make a custom listing if you are interested.
Q: How much wool do I need?
A: More info in tutorial, but here is a brief summary:
main color (corriedale, perendale, crossbreed, BFL and others OK -- not merino): 900g (32oz) medium brown
decorative elements (any wool): 50g (1.7oz) dark brown, 100g (3.5 oz) green, 50g (1.7oz) red
Q: Where can I buy wool?
A: Etsy.com and birkelandwool.com are my favorite places to buy it. Check your local yarn stores to see if they sell roving or batting. Always compare prices by weight, prices vary wildly from different sellers.
Q: How much will it cost to buy the materials?
A: ~$16-45 per 454g (16 oz/1 lb) is a normal price in my opinion, depending on source and type of wool. Expect $40-$80 worth of wool for one cat cave. You can think of it like a quilt or knitting a sweater, the materials seem expensive at first but the result is priceless.
Q: How long does it take to make one?
A: 10-15 hours for the average felter. I would budget 20 hours for a beginner. You can stop at certain steps (described in the tutorial) and wait days before starting again if necessary. I made the one featured in the tutorial over the course of 2 months, stopping many times.
Q: I'm a beginner. Is it too hard for me?
A: I suggest making a couple of smaller things using wet felting techniques before attempting this. There are free tutorials out there for simpler projects. Especially I would try making a bowl. Google "rosiepink free tutorial" and she has some free tutorials (not as detailed as my bowl tutorial but may be enough for you). If that doesn't work for you, you should purchase and try making a bowl with my bowl tutorial first. The cat cave project is a large time and money investment for a beginner, so I would practice on smaller projects first.
MORE INFO:
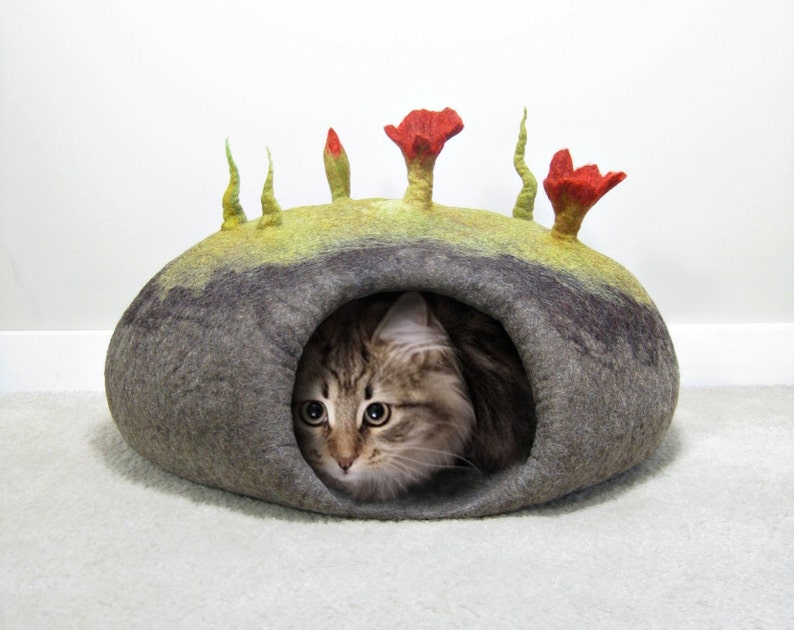
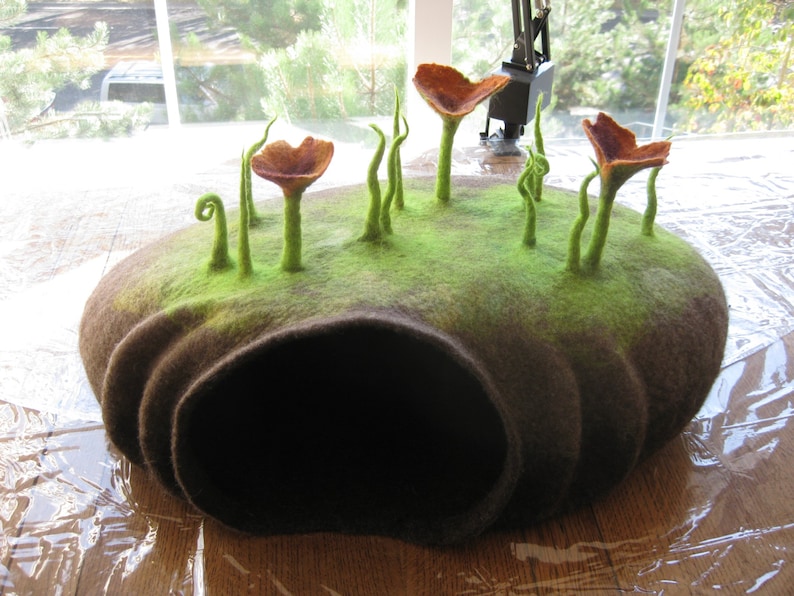
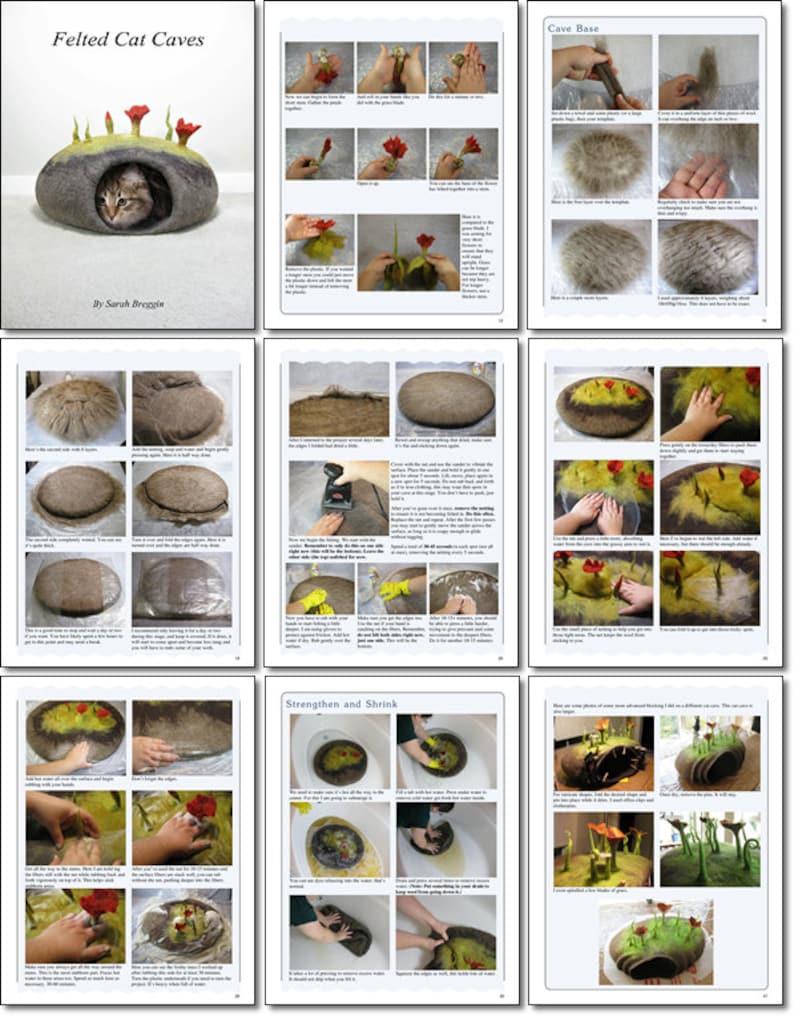
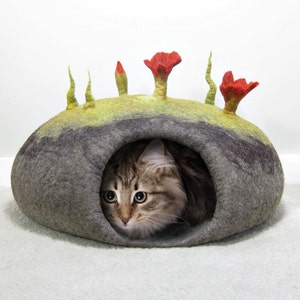
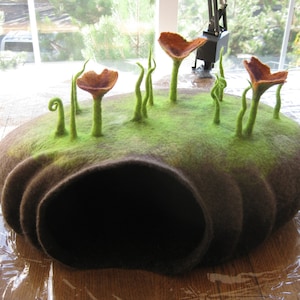
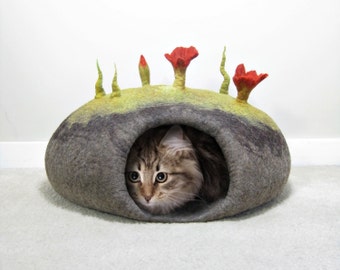
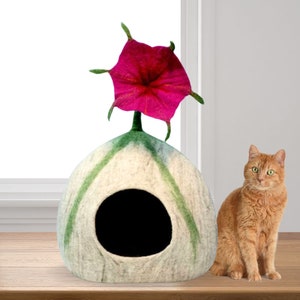
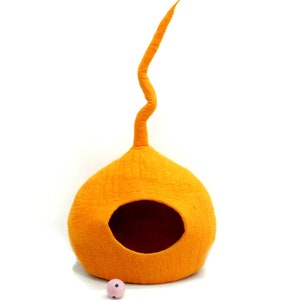
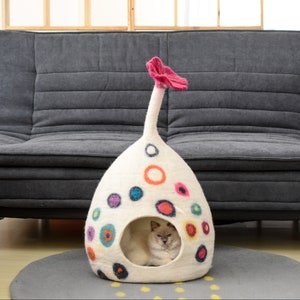
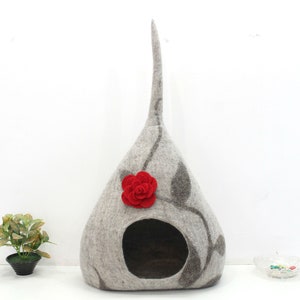
This tutorial takes you step by step through felting a cat cave, including flowers, grass, flower buds, and advanced blocking.
These cat caves are made directly from unspun, carded wool using the wet felting process. There is no knitting involved.
This project is for the felter who wants to take on a large, multi-day project. Not recommended for beginners. If you have never done resist felting before and want an introduction on a smaller scale, I would recommend my Felted Bowls tutorial first.
If you would like to purchase more than one tutorial, consider purchasing them in bulk with a 25% discount: https://www.etsy.com/ca/listing/125153680/buy-all-of-my-tutorials-for-a-25
This tutorial took countless hours to write, photograph, and edit. It contains copyrighted material and may not be duplicated without consent of the author.
You may sell your cat caves! Just do not share or sell my instructions or use any of my photos. Thank you.
Instructions are separated into 8 Sections
-Grass Blades
-Flowers
-Flower Buds
-Cave Base
-Adding Flowers and Grass
-Strengthen and Shrink
-Cave Entrance
-Harden and Shape
PDF file is 7.7 MB
Contains over 275 photos
47 pages
Felting your first cat cave will take between 10-15 hours (I would suggest working in 2-4 hour bursts, you can wait several hours, days or longer in between steps). There is detailed information about how to keep it wet (or when not to keep it wet) in the instructions, to help you decide when is a good stopping point.
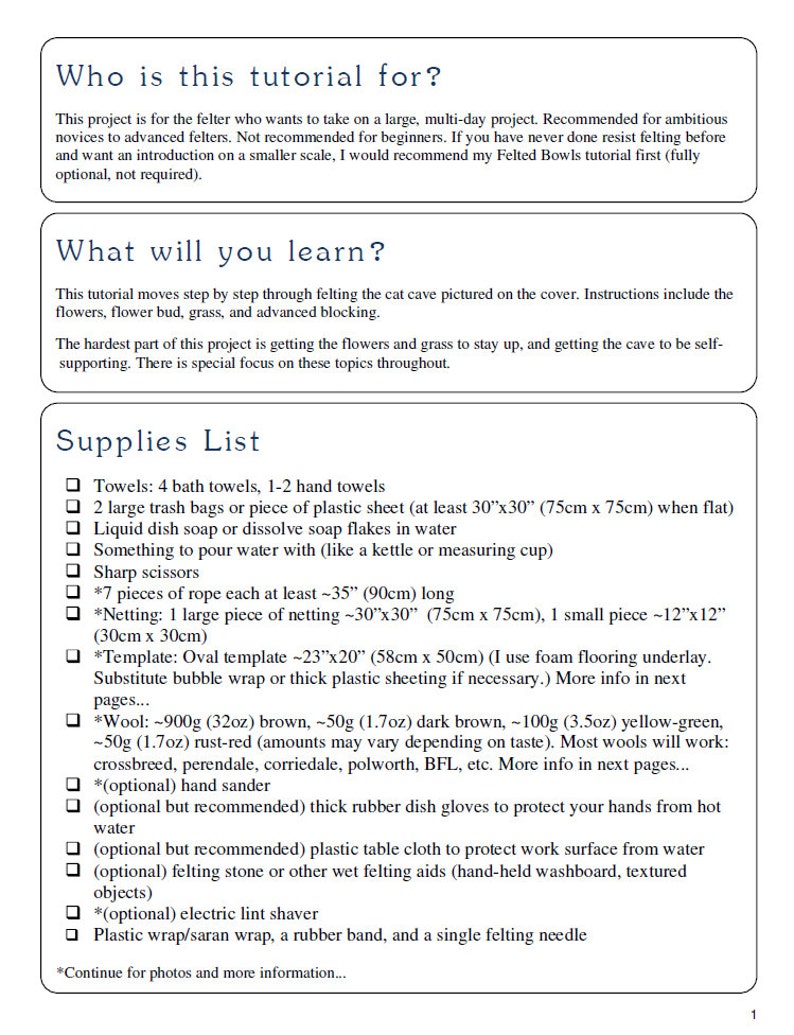
The wool you will need (NOT INCLUDED):
~900g (32oz) brown,
~50g (1.7oz) dark brown,
~100g (3.5oz) yellow-green,
~50g (1.7oz) rust-red
Amounts are approximate and may vary according to taste (artistic design and desired thickness).
Other supplies you will need are shown in photo #4, which is a page from the tutorial.
HOW TO CLEAN YOUR FINISHED CAT CAVE:
Felt attracts cat hair the same way carpet does. However, unless you use white or black felt, it’s generally disguised and blends in. Always hand wash and air dry on a towel. Never put it in a washing machine or dryer (this can damage it and/or irreparably change its shape).
Light cleaning: Use a vacuum to remove debris and hair.
Stuck-on dirt: Spot-clean by taking a damp wash cloth (warm water) and rub over the surface the same way you would clean a carpet. You can use small amounts of soap. Rinse clean with a clean damp washcloth.
Extreme mess: Say the cat decides to pee for example, and the mess is absorbed by the felt. To clean, submerge the affected area in warm water and squeeze under water to remove the mess. You can use soap. Ensure all soap is rinsed out before drying. Do the final rinse with super cold water to help re-harden the area.
In all cases after cleaning, reshape (important) and let dry on a towel. You can use any kind of soap (liquid hand soap, laundry soap, or a bar of soap for example).
These cat caves are very firmly felted and dense, which means they can endure rubbing and warm water without changing shape. Hand cleaning will not damage the item. Washing machines can and will damage the item. Avoid extremely hot water, always use warm water.