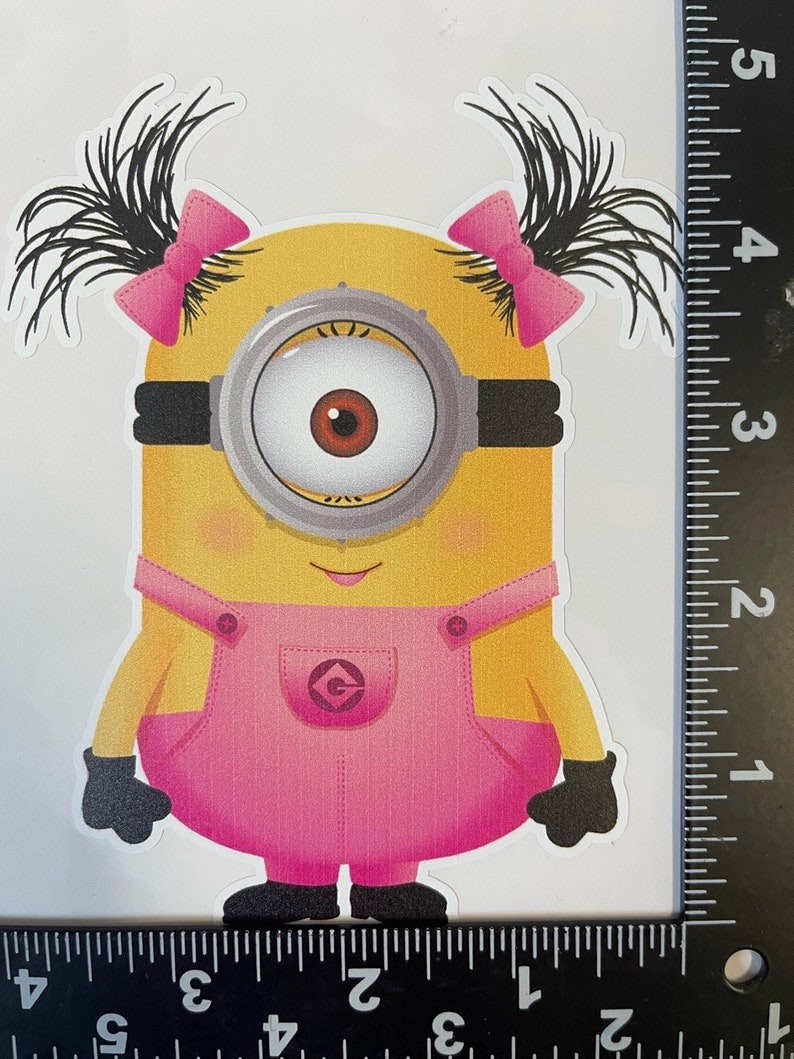
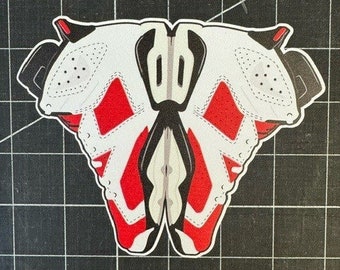
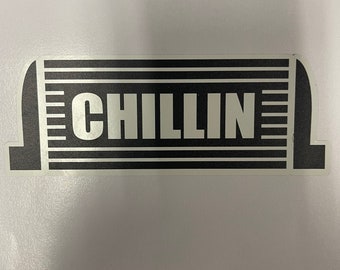
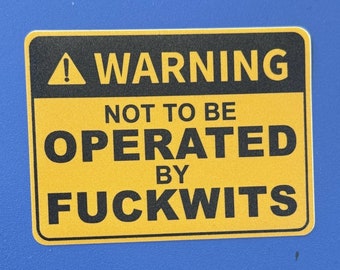
Sticker Size Measurements Are in the Picture
FREE SHIPPING.. IN USA AND CANADA
Applying Sticker Procedure
1- Clean, Dry Surface: Begin by selecting a clean, dry surface for sticker application. Remove any dirt, dust, or debris that could affect adhesion. Use a mild detergent and water solution to clean the surface if needed, and allow it to dry completely.
2- Smooth, Flat Surface: Choose a smooth, flat surface for optimal adhesion. Avoid textured or uneven surfaces, as they may compromise the sticker's ability to adhere securely.
3- Protected Area: Look for a location that offers some protection from direct exposure to harsh weather conditions such as rain, snow, and sunlight. Areas under overhangs, covered porches, or sheltered from the elements by other structures are ideal.
4- Non-Porous Material: Opt for a non-porous material such as glass, metal, or plastic, as these surfaces provide better adhesion for stickers with transfer tape compared to porous materials like paper.
5- Visible Location: Choose a visible location where the sticker's message or design can be easily seen. Eye-level positions or areas that receive high foot traffic are ideal for maximum visibility and impact.
6- Transfer Tape Preparation: Carefully peel off the backing paper from the sticker, exposing the adhesive side. Take care not to touch the adhesive with your fingers to avoid contamination.
7- Alignment: Position the sticker with transfer tape onto the desired location, taking care to align it correctly. Use a ruler or measuring tape to ensure precise placement if needed.
8- Application: Once aligned, firmly press down on the transfer tape with your fingers or a squeegee, starting from the center and working your way outwards. This ensures proper adhesion of the sticker to the surface.
9- Peel Off Transfer Tape: Slowly peel off the transfer tape at a sharp angle, making sure the sticker adheres to the surface as you remove the tape. Take your time to prevent any part of the sticker from lifting or tearing.
10- Final Check: After removing the transfer tape, inspect the sticker for any air bubbles or areas that may need additional pressure. Smooth out any imperfections with your fingers or a squeegee to ensure a seamless finish.
By following these steps, you can effectively install a weatherproof sticker with transfer tape in a suitable location where it will remain visible and secure, even in challenging weather conditions.Here's a list of some of the best places to apply the sticker:
Car Windows: Apply the decal to the rear windshield or side windows of your car.
Vehicle Bumper: Place the decal on the bumper of your car or truck.
Laptop or Computer: Decorate your laptop or computer case with the decal.
Water Bottle or Tumbler: Add the decal to your reusable water bottle or tumbler.
Skateboard or Snowboard: Personalize your skateboard or snowboard with the decal.
Notebook or Planner: Stick the decal onto the cover of your notebook or planner.
Guitar Case: Customize your guitar case with the decal.
Toolbox: Adorn your toolbox with the decal to add some personality.
Cell Phone Case: Decorate your cell phone case with the decal.
Helmet: Apply the decal to your bike helmet, motorcycle helmet, or sports helmet.
Skate Helmet: Customize your skateboarding or rollerblading helmet with the decal.
Mailbox: Add some flair to your mailbox with the decal.
Window or Mirror: Stick the decal onto a window or mirror for a fun decoration.
Watercraft: Personalize your kayak, canoe, or paddleboard with the decal.
Toolbox: Adorn your toolbox with the decal to add some personality.
Coffee Mug or Travel Mug: Apply the decal to your favorite coffee mug or travel mug.
Storage Bins or Boxes: Decorate storage bins or boxes with the decal for organizational flair.
School Locker: Customize your school locker with the decal.
Gaming Console: Stick the decal onto your gaming console for a unique touch.
Fridge or Appliance: Add the decal to your refrigerator or other household appliances for a fun decoration.