


Only 6 left and in 15 carts
Price: $59.00+
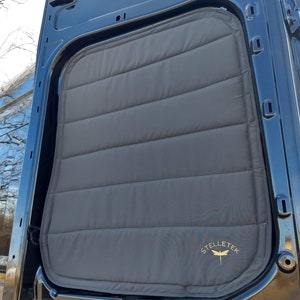
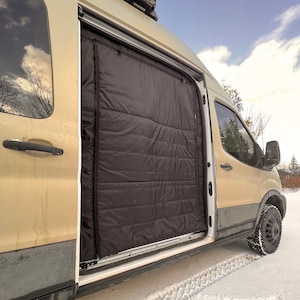
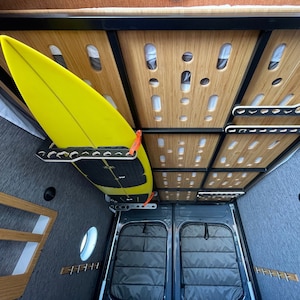
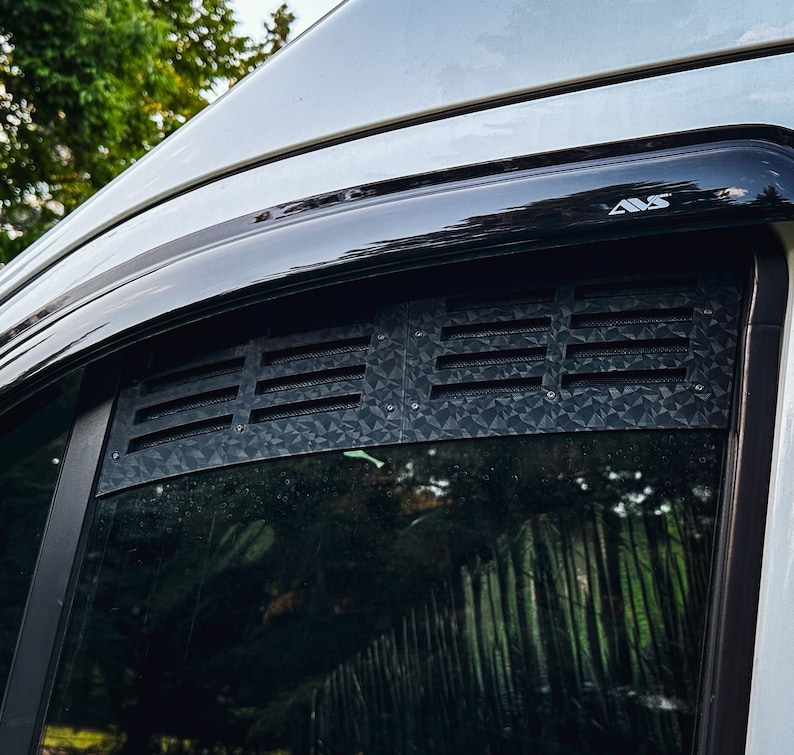
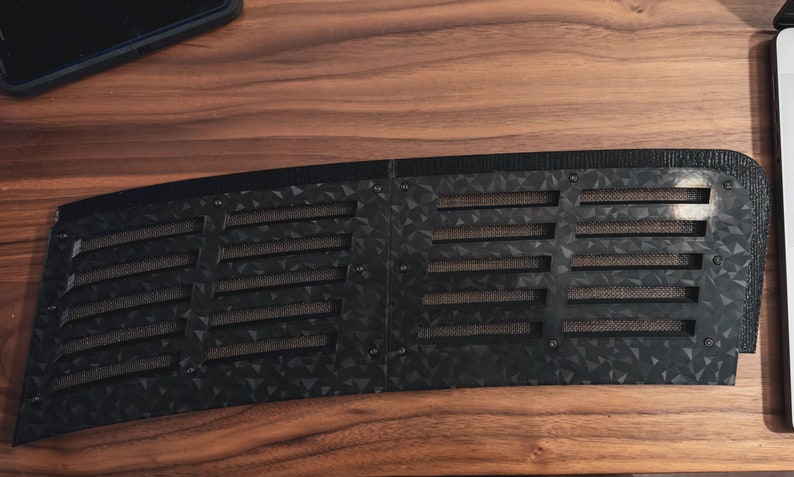
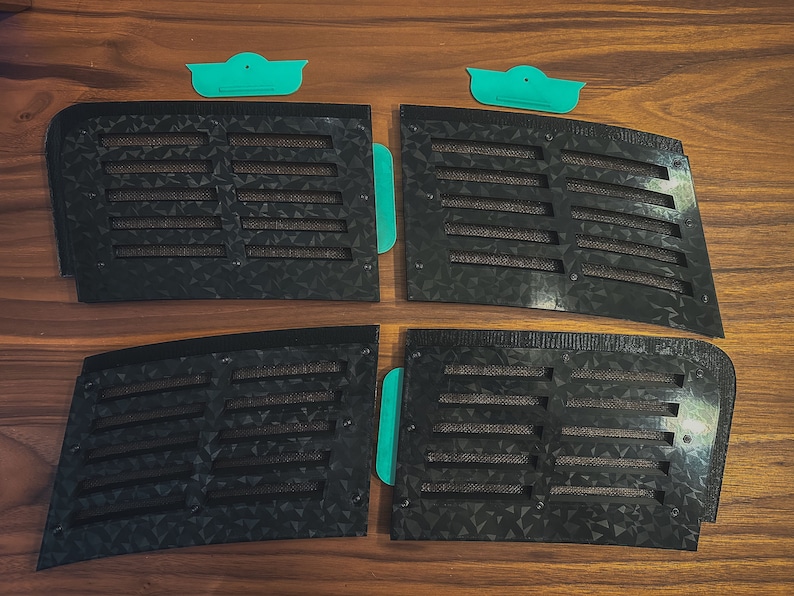
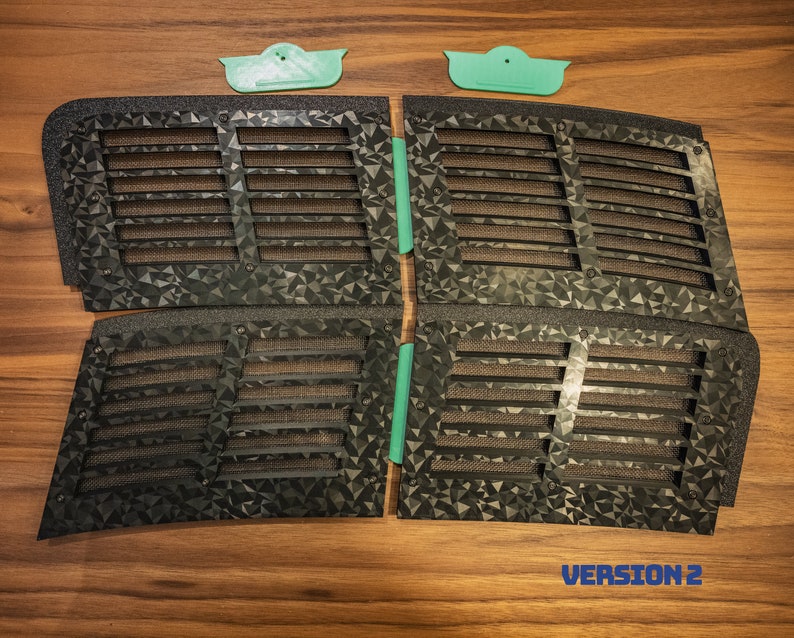
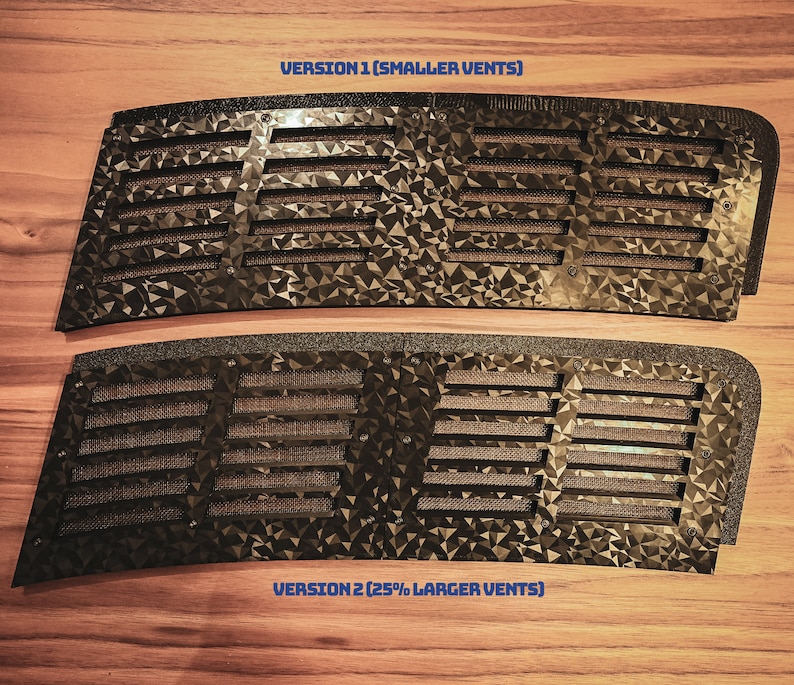
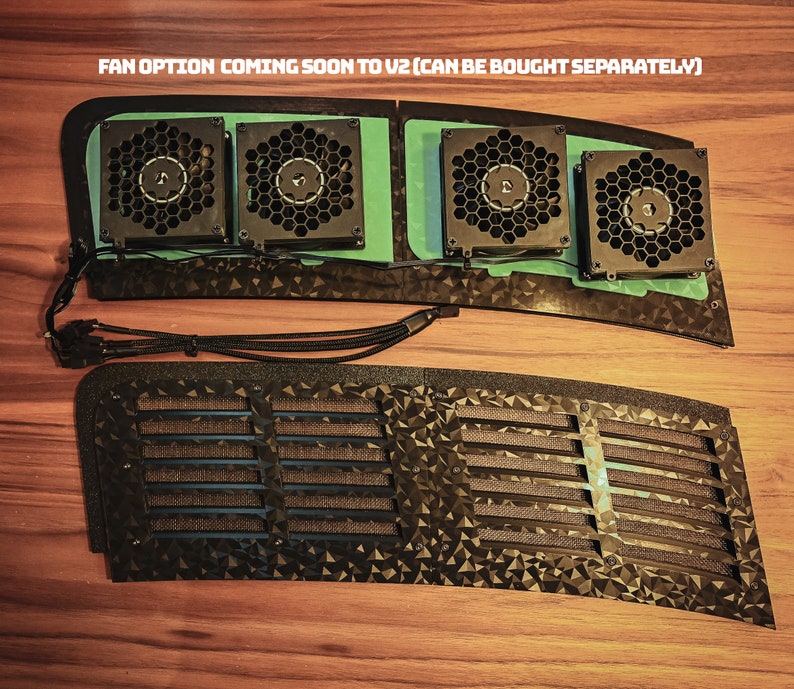
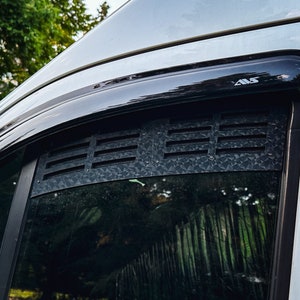
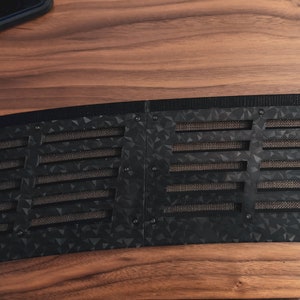
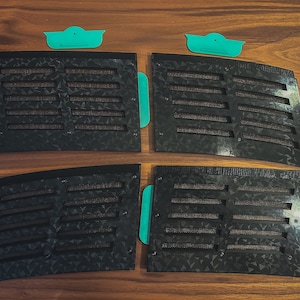
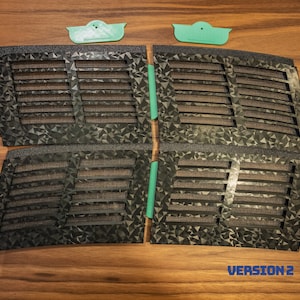
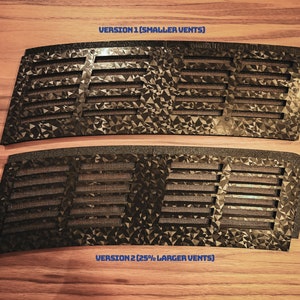
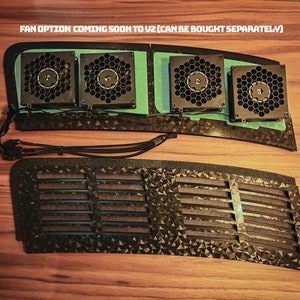
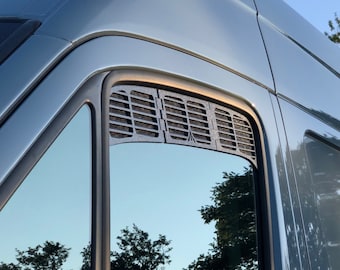
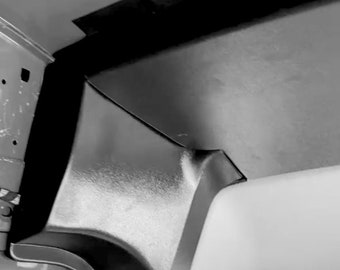
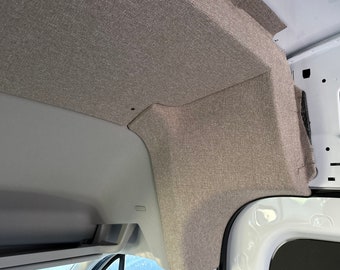
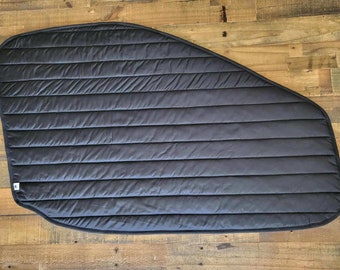
Ford Transit Window Vents
Your order should arrive by this date if you buy today. To calculate an estimated delivery date you can count on, we look at things like the carrier's latest transit times, the seller's processing time and shipping history, and where the order is shipping to and from.
Returns & exchanges accepted
You can only make an offer when buying a single item
-
Order today to get by Apr 30-May 4
Your order should arrive by this date if you buy today. To calculate an estimated delivery date you can count on, we look at things like the carrier's latest transit times, the seller's processing time and shipping history, and where the order is shipping to and from.
-
Returns & exchanges accepted within 30 days
Buyers are responsible for return shipping costs. If the item is not returned in its original condition, the buyer is responsible for any loss in value.
-
Cost to ship: $8.82
There was a problem calculating your shipping. Please try again.
Etsy Purchase Protection: Shop confidently on Etsy knowing if something goes wrong with an order, we've got your back for all eligible purchases — see program terms

29 reviews
5 out of 5 starsNot sure how long the material will last in Florida but they fit perfectly and are good for now!
janapolitano Apr 27, 2024
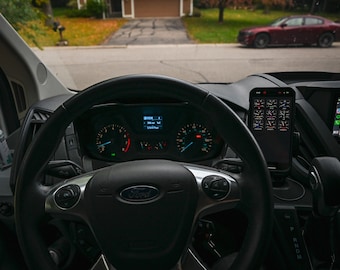
Looks great and works great, can even leave them in while driving/semi permanently
Mick Saxton Apr 22, 2024
Great product! I look forward to the fans becoming available.

Greg Clark Apr 18, 2024
Photos from reviews
More from this shop
Disclaimer: Etsy assumes no responsibility for the accuracy, labeling, or content of sellers' listings and products. Electrical or electronic products may pose a risk of fire or electrocution. Vintage, handmade, refurbished, or modified electrical or electronic products may not meet current safety standards and may not be in safe working order. Inspect carefully before use and message the seller if you have concerns relating to the product. Do not use a vintage electrical or electronic item if its safety cannot be verified. To reduce the risk of fire, never leave vintage electrical or electronic products plugged in unattended. See Etsy's Terms of Use for more information.