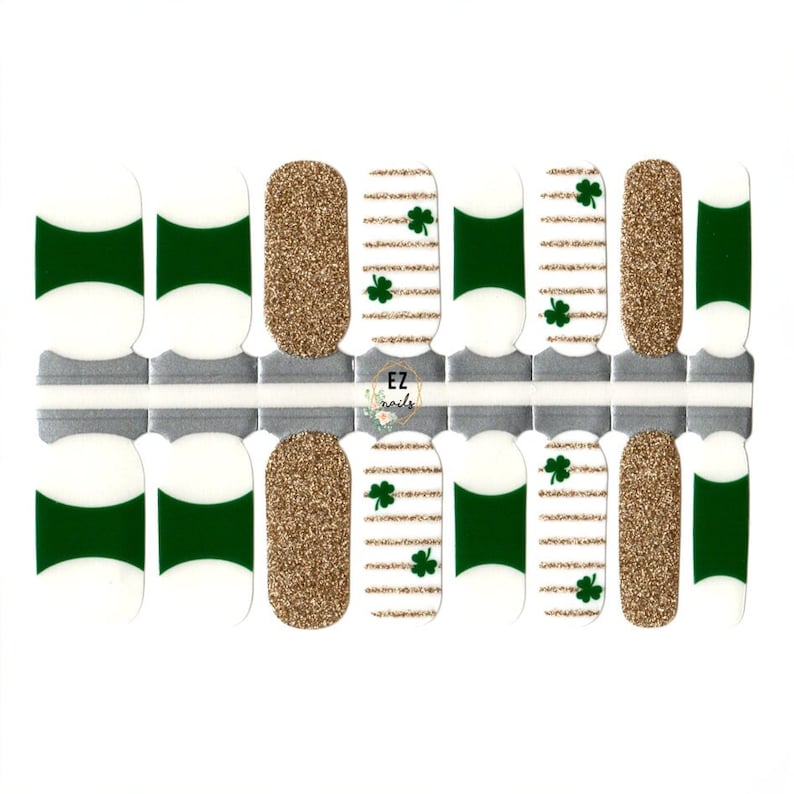
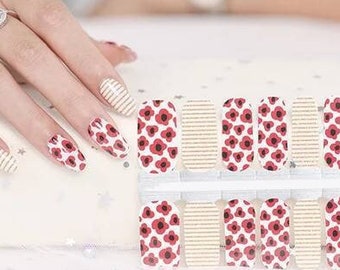
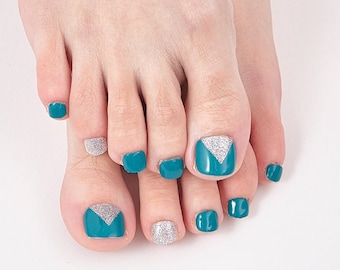
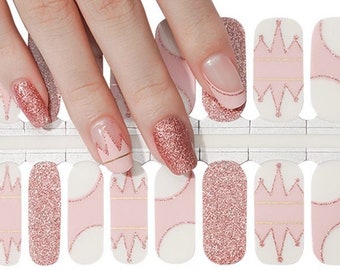
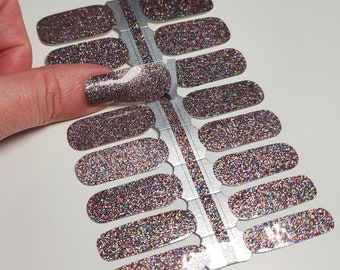
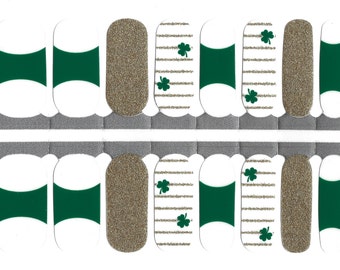
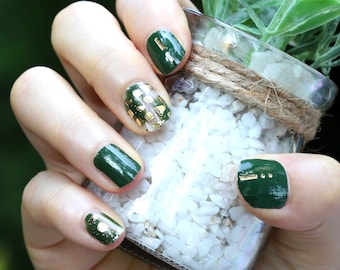
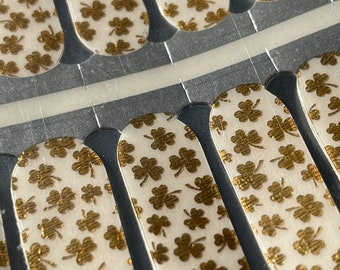
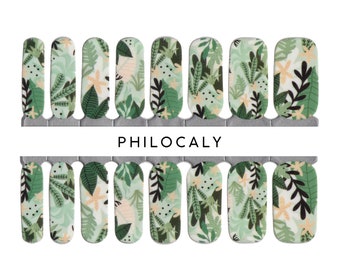
Our trendy and beautiful nail wraps are made for your quick and pretty manicure at home! They can be used on top of press-on nails, acrylic or gel, and on top of your natural nails! They will make a great party favor, gift, fun DIY activity, and are just a great way to get your nails looking great!
• they are toxic-free (meaning that they are safe for kids as well). Free of formaldehyde, toluene, dibutyl phthalate, formaldehyde resin, camphor, ethyl tosylamide, xylene.
• they are self-adhesive
• they can be easily removed
• they do not damage nail plates
• they do not require drying time and they do not smudge
• they last up to 10-14 days (it is recommended to use a topcoat)
• they are very affordable
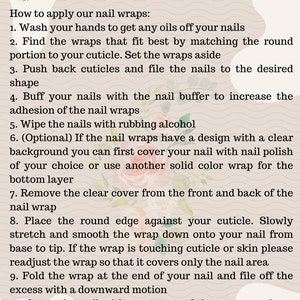
How to apply:
1. Wash your hands to get any oils off your nails
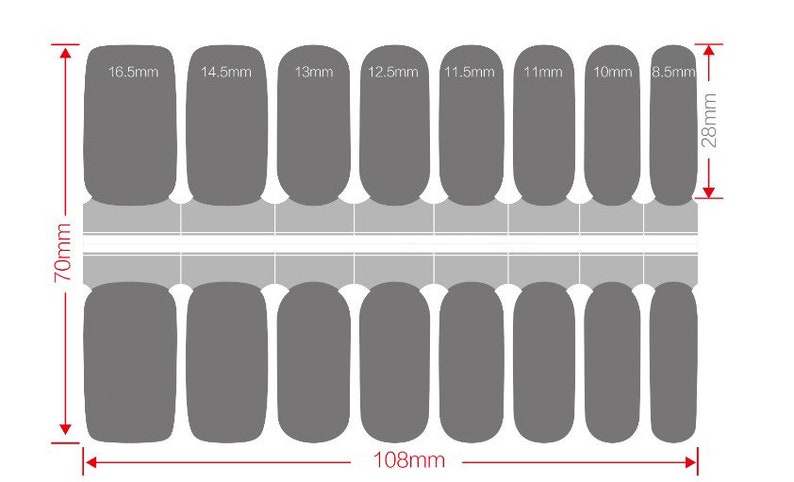
2. Find the wraps that fit best by matching the round portion to your cuticle. Set the wraps aside
3. Push back cuticles and file the nails to the desired shape
4. Buff your nails with the nail buffer to increase the adhesion of the nail wraps
5. Wipe the nails with rubbing alcohol
6. Remove the clear cover from the front and back of the nail wrap
7. Place the round edge against your cuticle. Slowly stretch and smooth the wrap down onto your nail from base to tip. If the wrap is touching cuticle or skin please readjust the wrap so that it covers only the nail area
8. Fold the wrap at the end of your nail and file off the excess with a downward motion
9. Cover the nail with a top coat of your choice. Gel systems and no-wipe gel top coats often help the wraps last 2-3 weeks or longer
Important tips for nail wraps application:
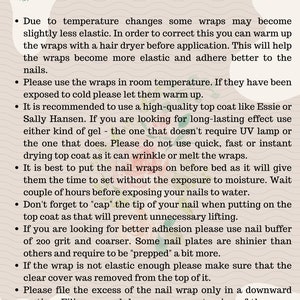
Due to temperature changes some wraps may become slightly less elastic. In order to correct this you can warm up the wraps with a hair dryer before application. This will help the wraps become more elastic and adhere better to the nails.
It is best to put the nail wraps on before bed as it will give them the time to set without exposure to moisture.
Wait a couple of hours before exposing your nails to water.
Please use the wraps in room temperature. If they have been exposed to cold please let them warm up.
Please use top coat as a final step during applying the nail wraps.
Don't forget to "cap" the tip of your nail when putting on the top coat as that will prevent unnecessary lifting.
If you are looking for better adhesion please use nail buffer of 200 grit and coarser or even a nail file. Some nail plates are shinier than others and require to be "prepped" a bit more.
If the wrap is not elastic enough please make sure that the clear cover was removed from the top of it.
Please file the excess of the nail wrap only in a downward motion. Filing up and down can cause tearing of the wrap instead of "cutting" it.
It is recommended to use a high-quality top coat like Essie or Sally Hansen. It is recommended not to use fast drying top coat as it can wrinkle the wraps. If you are looking for long-lasting effect use either kind of gel - the one that doesn't require UV lamp or the one that does.
Please ensure that nail wraps are used immediately after opening the package as they are made from nail polish and they can dry out with time. To keep them fresh please reseal the opened end of the vacuum bag with the hair straightener or mini heat sealer.
If the wrap or a decal doesn't properly fit we recommend trimming the bigger wrap to the size of the nail before using it.
It is always better to use smaller wrap than a bigger one as it is important for the wrap not to touch skin or cuticle.
Here are two options for how you can remove the nail wraps without damaging your nails:
1. Remove with the nail polish remover
Place a small piece of cotton pad soaked in nail polish remover on each nail. Any nail polish remover will work!
Wait 3-4 min, then slide off the cotton pad from the cuticle towards the tip of your nail. If the wrap sticks to your nail still, gently push it off with a cuticle pusher or a wooden manicure stick.
2. Coconut oil OR lemon juice with warm water
Prepare a small bowl with warm water, add coconut oil or lemon juice (or both), and soak your nails in the mixture. After a few minutes, break the seal between the wrap and the nail by gently lifting the wrap from a side with a cuticle pusher or a manicure wooden stick. The wrap should come off without sticking to the nail. If there is any sticky residue left over please wash your hands with warm water and soap.
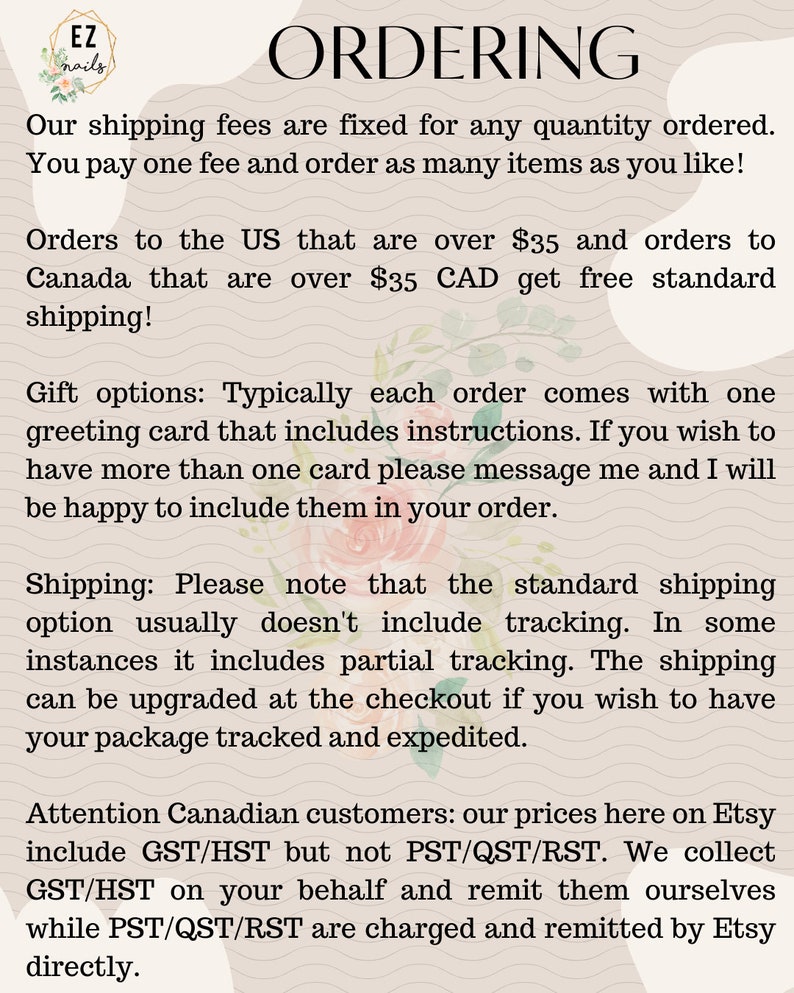
Gift options: Typically each order comes with one greeting card that includes instructions. If you wish to have more than one card please message me and I will be happy to include them in your order.
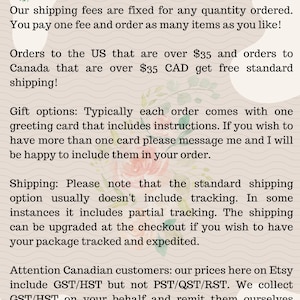
Shipping: Please note that the standard shipping option doesn't include tracking. The shipping can be upgraded at the checkout if you wish to have your package tracked.
Our shipping fee is fixed (one fee) for any quantity ordered. It is not per item. shopupz inactive