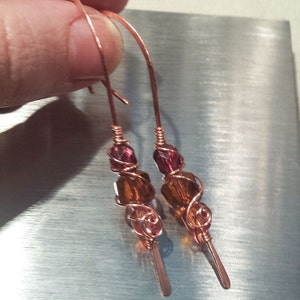
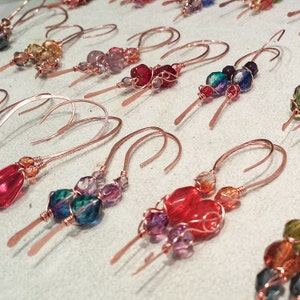
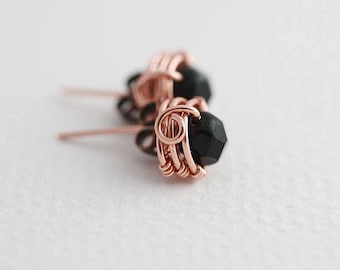
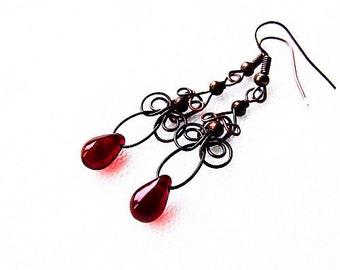
A simple, elegant project that focuses on colour and copper, using basic techniques to complete a lovely pair of earrings to match any outfit.
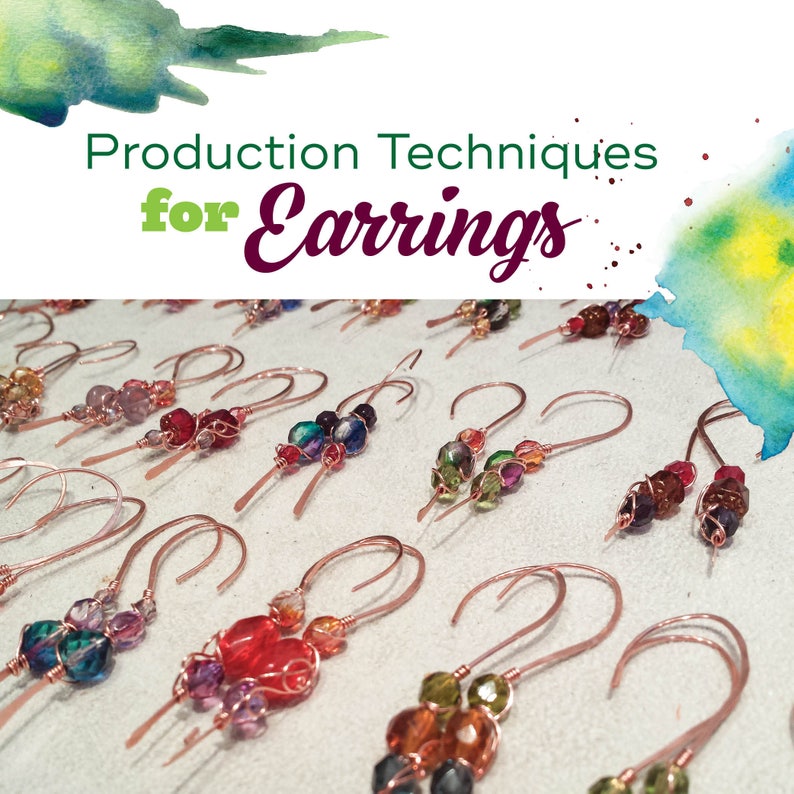
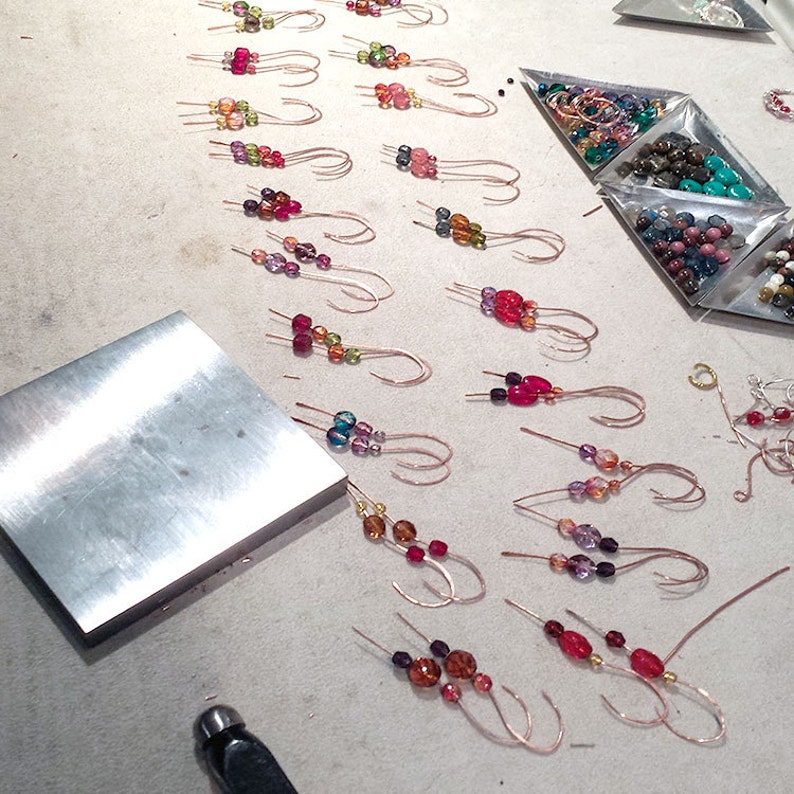
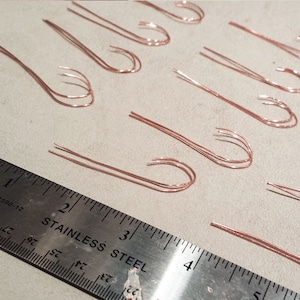
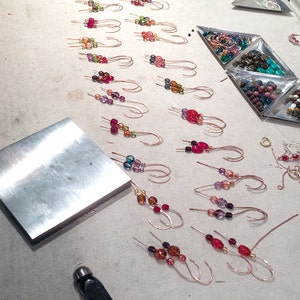
But more than that, we’ll cover many tips and tricks for working in large production batches - changing your mindset so that you can quickly and efficiently build orders of similar but different pieces. I almost always work in batches of several dozen pieces at a time, and all of my tips and tricks are in here for you!
Working in large batches is super useful for filling orders, and it will help you make more money if you can work faster.
Following the the accompanying close-up, sharp photos and diagrams, you’ll be admiring your new earrings in no time.
****NOTE: This is a Set of Instructions ONLY - the materials and finished product are NOT included in this listing****
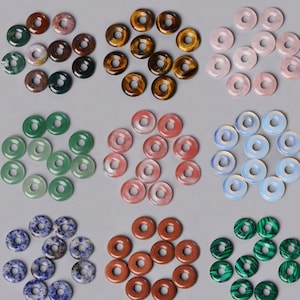
This fabulous little pair of earrings is colourful, light, and catches the light gorgeously.
By changing the colourway, size, and number of beads, you can create many fetching pairs of earrings that will be great for sale, for gifts, or to match that perfect outfit!
22+ crisp, close-up photographs in two dozen steps capture the process for making these irresistible little gems.
I write my tutorials for the absolute beginner. Here in addition to the design itself, I talk about creating symmetry with earring designs and how to properly open and close purchased ear-wires.
To complete this tutorial you should have basic knowledge of wire tools.
****List of Tools and Materials****
2x4” 20ga solid copper wire per pair
2x12” 22ga solid copper wire per pair
Wubbers Jumbo Oval Mandrel Pliers
Hammer & Anvil
Metal file
Flush Cutters
6-10 Firepolished glass beads per pair
MY EXPERIENCE
Jewellery Tutorials are a perfect fit for me, which means my tutorials are perfect for you. Here's why:
* I'm a self-taught wire artist, since 1998, so I know what it's like to struggle with a new technique or to work without special tools, and you'll find workarounds in my tutorials. You'll also find many of my techniques are different from the usual since nobody was teaching when I was learning and I had to invent something new every time I was solving a problem!
* My day job is to write course curriculum for online, adult learners, and I'm good at it. So you'll find my tutorials have clear, concise, accurate instructions with photos for every step - even partial steps. I know how to teach you no matter how you learn best! Plus, I make jewellery to sell - and I sell a lot of it - so many of my techniques are designed to efficiently put into production, leading to tutorial stages which you can easily follow.
* I am also a graphic designer, so you'll find a consistent, readable layout on every page, photos that draw your focus to the relevant step, and constant clues to keep your place - even if you forget to staple and the whole thing falls apart!
Look for a unique wire style, lots of color, asymmetry, irregular gemstones, inexpensive non-tarnish wire, some steampunk elements, and even some polymer clay.
You keep reading, and I'll keep looking for exciting new ways to help you make jewellery!