Jewelry Supplies
View more
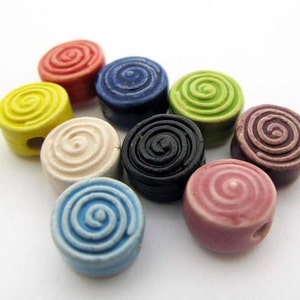
20 Tiny Spiral Beads - round - CB767
Advertisement from shop TheCraftyBead From shop TheCraftyBead
$18.00

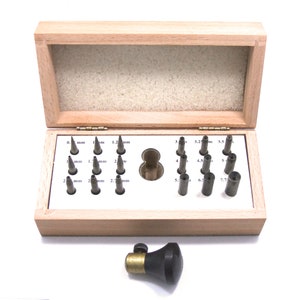
20 Tiny Astronomical Clock Beads - CB763
Advertisement from shop TheCraftyBead From shop TheCraftyBead
$18.00

10 Raku Cube Beads - green - RAK262
Advertisement from shop TheCraftyBead From shop TheCraftyBead
$16.50
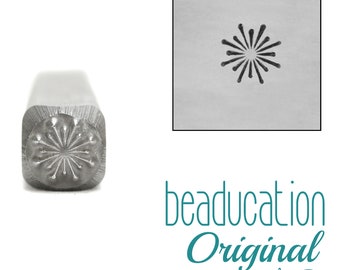
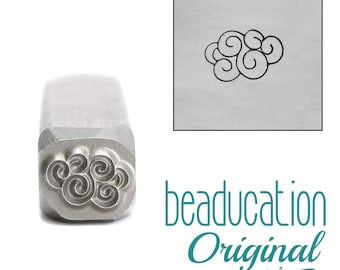
Firework Metal Stamp 4mm - Beaducation Metal Stamping Punch Tools and Supplies for Hand Stamped Jewelry Making (DS905)
Advertisement from shop Beaducation From shop Beaducation
$16.00
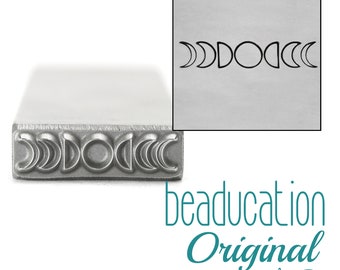
Moon Phases Metal Design Stamp 17mm - Beaducation Metal Stamping Punch Tools and Supplies for Hand Stamped DIY Jewelry Making (DS961)
Advertisement from shop Beaducation From shop Beaducation
$30.00

Full Moon Metal Stamp, Choice of 4.5mm or 7mm - Beaducation Metal Stamping Punch Tools and Supplies for Hand Stamped DIY Jewelry Making
Advertisement from shop Beaducation From shop Beaducation
$16.00
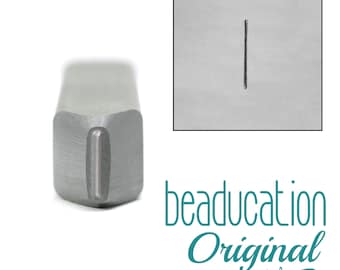
Straight Line Metal Design Stamp 6.5mm - Beaducation Metal Stamping Punch Tools and Supplies for Hand Stamped DIY Jewelry Making (DS608)
Advertisement from shop Beaducation From shop Beaducation
$17.00
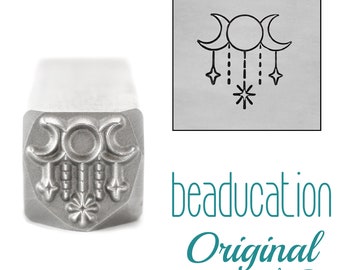
Three Moons with Dangling Stars Metal Stamp, Choice of 8.3mm or 10.5mm - Beaducation Metal Stamping Tools for Hand Stamped Jewelry Making
Advertisement from shop Beaducation From shop Beaducation
$17.00


Low in stock, only 4 left
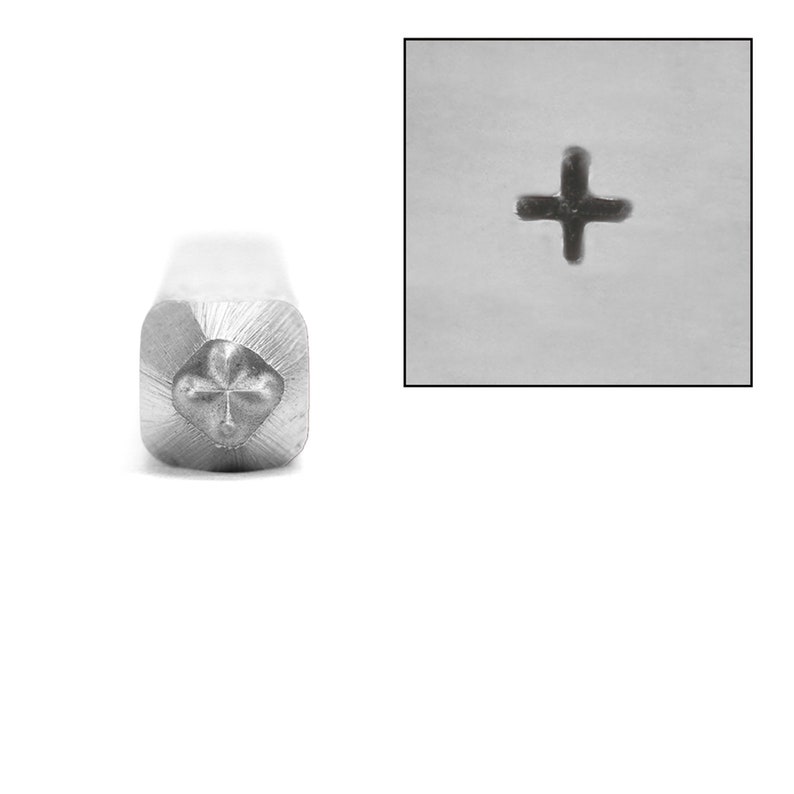
Price: $16.00
Plus Symbol Metal Stamp 2.5mm - Beaducation Metal Stamping Punch Tools and Supplies for Hand Stamped DIY Jewelry Making (DS002)
Your order should arrive by this date if you buy today. To calculate an estimated delivery date you can count on, we look at things like the carrier's latest transit times, the seller's processing time and shipping history, and where the order is shipping to and from.
Returns accepted
You can only make an offer when buying a single item
-
Order today to get by May 14-17
Your order should arrive by this date if you buy today. To calculate an estimated delivery date you can count on, we look at things like the carrier's latest transit times, the seller's processing time and shipping history, and where the order is shipping to and from.
-
Returns accepted within 30 days
Buyers are responsible for return shipping costs. If the item is not returned in its original condition, the buyer is responsible for any loss in value.
-
Cost to ship: $4.36Enjoy free shipping to the US when you spend $35+ at this shop.
There was a problem calculating your shipping. Please try again.
Etsy Purchase Protection
Shop confidently on Etsy knowing if something goes wrong with an order, we've got your back for all eligible purchases —
see program terms

Captcha failed to load. Try using a different browser or disabling ad blockers.


7,421 reviews
5 out of 5 stars


Photos from reviews
More from this shop


Browse by section


Disclaimer: Etsy assumes no responsibility for the accuracy, labeling, or content of sellers' listings and products. Electrical or electronic products may pose a risk of fire or electrocution. Vintage, handmade, refurbished, or modified electrical or electronic products may not meet current safety standards and may not be in safe working order. Inspect carefully before use and message the seller if you have concerns relating to the product. Do not use a vintage electrical or electronic item if its safety cannot be verified. To reduce the risk of fire, never leave vintage electrical or electronic products plugged in unattended. See Etsy's Terms of Use for more information.