


Low in stock, only 8 left
Price: $20.00
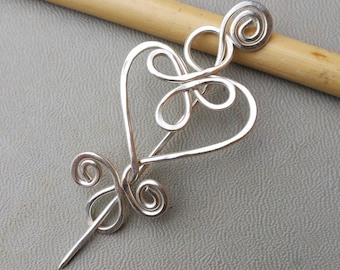
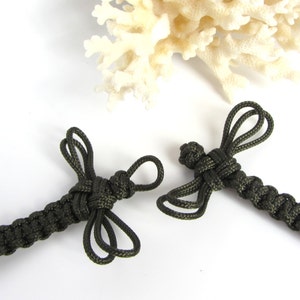
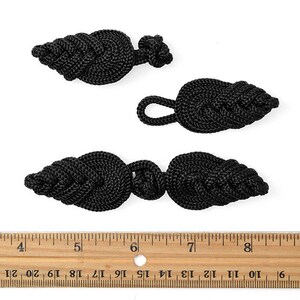
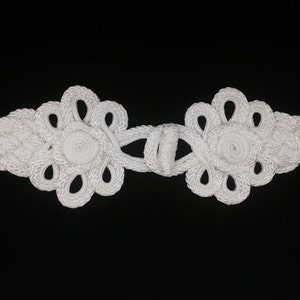
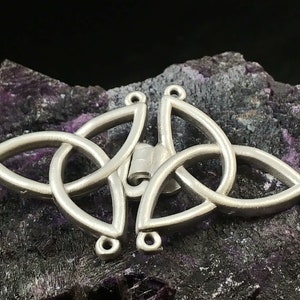
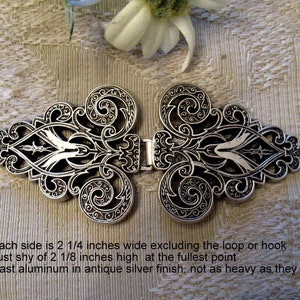
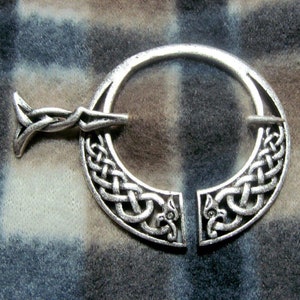
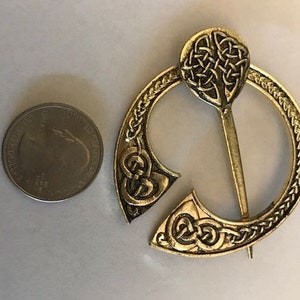
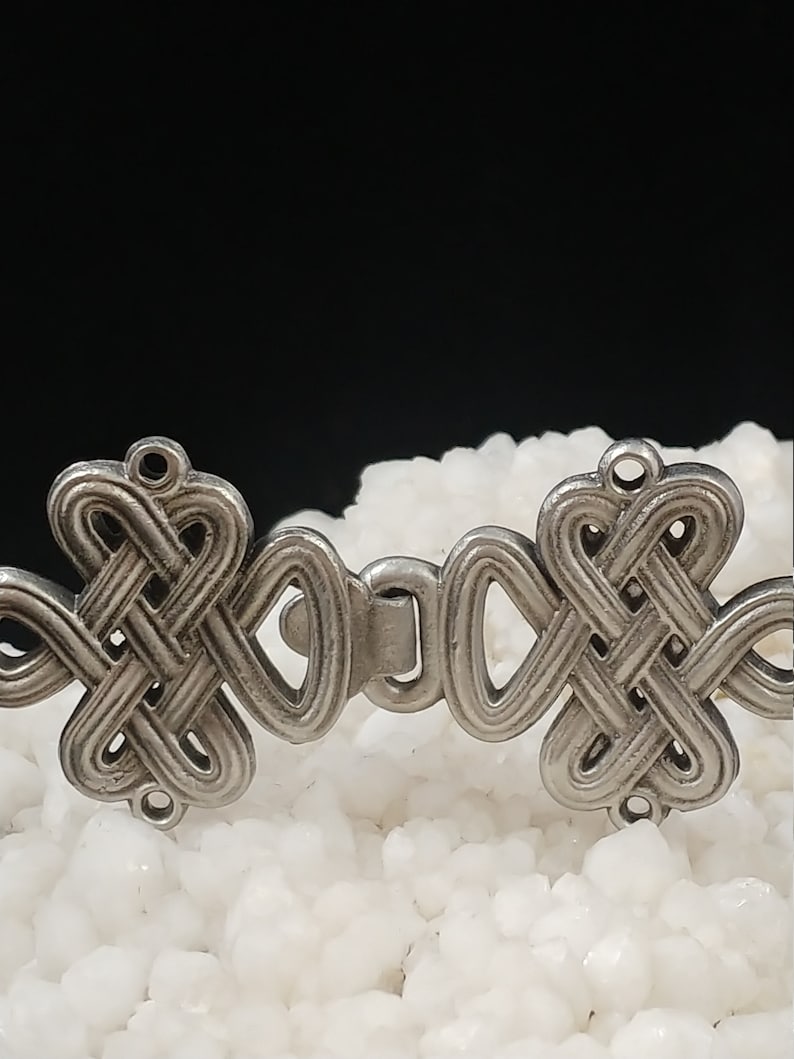
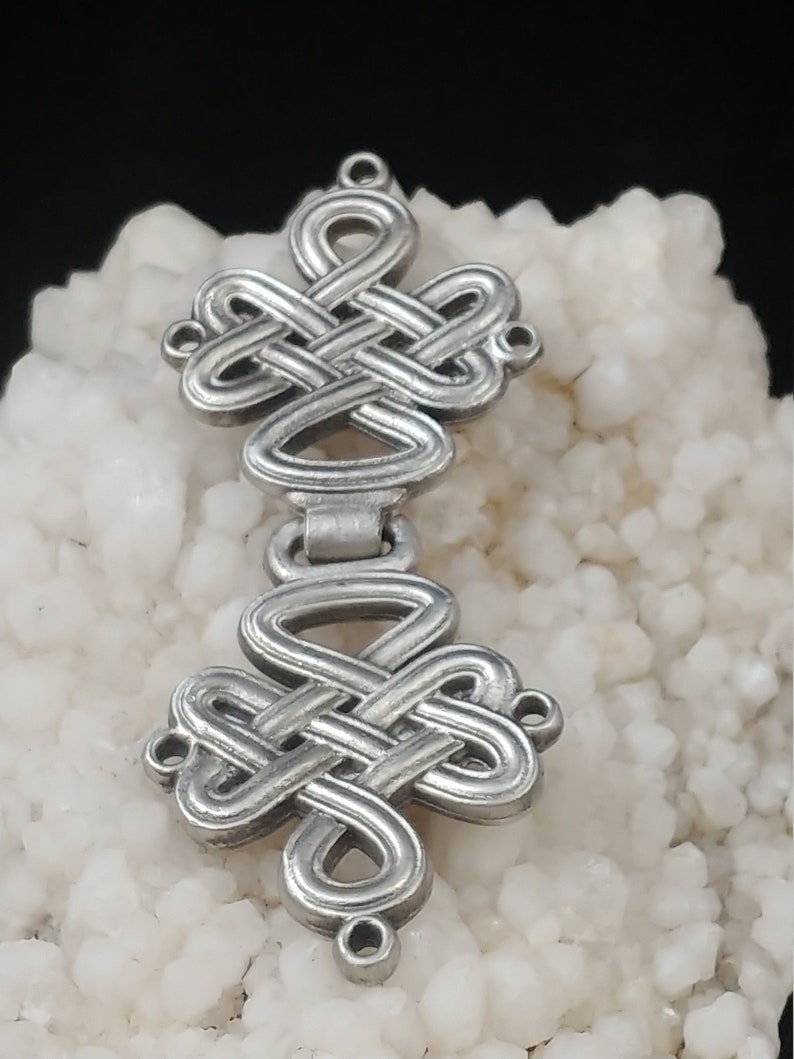
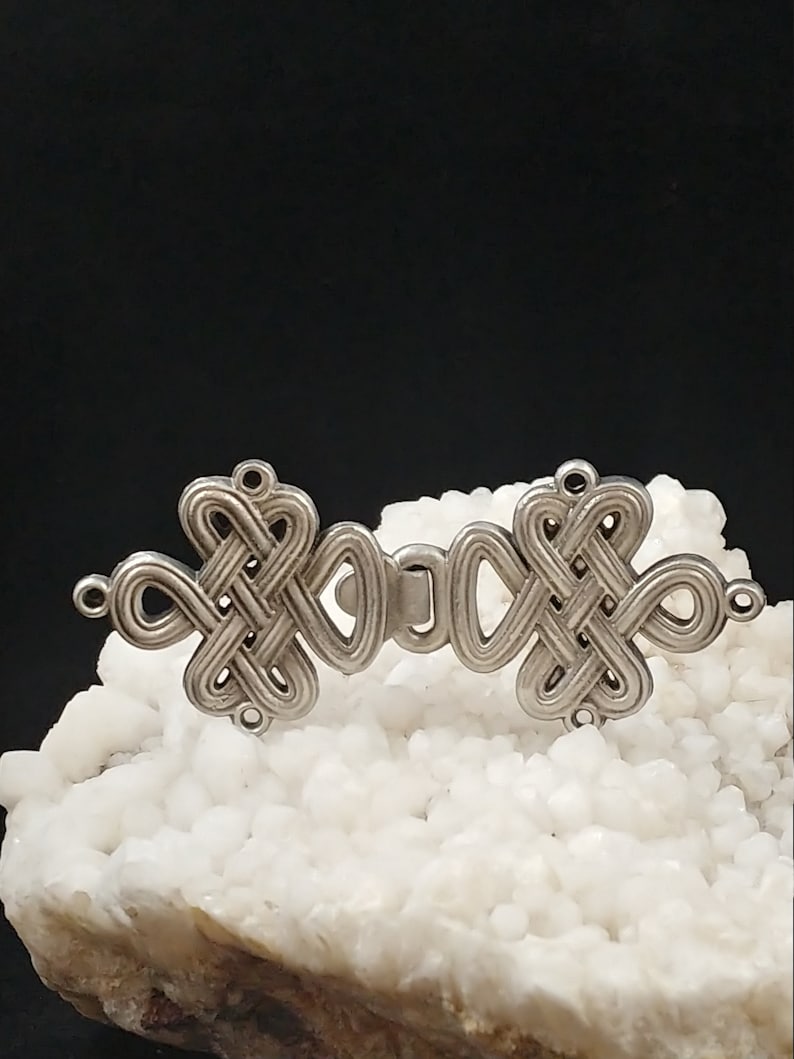
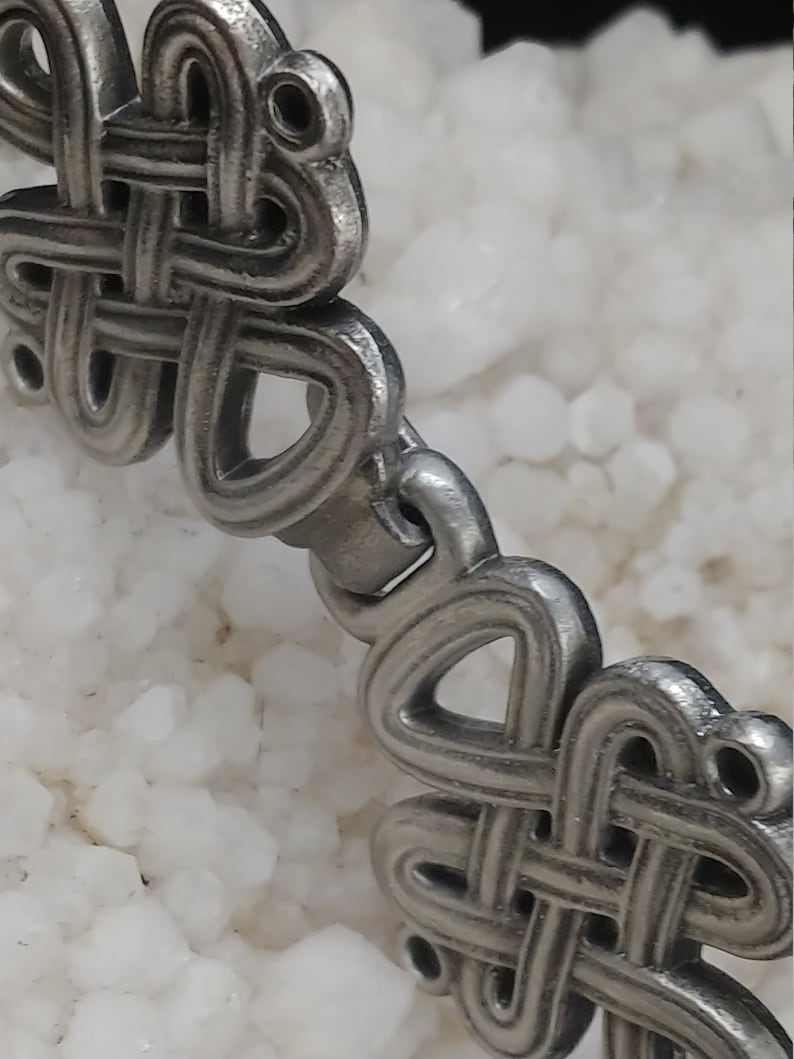
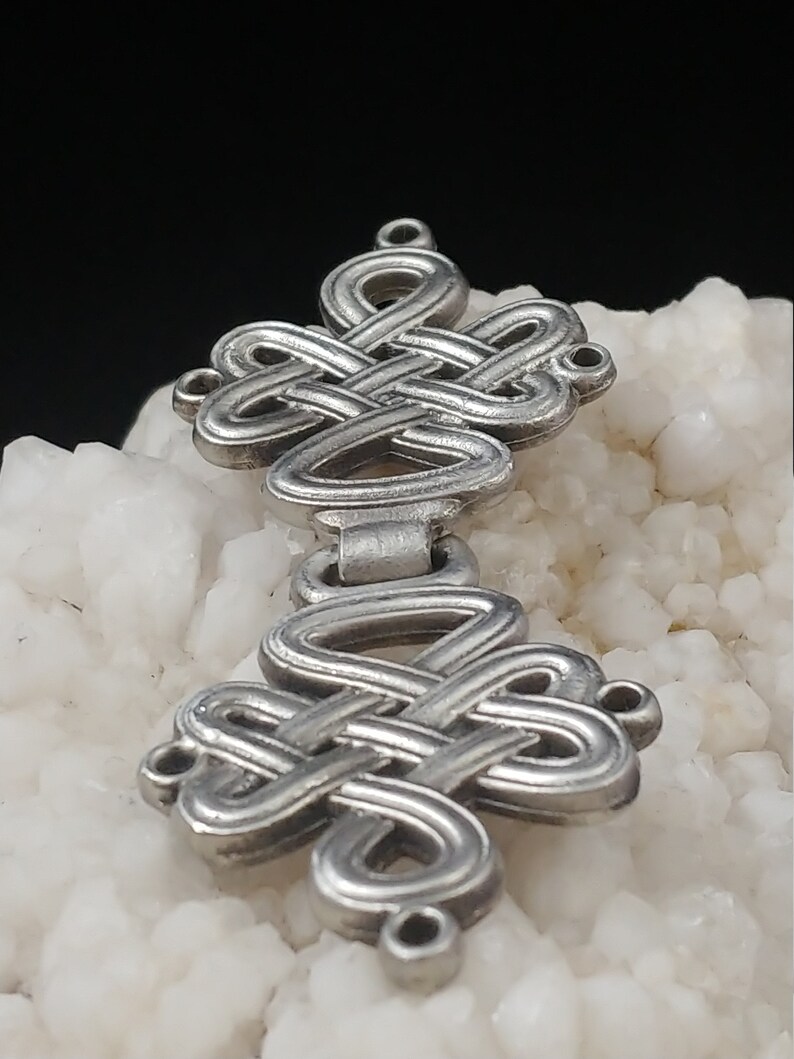
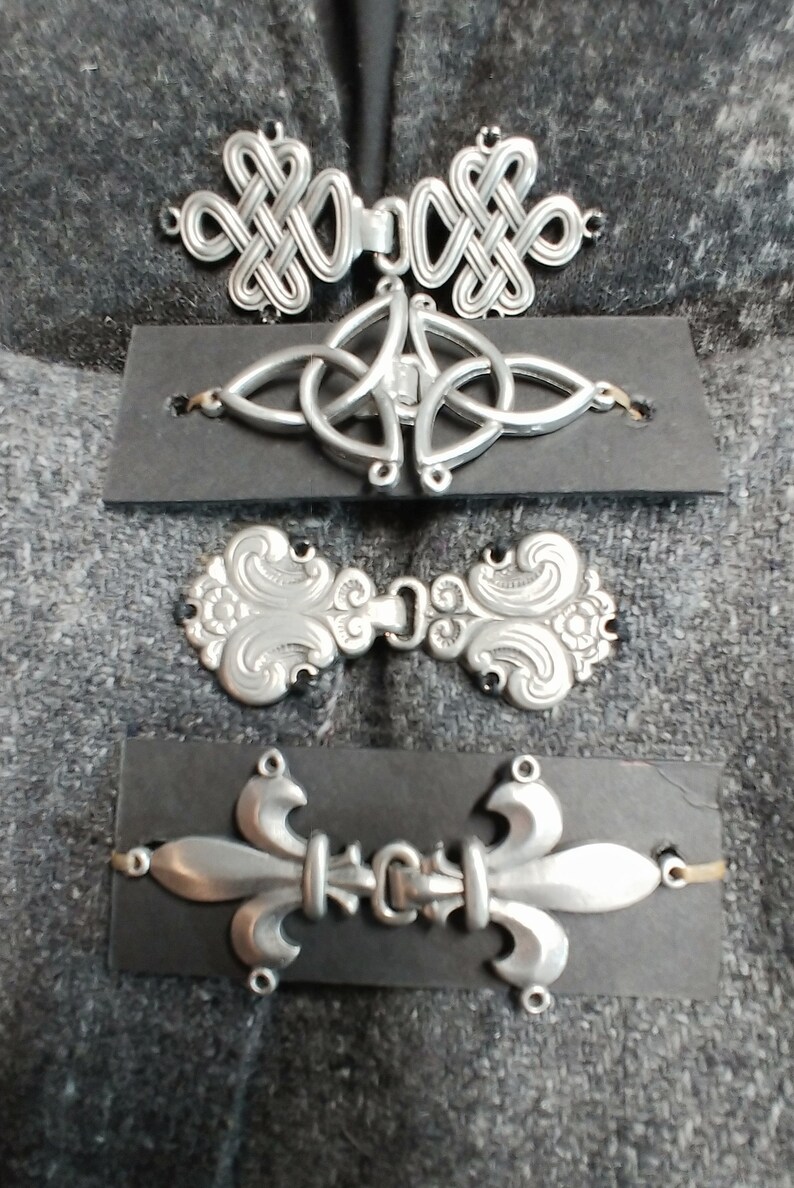
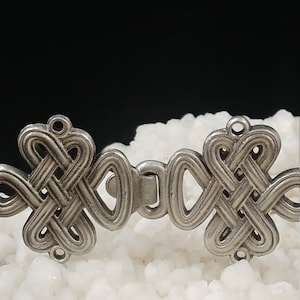
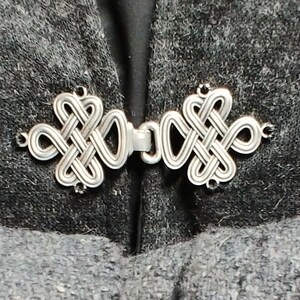
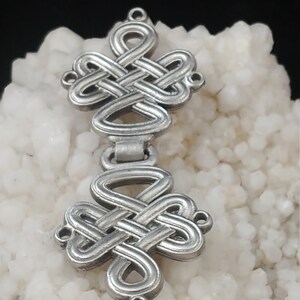
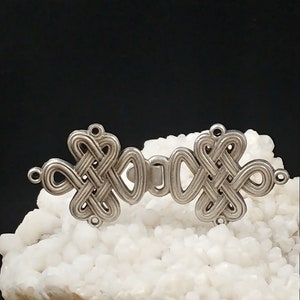
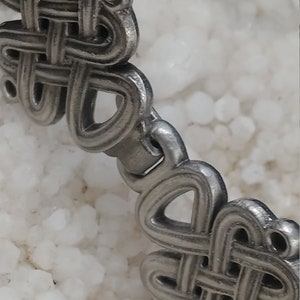
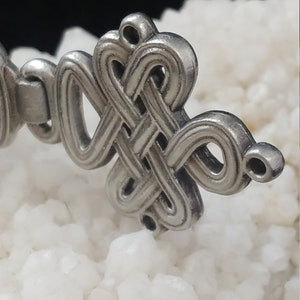
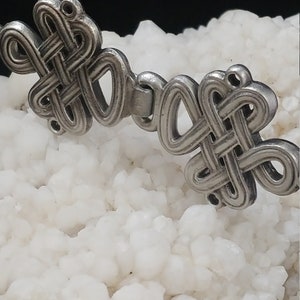
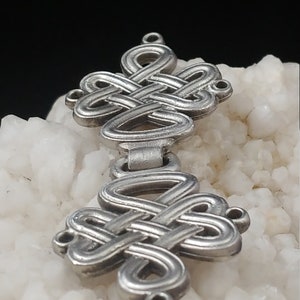
Celtic Knot Cloak Clasp-Sew to your favorite garment
Star Seller
Star Sellers have an outstanding track record for providing a great customer experience—they consistently earned 5-star reviews, shipped orders on time, and replied quickly to any messages they received.
Your order should arrive by this date if you buy today. To calculate an estimated delivery date you can count on, we look at things like the carrier's latest transit times, the seller's processing time and shipping history, and where the order is shipping to and from.
Returns & exchanges accepted
You can only make an offer when buying a single item
Star Seller. This seller consistently earned 5-star reviews, shipped on time, and replied quickly to any messages they received.
-
Order today to get by May 14-16
Your order should arrive by this date if you buy today. To calculate an estimated delivery date you can count on, we look at things like the carrier's latest transit times, the seller's processing time and shipping history, and where the order is shipping to and from.
-
Returns & exchanges accepted within 30 days
Buyers are responsible for return shipping costs. If the item is not returned in its original condition, the buyer is responsible for any loss in value.
-
Free shipping
-
Ships from: South Beloit, IL
There was a problem calculating your shipping. Please try again.
Etsy Purchase Protection
Shop confidently on Etsy knowing if something goes wrong with an order, we've got your back for all eligible purchases —
see program terms

1,091 reviews
5 out of 5 starsEasy to put on and looks amazing!
Purchased item:
Celtic Knot Cloak Clasp-Sew to your favorite garment
Shawn Holbert Mar 16, 2024
Beautiful! Looks amazing on my fiancess coat!!!
Purchased item:
Celtic Knot Cloak Clasp
Hound May 18, 2023
Beautiful clasp! Works perfectly with my black velvet cape!
Purchased item:
Celtic Knot Cloak Clasp
Vicki Teague-Cooper Feb 16, 2023
Exactly what I needed to properly secure my cloak, great size, well-crafted.
Purchased item:
Celtic Knot Cloak ClaspSteph Feb 2, 2023
Photos from reviews
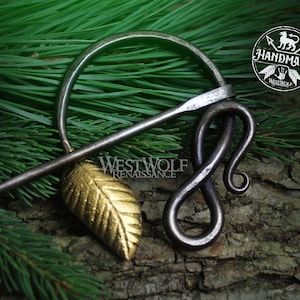
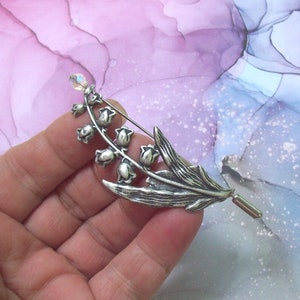
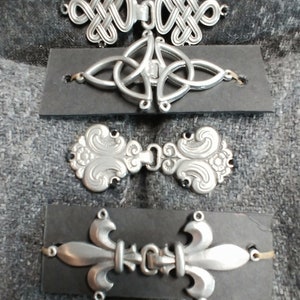
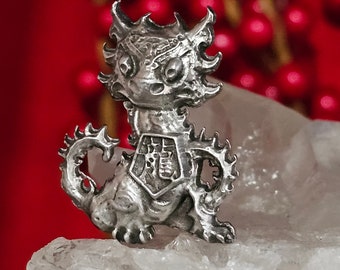
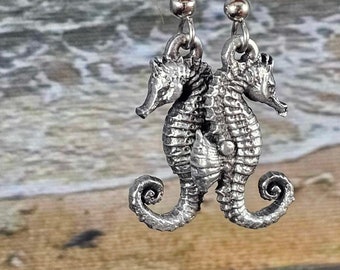
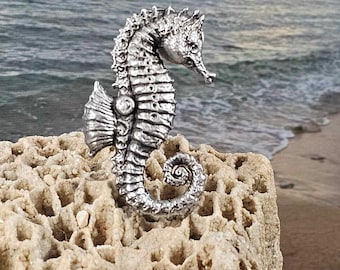
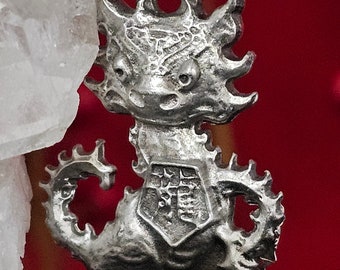
More from this shop
Browse by section