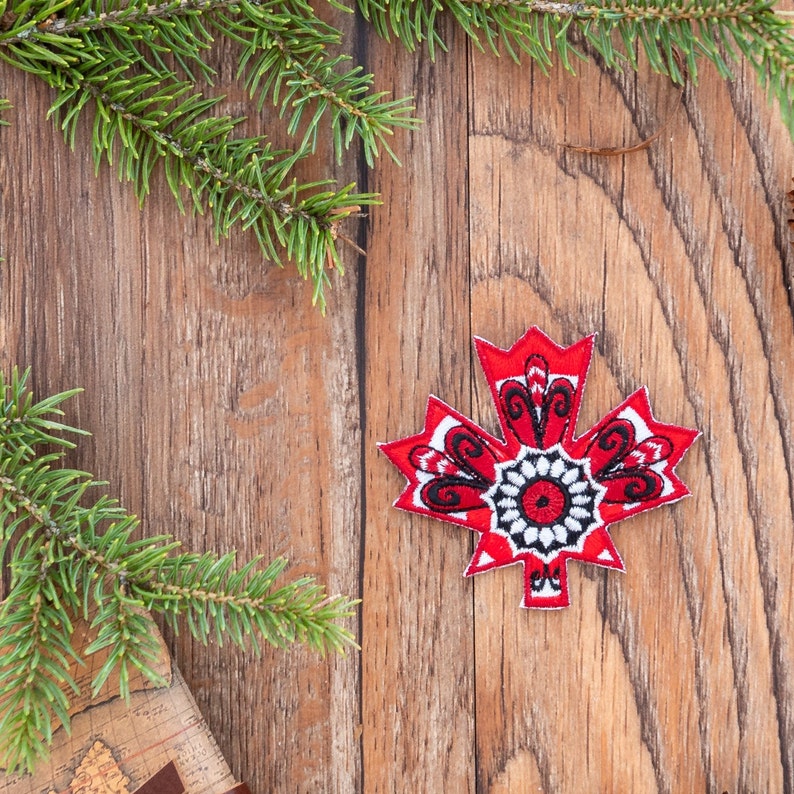
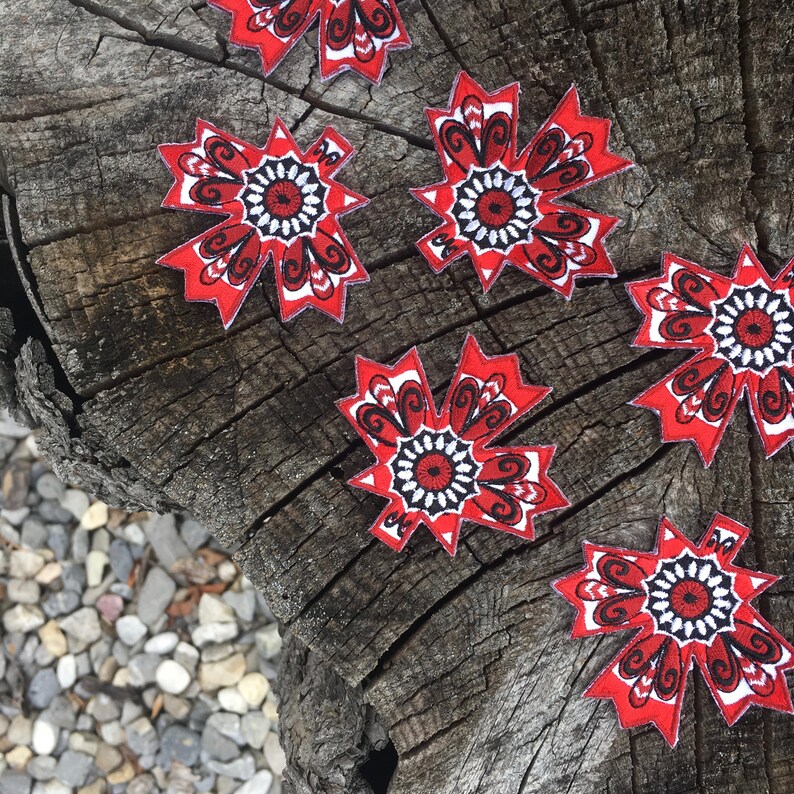
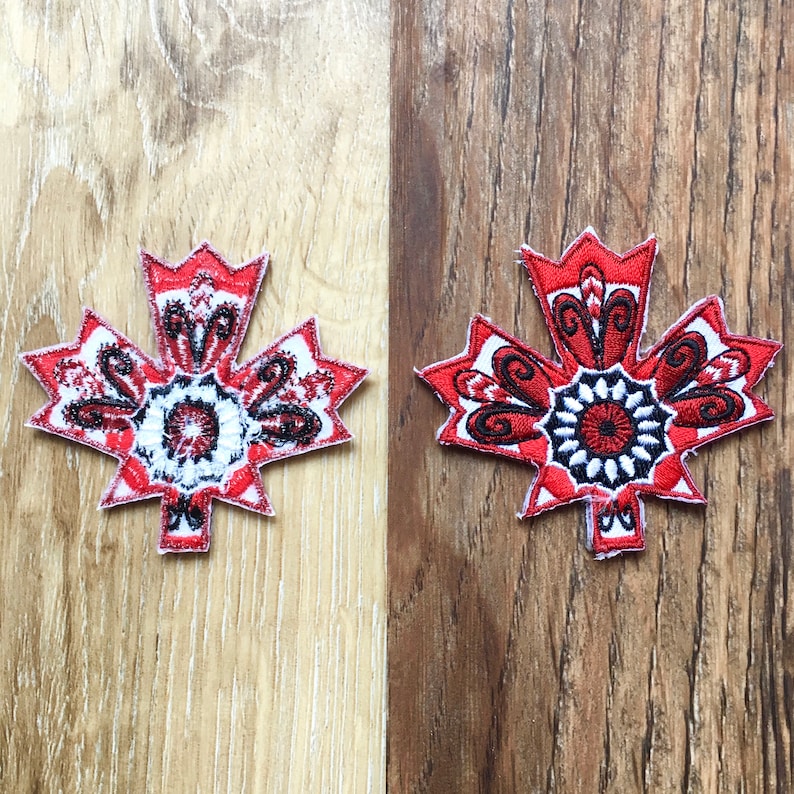
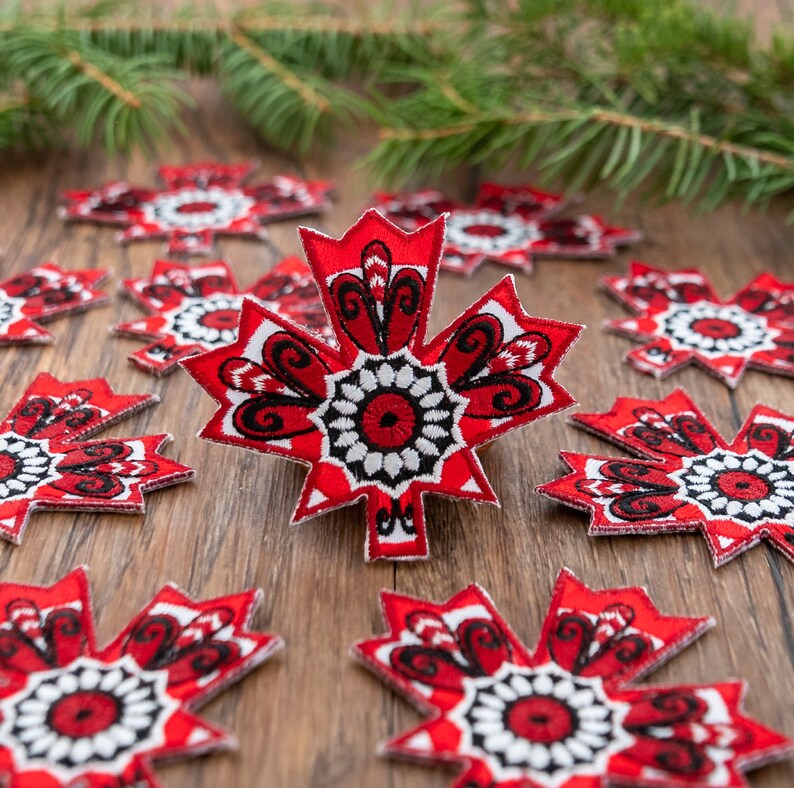
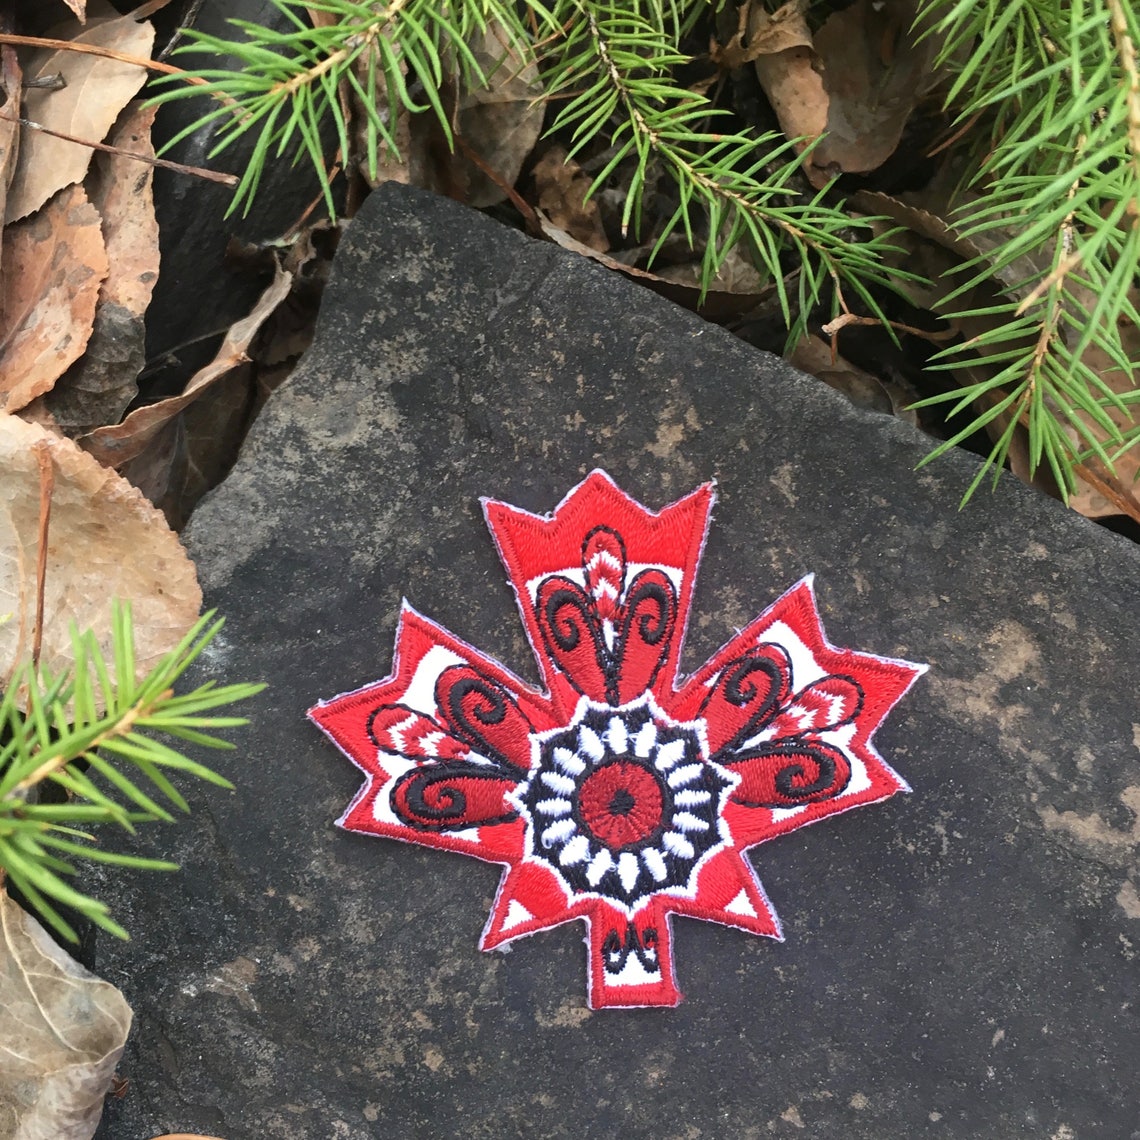
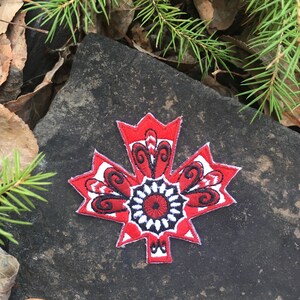
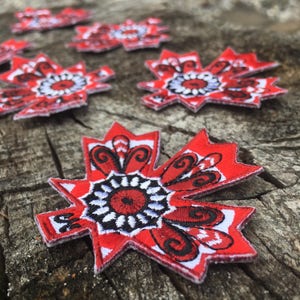
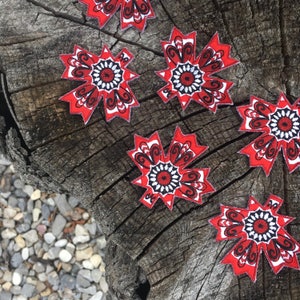
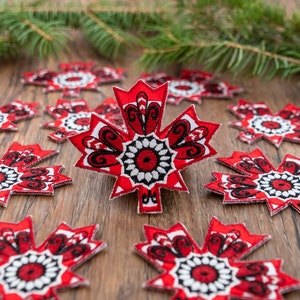
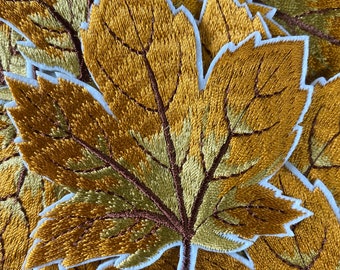
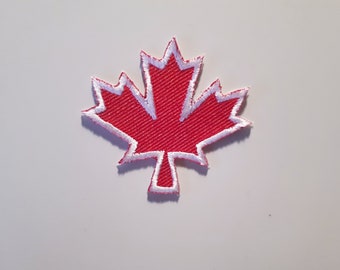
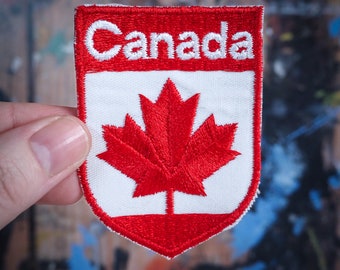
I was dreaming of maple syrup, and the vivid red of maple trees in the fall while drawing the design for this travel patch. Sew it onto your backpack before traveling, or on a toque for the winter season.... maple leaves are timeless.
- 2.5 inch x 2.2 inch (6.35cm x 5.58cm)
- Iron On (sewing on is recommended)
- 85% Embroidered
- Twill backed
- Made in Canada
*tips for attaching your patch can be found at the bottom of this description
----------------------------------------------------
CHECK OUT ALL MY PRODUCTS
Available through my website https://www.balance-explore.ca/
---------------------------------------------
INTERNATIONAL ORDERS
Available through my website https://www.balance-explore.ca/
---------------------------------------------
BUY MORE AND SAVE
Order $50 worth of product and get 10% off
DISCOUNT10
Order $100 worth of product and get 15% off
DISCOUNT15
Order $200 worth of product and get 20% off
DISCOUNT20
-------------------------------------------------
SHIPPING
My creations are all small and light weight. They qualify for standard mail. To keep the cost to you low, I ship everything standard air mail (with in Canada, to the United States, and Internationally)
Estimated shipping Times:
Canada 3 -12 business days
North America 5-16 business days
Australia 5-20 business days
Europe 5-16 business days
If a tracking number is important to you I am happy to offer Expedited Shipping upon request:
Canada + $14.91
United States + $16.35
Internationally + $64.20
--------------------------------------------------
HOW THE SHOP GOT STARTED
Learn more about Robyn and how she started the shop:
https://www.etsy.com/ca/your/shops/BalanceExplore/story
---------------------------------------------------
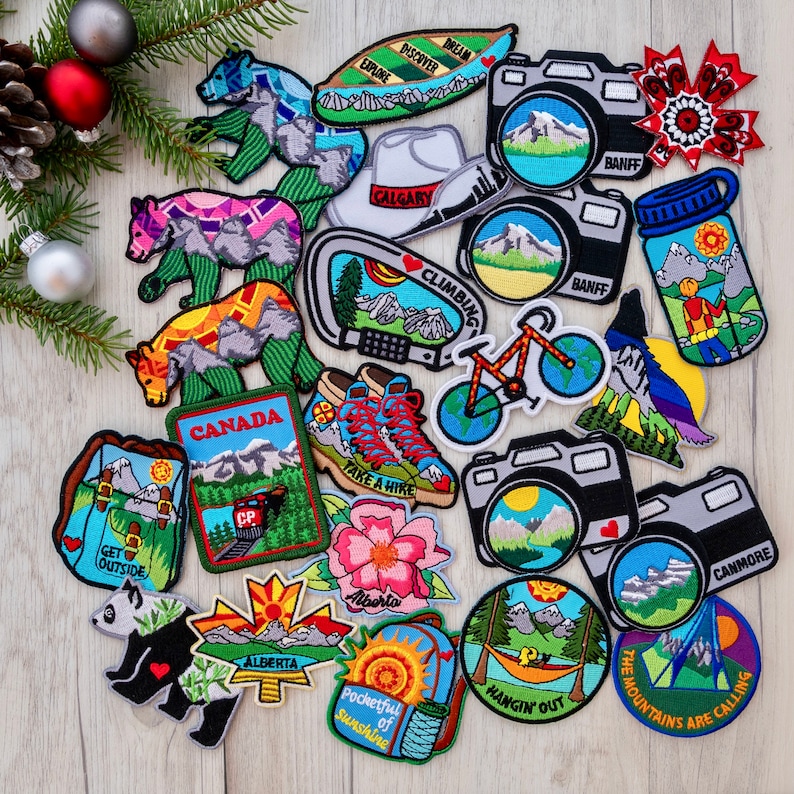
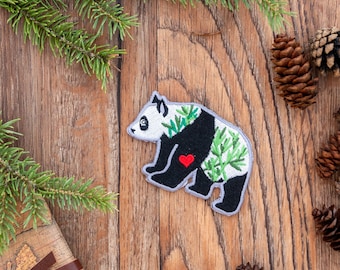
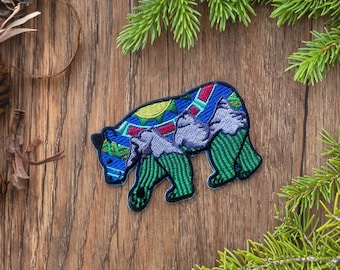
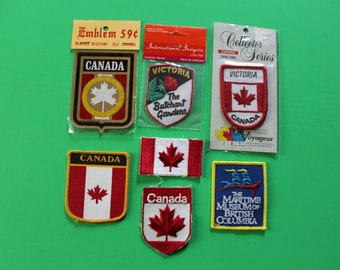
ARE YOU LOOKING FOR OTHER CANADIAN PATCHES?
Canada Train
https://www.etsy.com/ca/listing/517931998/canada-patch-train-travel-patch-iron-on
Canada Patch Duo
https://www.etsy.com/ca/listing/566245053/canada-patch-duo-set-of-2-travel-patch
--------------------------------------------------
STAY CONNECTED ON SOCIALS/WEBSITE:
https://www.facebook.com/balance.explore
http://instagram.com/balance.explore
http://balance-explore.ca
--------------------------------------------------
QUESTIONS?
If you have questions about the products, please contact me, I am available almost all the time... a delay in response will only occur when I am out on an adventure in the Rocky Mountains. No internet connections out in the Alpine! But don't worry I never stay away more than a few days at most.
---------------------------------------------
TIPS FOR ATTACHING EMBROIDERED PATCHES
Sometimes attaching an Iron-on/Sew-on Patch can be tricky. Here are a few tips that should help make things easier.
Gather the following items:
• A household iron
• A pressing cloth such as:
a) a thin piece of cotton or muslin fabric
b) a smooth lightweight cotton towel
c) or a piece of old t-shirt works well
• A firm piece of cardboard covered in aluminum foil or other firm heat-safe backing material. Difficulties can arise with unusual fabrics or faulty household irons that don't reach proper temperatures.
Typically, don’t iron on to waterproof bags or vinyl. (if this is the fabric you want to attach your patch to, we recommend you attach it by sewing it on)
It is recommended to Iron AND Sew-on patches for longevity
1. Set iron to "dry" not steam setting.
2. Pre-heat to cotton setting (or if unsure of your fabric, one or two settings lower).
3. Position your patch as desired and cover with the pressing cloth.
4. Place the backing underneath between your garment or project and the iron board. The backing board helps reflect heat back to the patch and garment rather than drawing heat into the ironing board cover speeding up the process and ensuring a flat, secure bond..
5. From the front of the patch, press the iron flat in an up and down, vertical motion (do not move back/forth/around) for 25 to 40 seconds to tack the patch in place using the center part of your iron.
6. Turn inside out or upside down (if possible) and still using the pressing cloth, repeat from reverse side for 30 to 45 seconds. (always have a pressing cloth between your iron and whatever you are ironing, so any glue that may get through the fabric does not stick to your iron)
7. ALLOW the patch and your item to cool, completely.
8. Test an edge of the patch with your fingernail to ensure it is secure.
9. If not, repeat increasing the amount of time 10% - 20% each time taking care to ensure the patch and fabric are protected.
10. If chosen to do so this is when you can sew on the patch around the edges.
Warning: Do not remove the patch if you fail on your first attempt or you will damage the adhesive. Just repeat the steps with additional time. Some household irons just don't get hot enough as they do not have temperature gauges. The goal is to melt the glue into the fibre without scorching or burning the fabric or the patch.
I hope this helps you attach your new patch so you can fashion it for your daily life
---------------------------------------------
* all rights to Balance Explore artwork 2017.
THANK YOU FOR SHOPPING!