


Low in stock, only 1 left
Price: $35.88
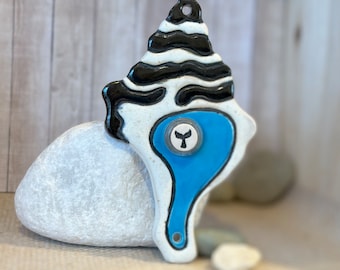
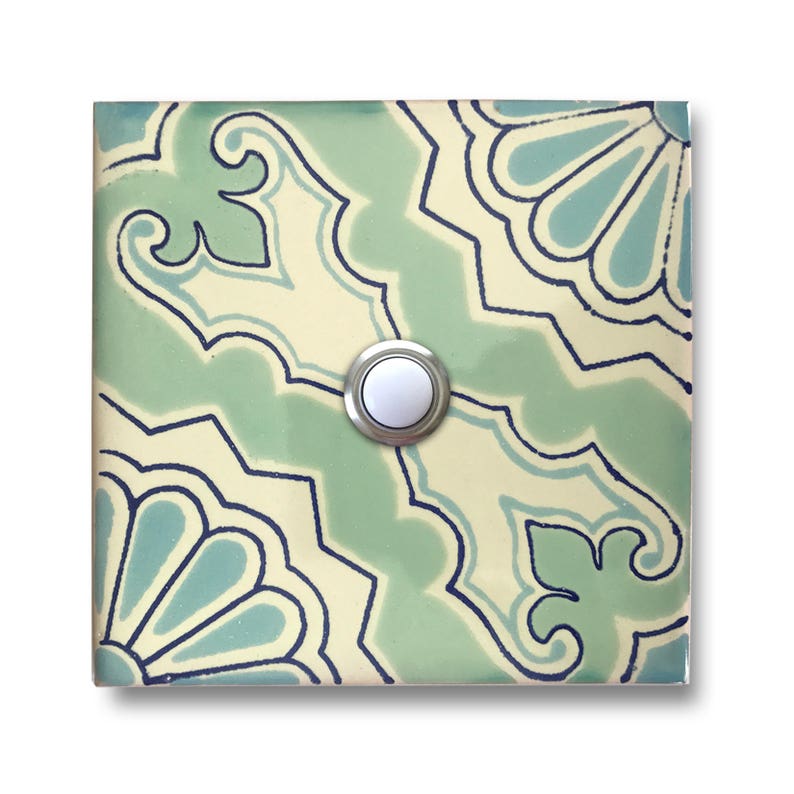
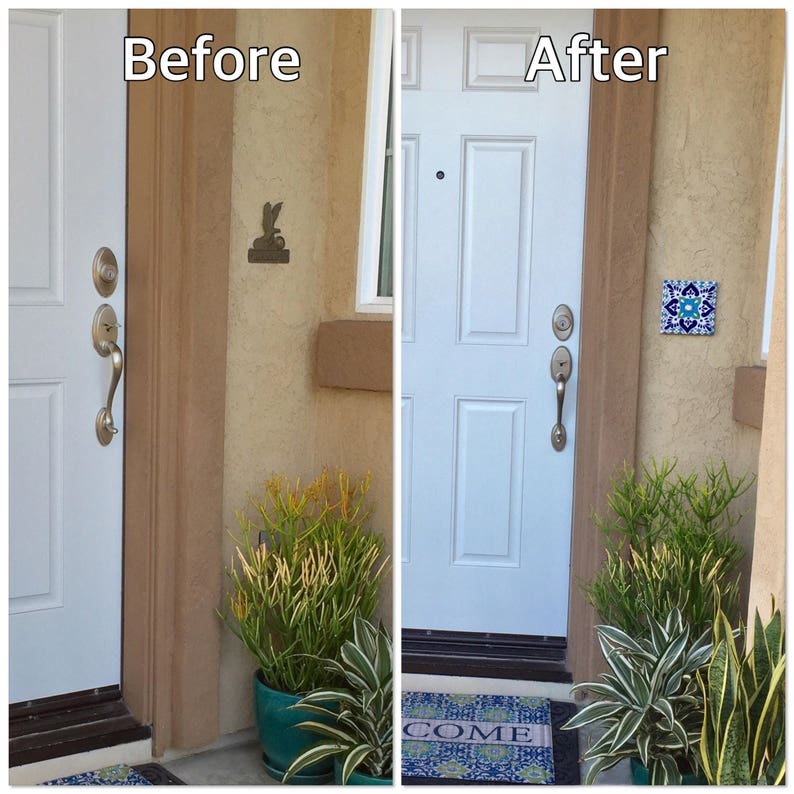
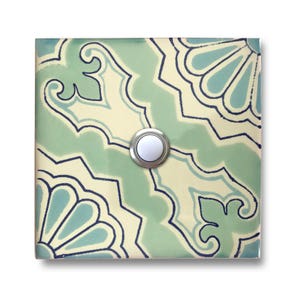
Doorbell 4.25 x 4.25 - Handcrafted Ceramic Tile Cover with Lighted Button
Star Seller
Star Sellers have an outstanding track record for providing a great customer experience—they consistently earned 5-star reviews, shipped orders on time, and replied quickly to any messages they received.
Your order should arrive by this date if you buy today. To calculate an estimated delivery date you can count on, we look at things like the carrier's latest transit times, the seller's processing time and shipping history, and where the order is shipping to and from.
Returns & exchanges accepted
You can only make an offer when buying a single item
Star Seller. This seller consistently earned 5-star reviews, shipped on time, and replied quickly to any messages they received.
-
Order today to get by May 16-20
Your order should arrive by this date if you buy today. To calculate an estimated delivery date you can count on, we look at things like the carrier's latest transit times, the seller's processing time and shipping history, and where the order is shipping to and from.
-
Returns & exchanges accepted within 7 days
Buyers are responsible for return shipping costs. If the item is not returned in its original condition, the buyer is responsible for any loss in value.
-
Cost to ship: $7.95
-
Ships from: Spring Valley, CA
There was a problem calculating your shipping. Please try again.
Etsy Purchase Protection
Shop confidently on Etsy knowing if something goes wrong with an order, we've got your back for all eligible purchases —
see program terms

Other reviews from this shop
|
(212)
Beautiful, unique door bell cover!

Amanda Armstrong Jun 20, 2021
Great product. Worked perfectly for our project.
Rob Hunt Mar 23, 2024
Perfect, if you're looking for a Mexican tile with a doorbell.
Bob Brown Mar 11, 2024
Photos from reviews
More from this shop


Browse by section