


Price: $30.24
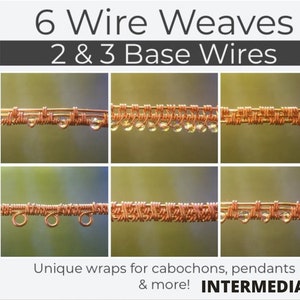
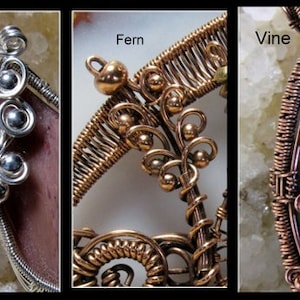
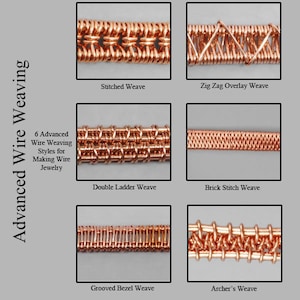
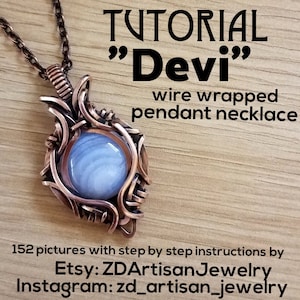
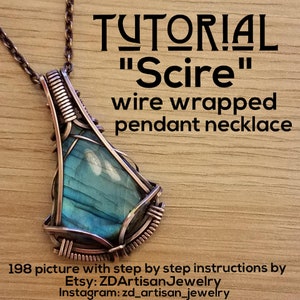
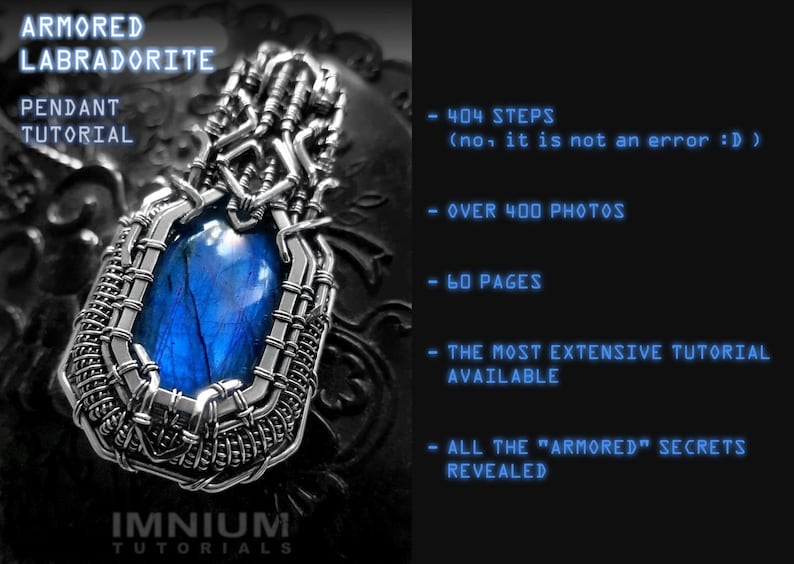
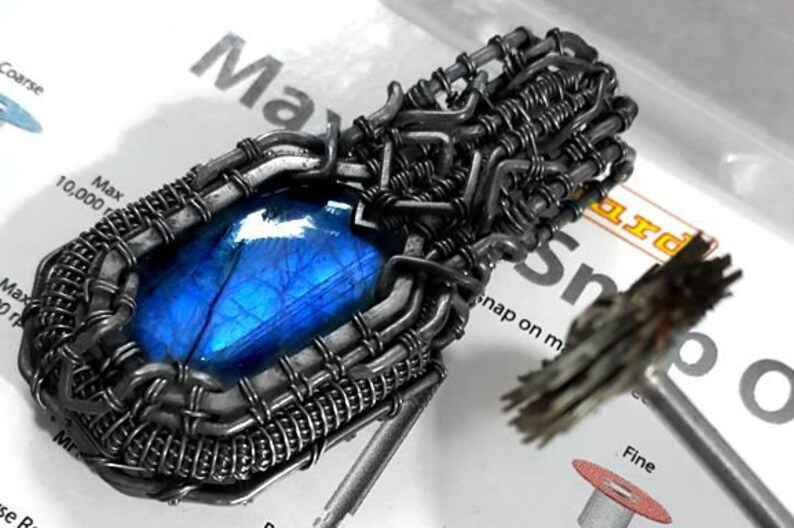
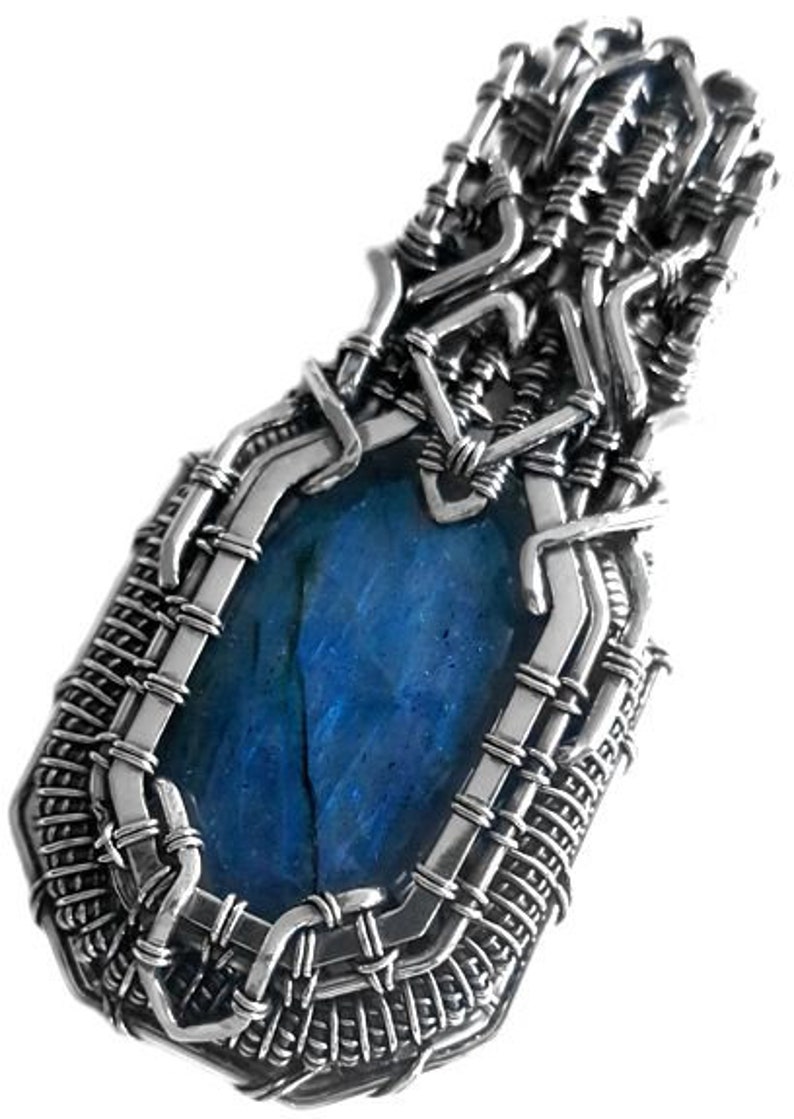
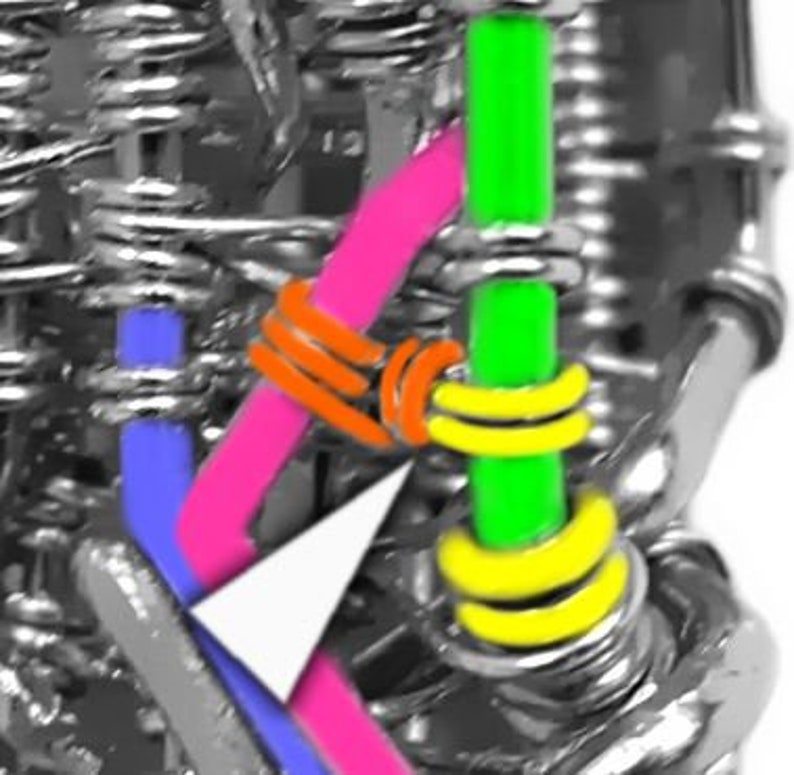
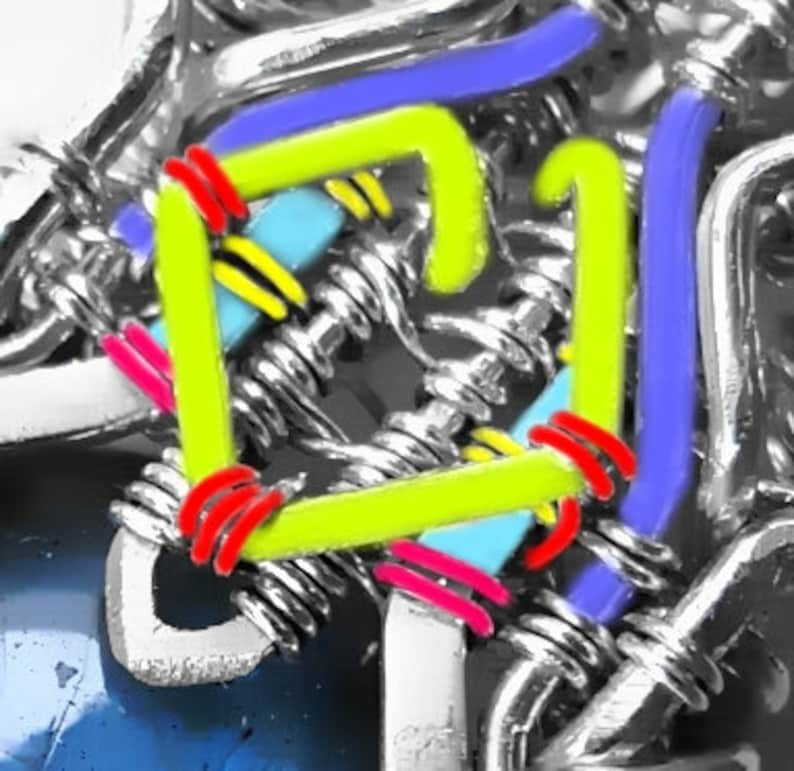
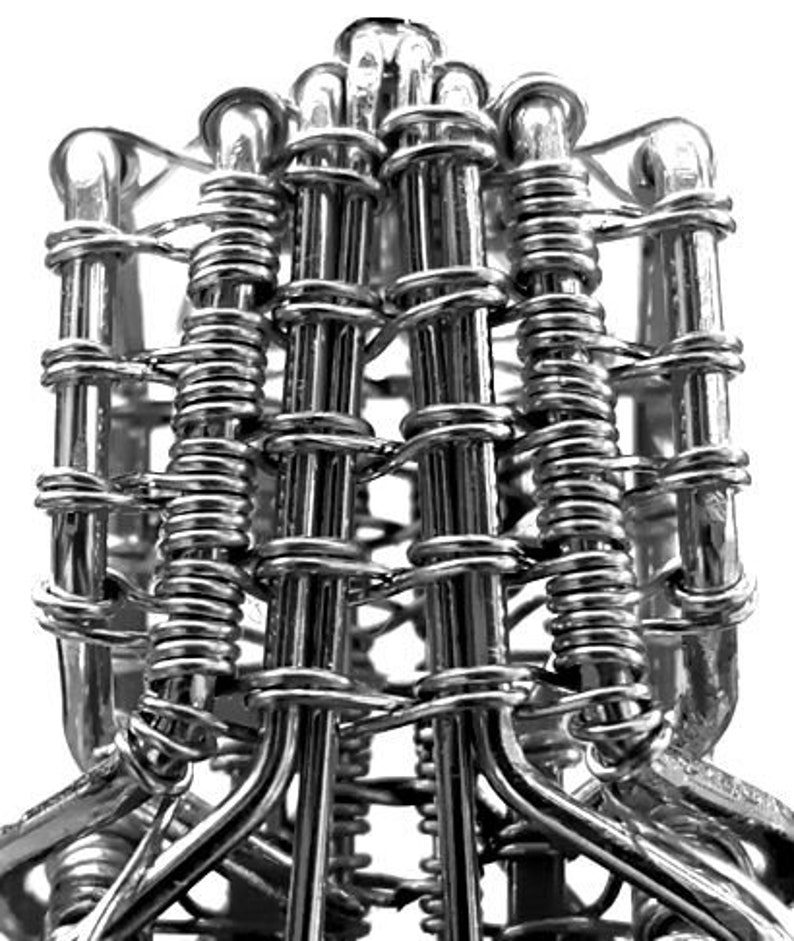
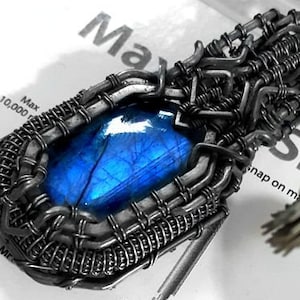
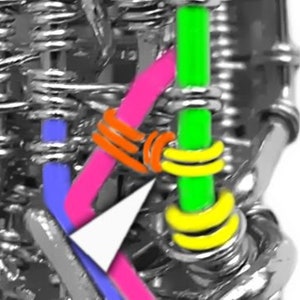
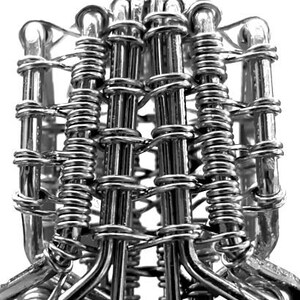
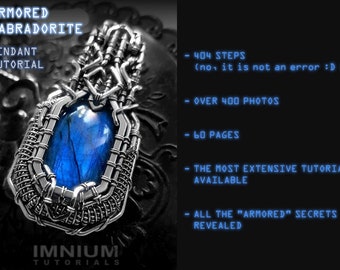
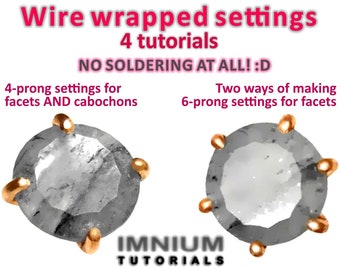
Advanced wire wrapping TUTORIAL scifi futuristic unisex pendant, 0 soldering, step by step instructions for every detail industrial techwrap
You can only make an offer when buying a single item
Instant Download
Your files will be available to download once payment is confirmed. Here's how.
Instant download items don’t accept returns, exchanges or cancellations. Please contact the seller about any problems with your order.
Etsy Purchase Protection: Shop confidently on Etsy knowing if something goes wrong with an order, we've got your back for all eligible purchases — see program terms

211 reviews
5 out of 5 starsFairly solid tutorial. As with a lot of tutorials, what you do after the focal points and how/where you terminate your wires is fairly subjective. The tutorial has some great sections on further tightening up the setting to ensure that it isn’t going anywhere and also helping people understand that “heady” style wire wraps are done in layers and the weaves hold them together. The more standard wire wrap pieces are typically done with one section of wires bound together. Lastly, she makes decorative decisions near the end which is a nice moment that lets artists know that you can always make significant changes at any point in the process of making a piece. Well done. Cheers.
Benjamin Bausch Dec 30, 2020

Phenomenal tutorial from extremely skilled artist. Thank you.

Hugger Charms Aug 15, 2020
Photos from reviews
More from this shop


Disclaimer: Etsy assumes no responsibility for the accuracy, labeling, or content of sellers' listings and products. Electrical or electronic products may pose a risk of fire or electrocution. Vintage, handmade, refurbished, or modified electrical or electronic products may not meet current safety standards and may not be in safe working order. Inspect carefully before use and message the seller if you have concerns relating to the product. Do not use a vintage electrical or electronic item if its safety cannot be verified. To reduce the risk of fire, never leave vintage electrical or electronic products plugged in unattended. See Etsy's Terms of Use for more information.