


Low in stock, only 1 left
Price: $12.00
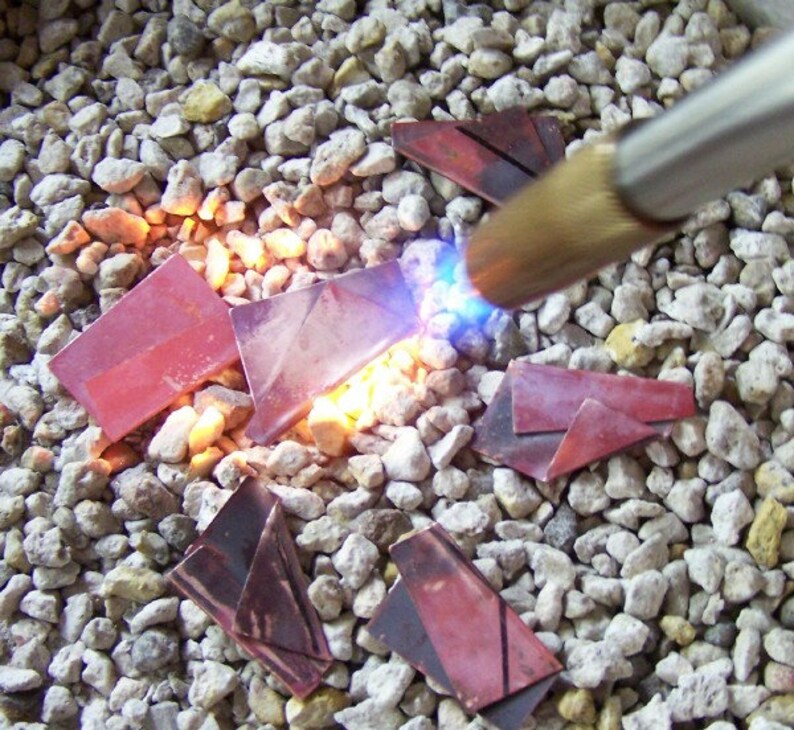
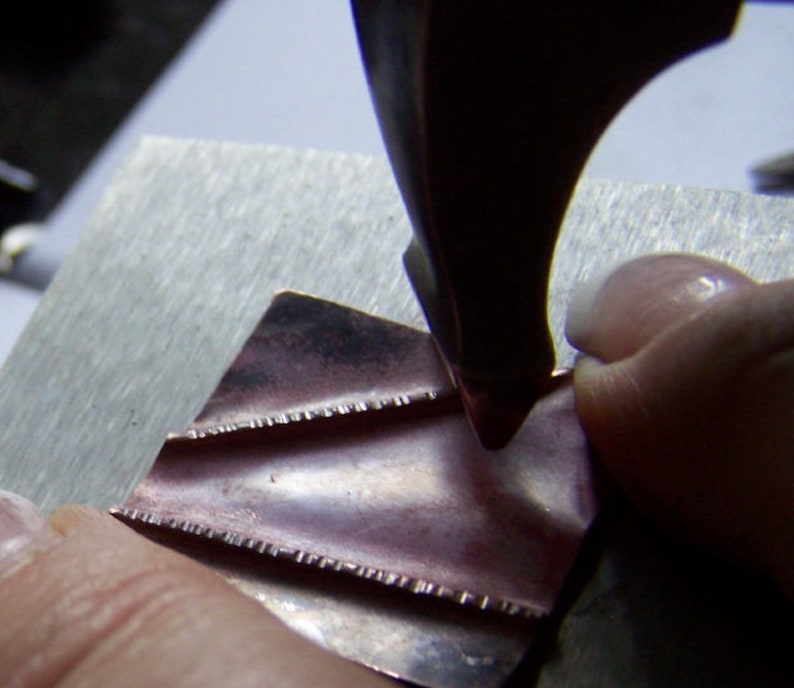
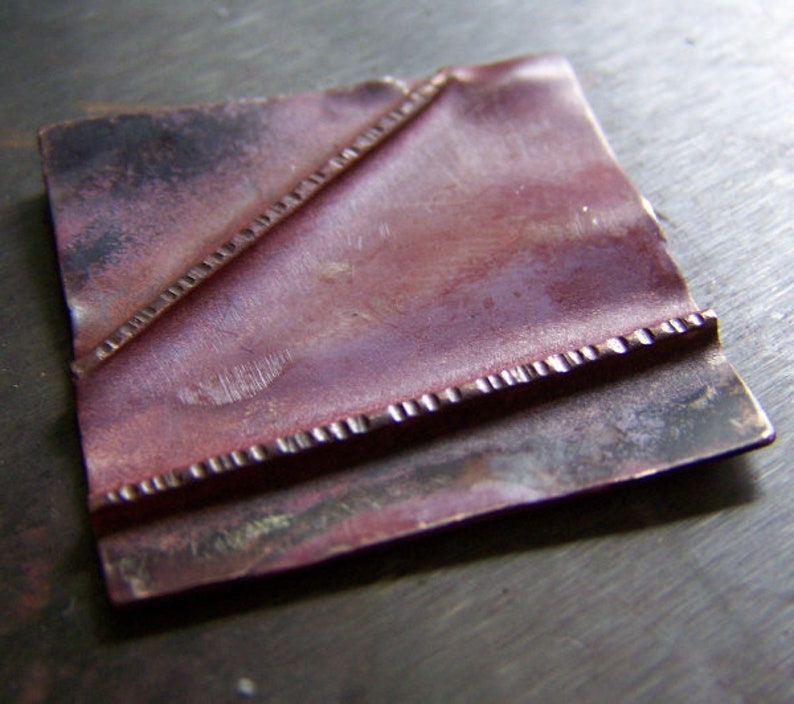
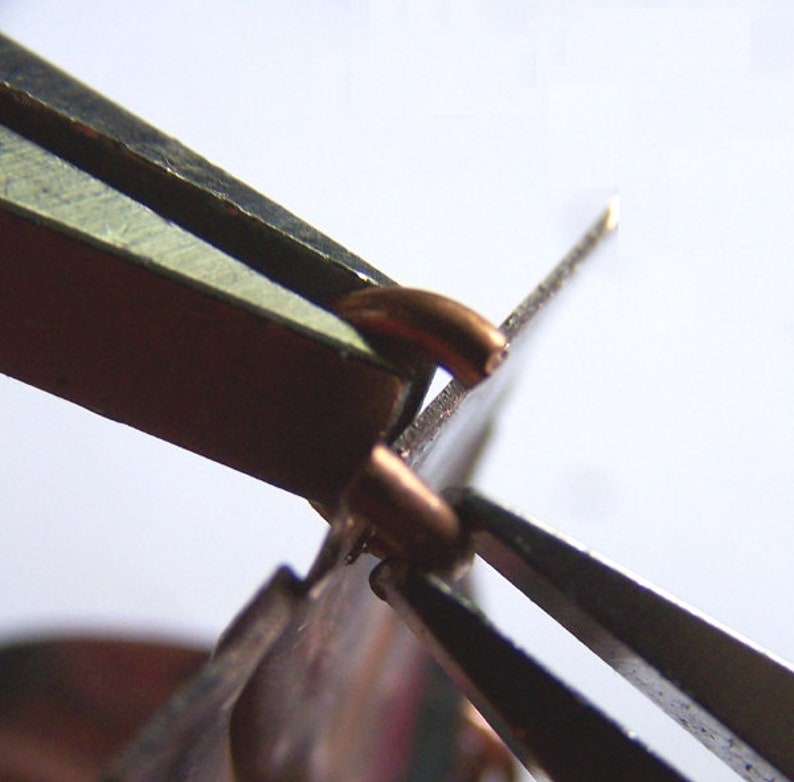
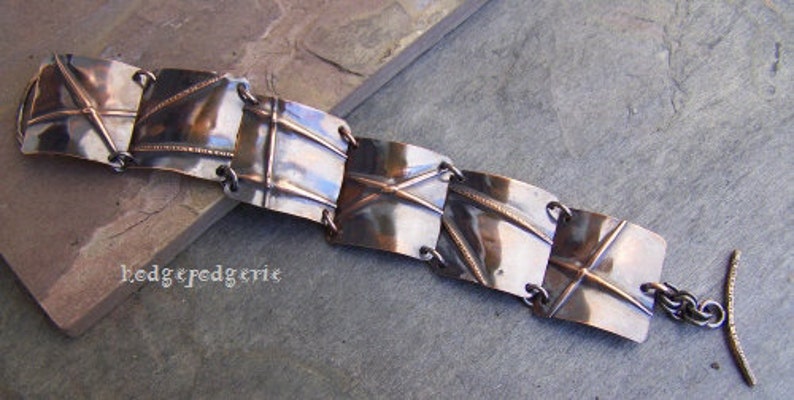
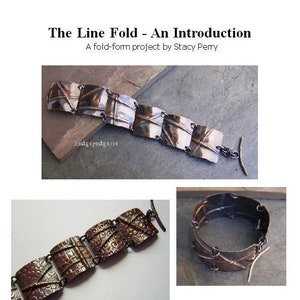
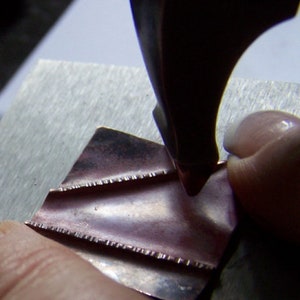
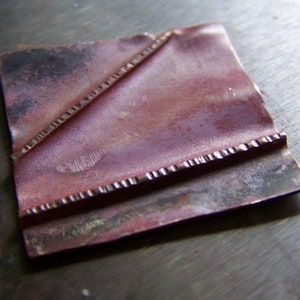
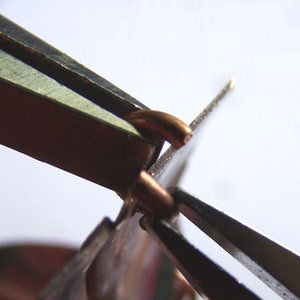
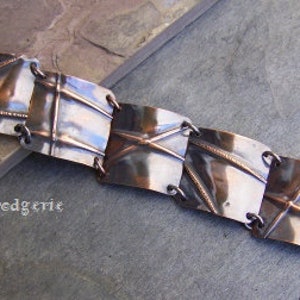
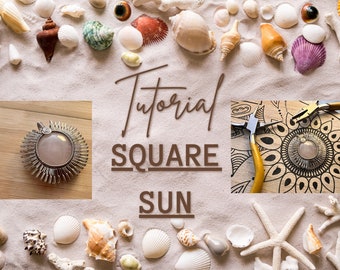
The Line Fold Bracelet - An Intro to Fold Forming Project by Stacy Perry
You can only make an offer when buying a single item
Instant Download
Your files will be available to download once payment is confirmed. Here's how.
Instant download items don’t accept returns, exchanges or cancellations. Please contact the seller about any problems with your order.
Etsy Purchase Protection: Shop confidently on Etsy knowing if something goes wrong with an order, we've got your back for all eligible purchases — see program terms

Captcha failed to load. Try using a different browser or disabling ad blockers.
Other reviews from this shop
|
(4,487)
I love this tutorial. Very clearly written and detailed pictures.
Response from Stacy Perry
Wow! You did an awesome job. Those look fantastic!! Thanks so much for sharing your photos!
Purchased item:
Egyptian Coil Bracelet Tutorialhannins Apr 19, 2024
Very well explained tutorial, especially the part about stopping the 'knots' going wrong!
Purchased item:
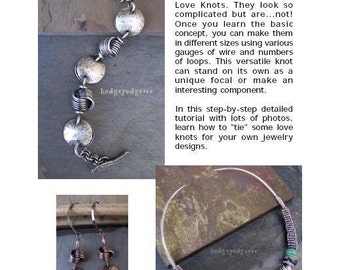
LOVE ME KNOT Bracelet Tutorial
Carolyn Poole Mar 4, 2024
Well written tutorial! I’m very excited to start making my own bead linings and especially my own bead caps. Just waiting for supplies to arrive!
Leslie Bruce Oct 20, 2023
All the info I needed to get started in coring and capping my beads. I really appreciate the lessons in using different punches and tools.

DragonfireBeads Sep 9, 2023
Photos from reviews
More from this shop


Disclaimer: Etsy assumes no responsibility for the accuracy, labeling, or content of sellers' listings and products. Electrical or electronic products may pose a risk of fire or electrocution. Vintage, handmade, refurbished, or modified electrical or electronic products may not meet current safety standards and may not be in safe working order. Inspect carefully before use and message the seller if you have concerns relating to the product. Do not use a vintage electrical or electronic item if its safety cannot be verified. To reduce the risk of fire, never leave vintage electrical or electronic products plugged in unattended. See Etsy's Terms of Use for more information.


