



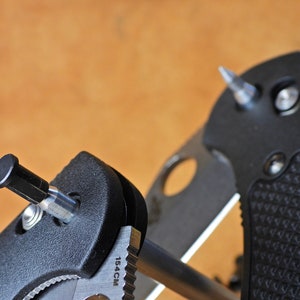
Pivot Alignment Tool for Axis Lock knives (Benchmade) - Scale Swap Cheat Code
What to know
Materials
Aluminium, aluminum, Steel, stainless, Stainless Steel, Brass
Made to Order
Yes
A video explaining on how to best use the tool, can be found at:
https://youtu.be/yFRS4rNFNRI
I've become aware that not everyone has an Etsy account, or would sign up for an Etsy account, just to purchase this tool. Subsequently, I've posted a few on another e-commerce site to allow different avenues of purchase.
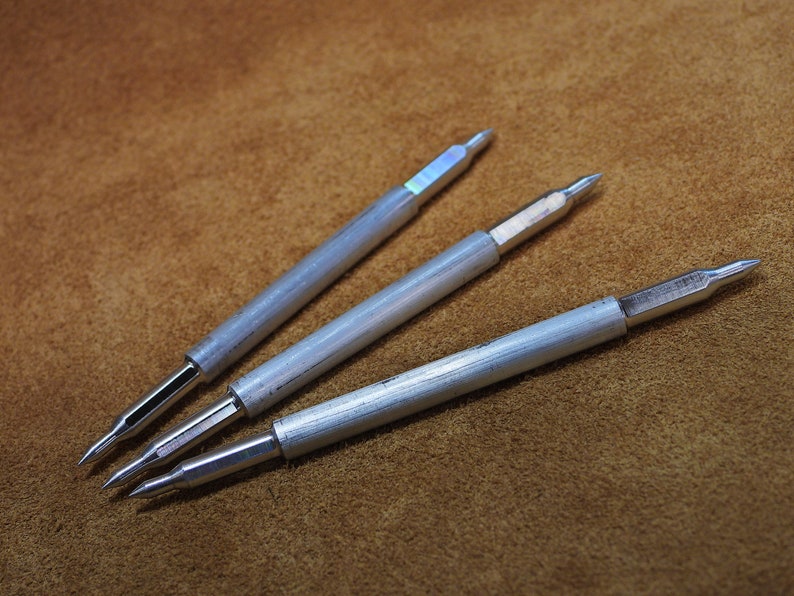
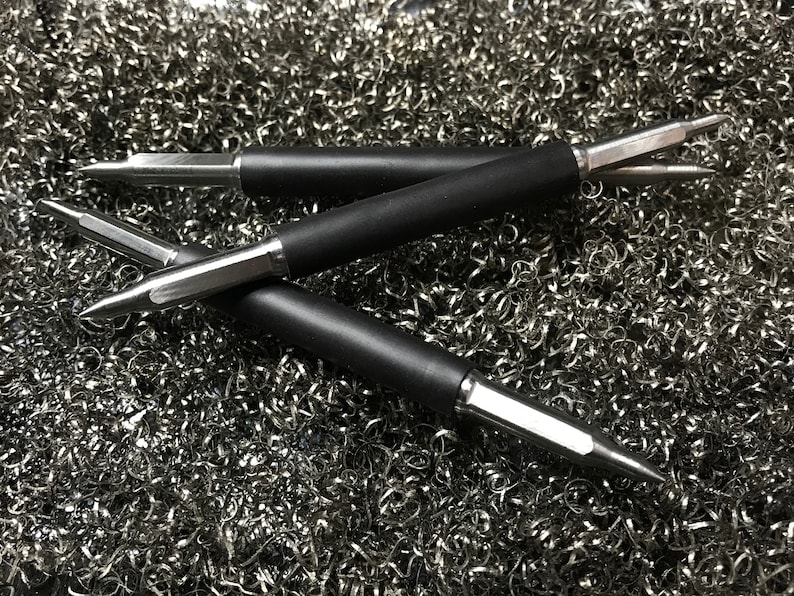
This tool is meant to aid in the assembly / reassembly of your Axis style (Benchmade) knife.
If you're like me, and many others. You own a few Benchmade knives. Unfortunately, when you cary them, the insides get dirty by filling with pocket lint; which eventually gum up the pivot and the action of the knife. Typically, I like to take my knife apart about once a month to clean and sharpen if necessary.
The problem is...if you remove the blade; its like a circus act to reassemble the knife! You need an extra hand or two to manage the feat. You usually have to align the blade, two washers, both liners, and both scales. Once you have all those items in cosmic alignment, you have to delicately place the pivot pin into the hole and slide it through all of the aforementioned things. AND! If any one of those items are slightly out of alignment, the pin gets hung up and won't slide through. Usually, this results in you looking into the hole to see what needs to be moved so that you can finish the assembly; which leads to further misalignments! To make things even more fun; you must pull back on the axis lock bar to relieve the pressure of the lock springs so that the blade can remain aligned. And..to turbo-charge this already shabby situation...you have to be aware of the blade you just sharpened and hold it in such a way so that it doesn't slice your finger open; or it drops out of the knife and cuts you.
Like I said. Circus act.
A few months ago, I watched one of my favorite YouTube knife guy trying his best to reassemble his knife. I watched him make the same mistakes that I made and shook my head thinking that there has to be a better way. I spent that weekend sitting in my shop...thinking and designing the perfect tool. After a few Prototypes, design tweaks, and revisions; I settled on that quote "Perfect tool" for reassembling my Benchmade knives which uses an Axis lock. I'll be honest; I'm proud of it and the design.
The tool works great! I can honestly say that it has turned a task which usually takes me 2-8 minutes into a 30-45 second treat.
DIRECTIONS:
Watch my video found here:
https://youtu.be/yFRS4rNFNRI
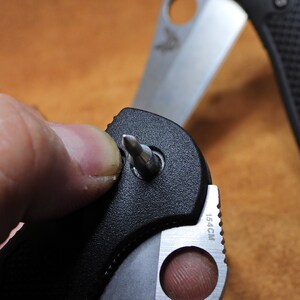
1. If you can see a clear shot through all of the washers and blade; you're good to go. Chances are; the pointed tip of the tool will allow you to move everything into alignment with ease.
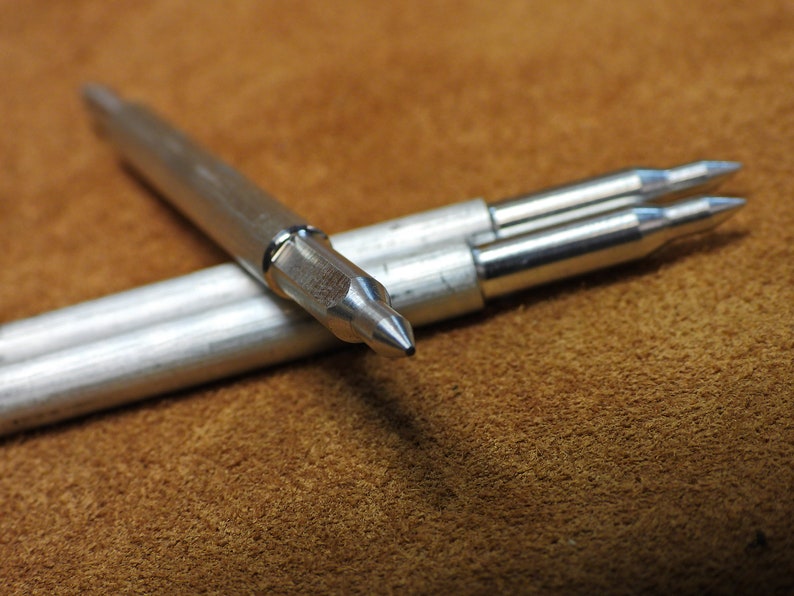
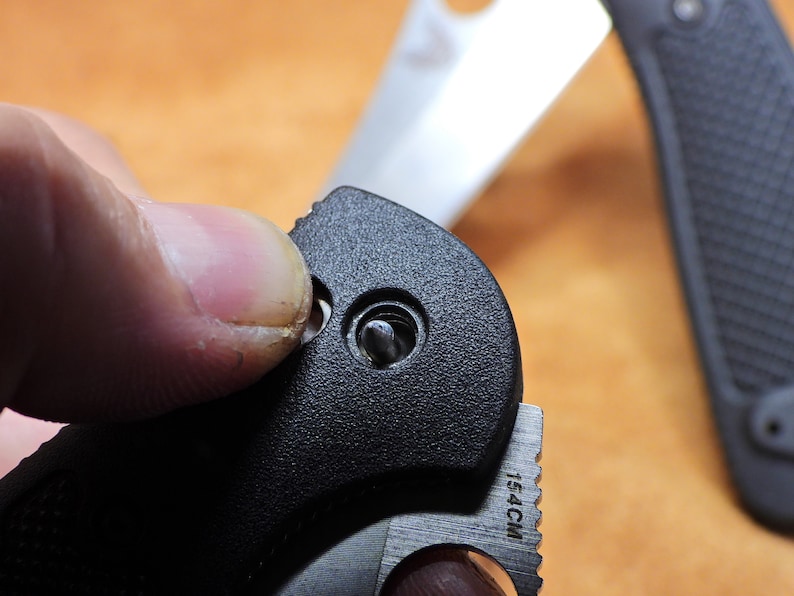
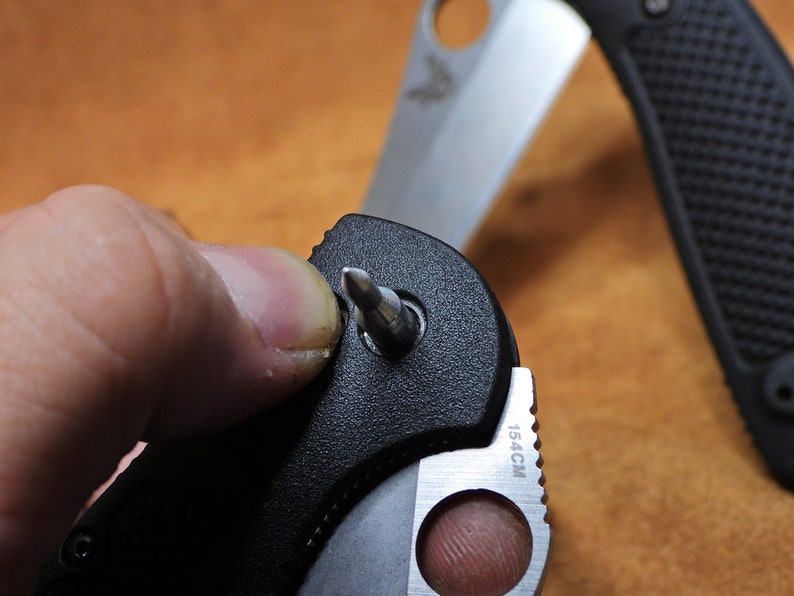
2. Once the tool's tip is through or inside the knife; rotate the tool until the flat portion of the alignment tool lines up with the flat portion of the "D" shaped pivot hole.
3. Pull back on the Axis bar to remove the tension of the springs and the tool should easily slide through the rest of the way. Do not force the tool. If anything; jiggle, or make "circles" with the handle of the alignment tool to help the tool push everything into alignment. Between the jiggling action, and the tapered shoulders of the tool, the washers, blade, and scales should align very easily and the tool should not require much force to slide through.
4. Once all the way through, you can release the axis bar, and the tension generated by the "omega" springs pressing the bar against the blade should hold everything against the alignment tool and subsequently hold everything in place. You can rest and breathe easy; as its not delicate at this point and can be handled more robustly.
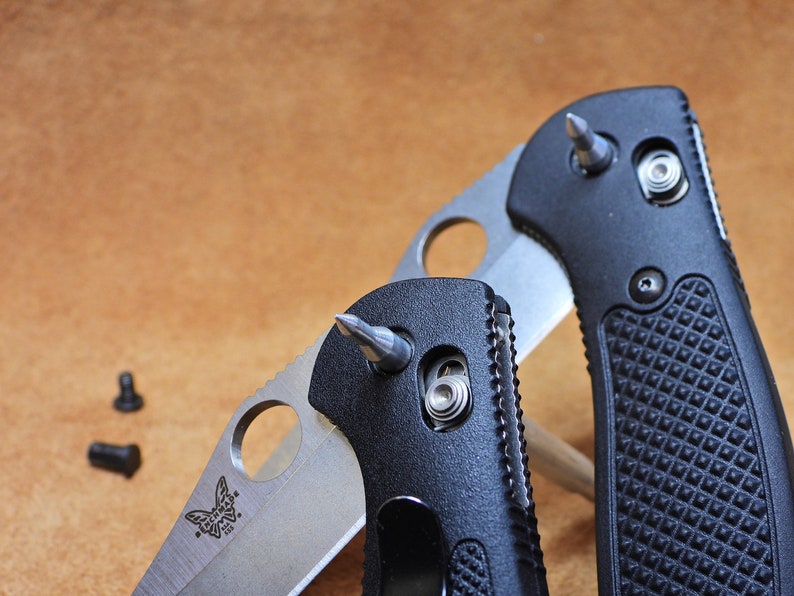
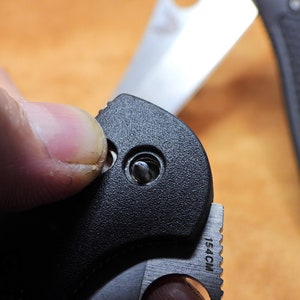
5. Find the pivot pin and slide it over the smaller tapered/pointy bar. Align the "D" pivot's flat section with the flat section of the alignment tool; as this should correspond with the flat section found on the scales/liner. Once the pin is snugly slid onto the tool and the flat portions are aligned; you can grip the tool and place a finger on the top of the pin.
6. Pull the "axis lock bar" back to release the pressure of the omega springs, and push the pin into the hole; pushing the alignment tool out at the same time. It's not easy to get the pin perfectly aligned; so its best to rotate the pin a few degrees clockwise & counter clockwise to coax it into your knife. Be patient; it shouldn't take too much force to slide it through. You're pretty much done at that point. Screw the screw back into the pin and adjust the tension to your liking. Done
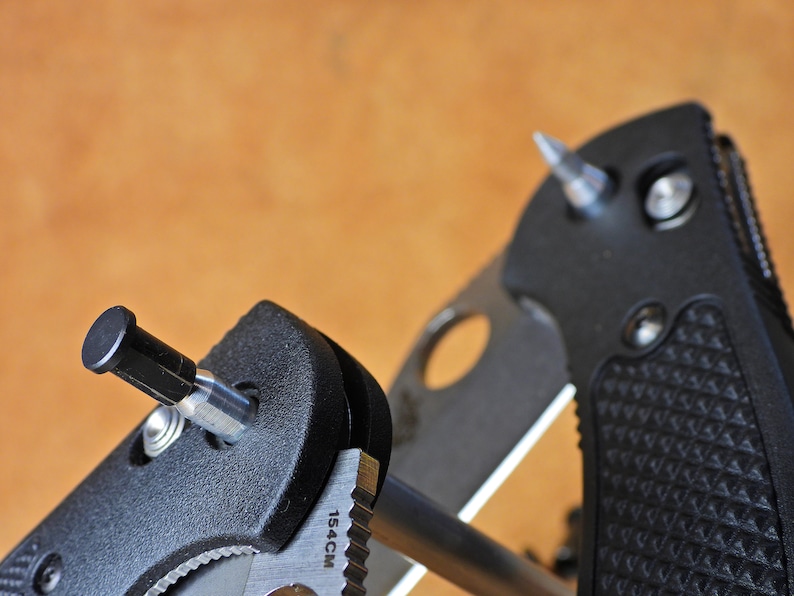
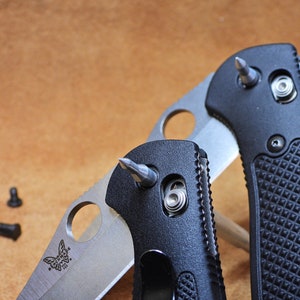
For a video of me assembling the two knives in the photos the old way and then utilizing the tool, visit this video:
https://www.youtube.com/watch?v=VUaBdd1h-8k
I've recently made a video explaining on how to use the tool, which can be found at:
https://youtu.be/yFRS4rNFNRI
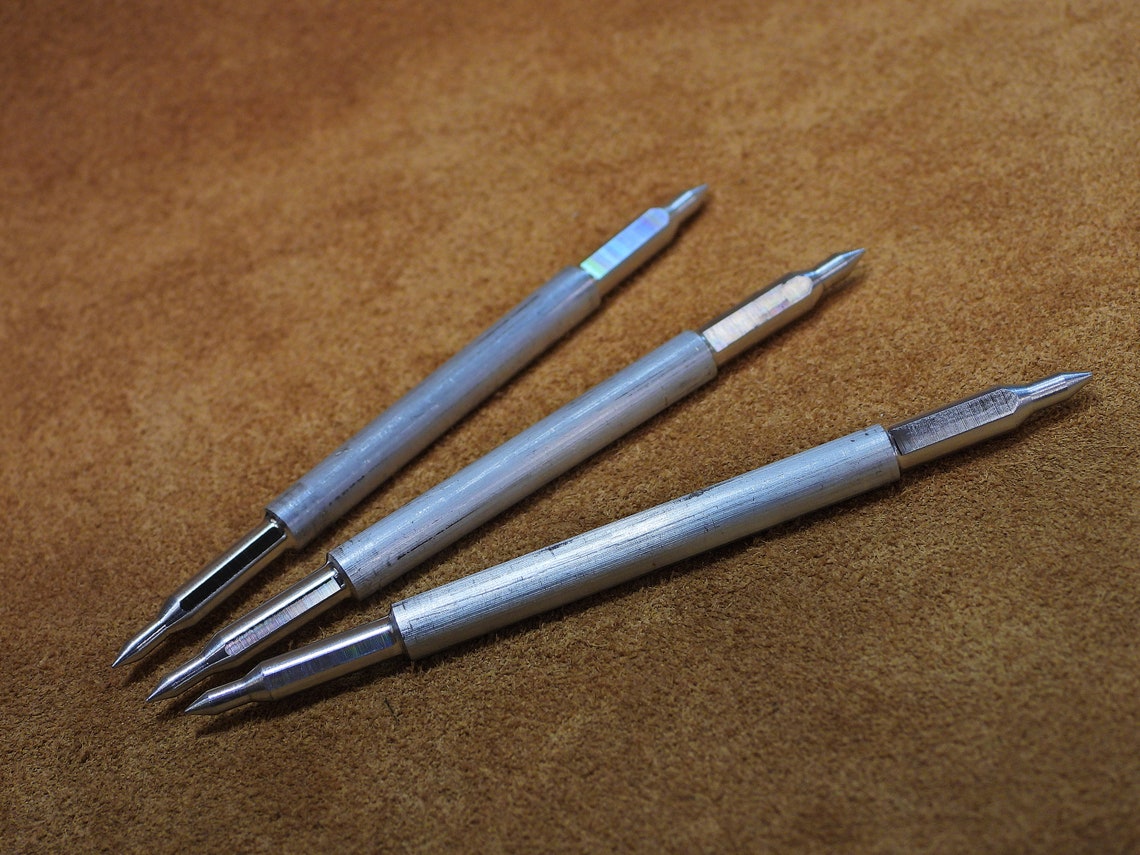
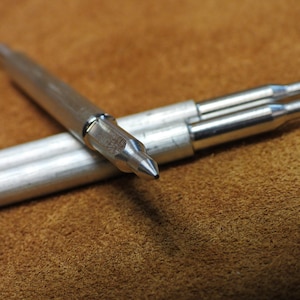
I plan on offering the tool in Aluminum, Brass, Steel, and Stainless Steel. I encourage most people to consider purchasing either the Aluminum or Brass tool. It provides the most protection from possibly scratching your knife. However, they are softer metals and wear over time. If you do multiple knives a day or week, and you're comfortable with most aspects of disassembly/reassembly, then you should consider a Steel or Stainless Steel tool for its substantially enhanced durability. To be honest...most of us are comfortable with using our torx drivers or a Phillips screw driver to align our blades now...and those metal bits are just as if not harder than the steel that I use in the steel version of the tool. As for the stainless steel tool, I use 303 stainless which is one of the softest stainless steels available. So; use your best judgment. I'm just making a tool to make people's lives easier and don't want you to damage your prized knife (otherwise, why would you buy the knife, right?).
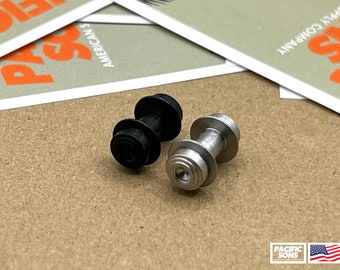
The Aluminum ones are easier and faster for me to produce (hence the lower price). Since they are made of Aluminum; they have almost no chance of scratching your knife or its blade. Yes, the metal is softer and will show wear more readily; however I don't want you to scratch and ruin your knife. Especially around the pivot area which needs to be as smooth and flawless as possible. Any scratches on this critical area; can possibly translate into a gritty feel when opening and closing your knife. Aluminum has almost no ability to scratch your hardened knife blade steel unless you use an EXTREME (stupid) amount of force. Additionally, I sharpen the tips to a "blunt point". Sharp enough to be useful as a makeshift "pick" to move washers and the blade around, but blunt enough as to reduce the chances of the tool poking you and drawing blood. Think of it as a sharp #2 pencil that you've used to write a sentence or two. Pointy, but its not going to stab you. As for concerns of aluminum being able to hold up to the abuse? I've literally used mine for months; through hundreds of teardowns and assemblies. Does it show wear? Yes. But its all cosmetic; no worse than a lightly used MagLight. The key to making an aluminum tool last is to never force it. It genuinely should slip in easy and then "jam". All you do is pull back on the axis lock, and the tool should then move easily the rest of the way; aligning everything as it goes. Just the weight of your knife and hand on it should be all that's needed to slide the tool in and out. If you're wrenching on it pretty hard, you might want to step back and ask yourself what's jamming up. I also suggest when you initially "pop" the pivot, you just unscrew the pivot screw a turn or two and then press it out to "pop" it. The threads within the pivot pin have a MUCH larger contact surface to distribute the force and is better for all parts of your knives.
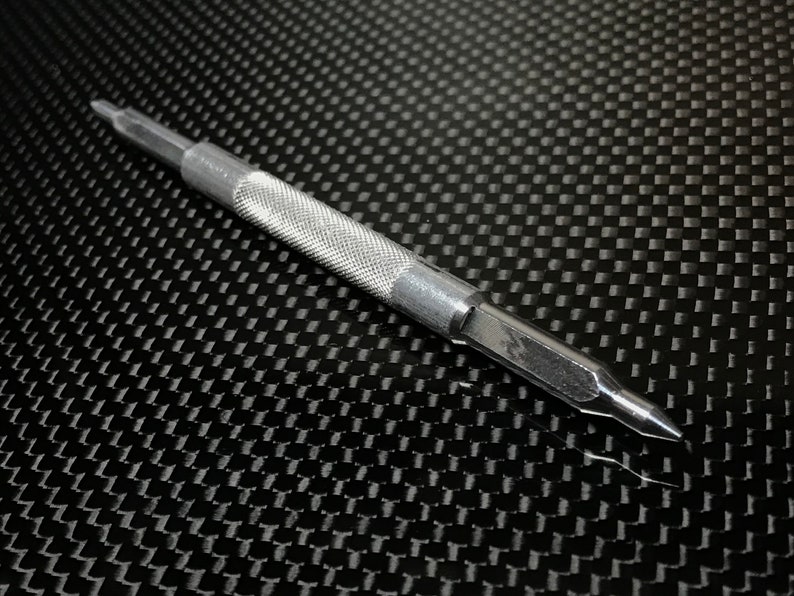
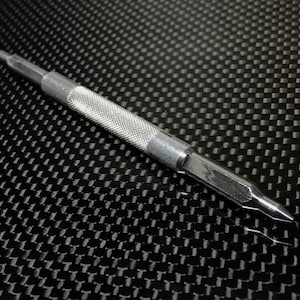
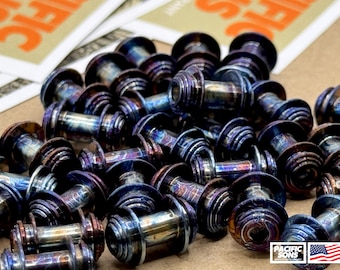
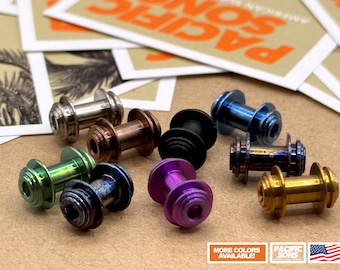
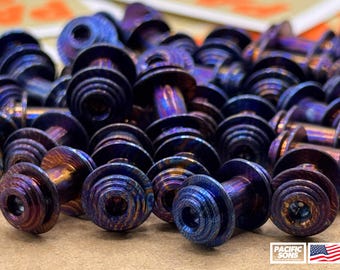
Knurled. I've made a small batch of knurled tools (see photo). The knurling is about on par with one of those fancy mechanical pencils. The knurling will improve your ability to grip the tool should you need it. This'll help for our knife enthusiast friends with arthritis, sweaty, oily, or greasy hands. It really makes the tool easier and more comfortable to use. If demand for this version is there, I'll make more; otherwise get them while they last.
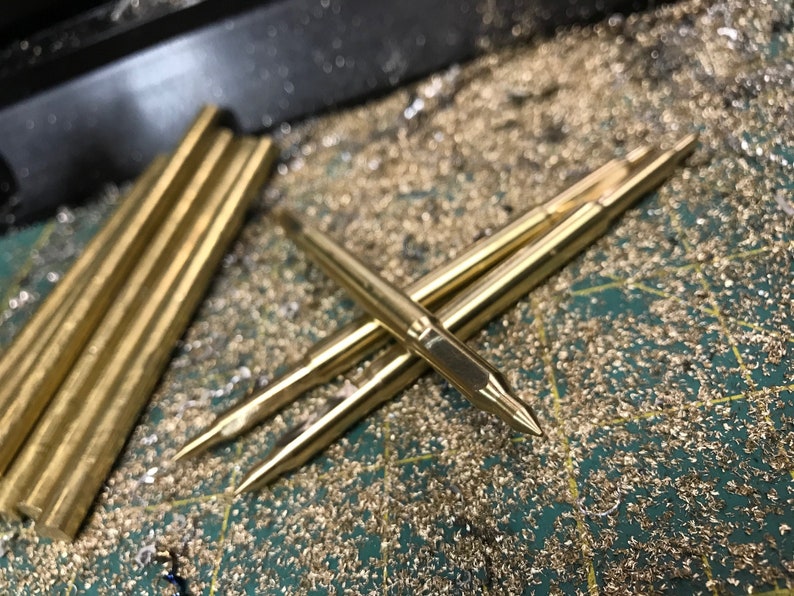
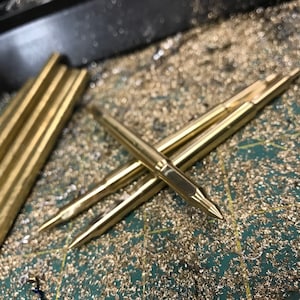
Brass is like aluminum but harder. It's about 6 times the cost in materials to make each tool over aluminum. However, the cost should should offset by a substantially longer life cycle and it should handle abuse a bit better. Plus its gold and shiny. And people like shiny things. Its also got more weight so it feels "more quality". The only thing I would suggest, is that you wipe it down after each use because brass will tarnish. However, a little bit of polish (Flitz, or Brasso) should bring back its golden shine; should it ever become tarnished.
If you want a steel one; I'll make them. When designing these, I thought a tough metal would be the way to go; but have since come to realize that the aluminum ones are just far more practical. Steel, being more durable, wears better and will look newer longer. They should serve you for a lifetime for sure. However, while trying my steel versions; I've had them scratch the bronze washers when I picked at them a bit; and worry they will scratch the blade. The steel version takes me about 3 times longer to produce due to the tooling involved and the hardness of the metal. I'll usually have a small quantity pre-made; so don't hesitate to inquire about it. Additionally, steel will rust; so keep that in mind. I suggest you wipe it with an oily rag or towel after each use. I've also been thinking about blackening/bluing the tips to aid in rust prevention. Let me know if that is something you guys would be interested in
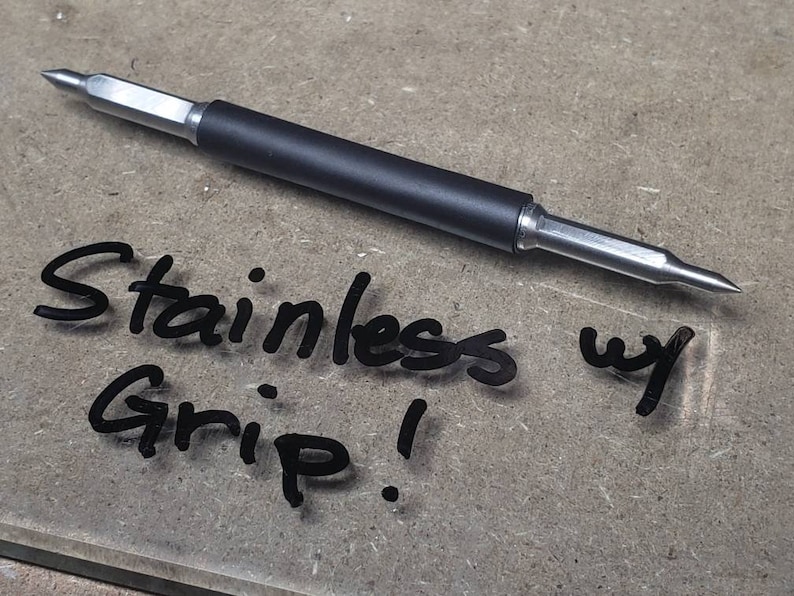
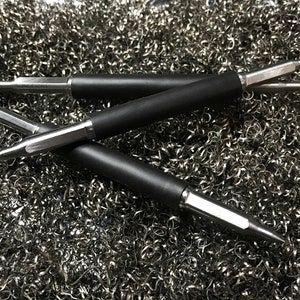
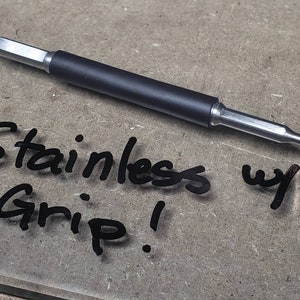
And finally, I'll offer a Stainless version as the premium version. Its actually even harder and takes longer to make than the steel version; so keep that in mind. The stainless I use is Grade 303. It's pretty soft as far as stainless is concerned; but hard enough to shrug off wear and tear and last for a long time. In addition; it shouldn't rust and keep looking new for a long time. Since the materials are so costly, and the time to produce one is the most out of all the versions; it obviously costs the most on my store. However, to add that extra bit of class and value; I've added a shrink wrap handle to the tool to aid in grip when you're dealing with an oily knife.
Thats a lot of reading! Thank you for your interest and I hope to do business with you. If you have any questions or concerns; please message me. I don't bite. I'm just an average guy; no different than a friendly neighbor always looking to have a constructive chat. -David
************
Updates!!!
The Crooked River version of my tool is available! I just made about 2 dozen of them. They work just like my normal alignment tool; but only for Crooked River knife models. Maybe other newer "big" models? I don't know, I don't own every Benchmade knife.
Benchmade's Larger Crooked River model of knives (both the regular and mini) uses a pivot pin that is larger than all the other Benchmade knives. Subsequently, I make a version of the tool specifically to fit the Crooked River series of pivot pins. If you have a large or small Crooked river; the "Crooked River" version of my tool is designed specifically for those versions / size of the knives. The "Crooked River" version of my tool will not work with the common variants of Benchmade knives (Bugout, Griptilian, etc.). If you encounter any other Benchmade knives with different pivot pins; please let me know so that I can investigate ASAP!
*********
What buyers say
Summarized by AI from all item reviews
Price:$20.00
Shipping & return policies
-
Get it byAug 12-15
Your order should arrive by this date if you buy today. To calculate an estimated delivery date you can count on, we look at things like the carrier's latest transit times, the seller's processing time and shipping history, and where the order is shipping to and from.
-
Returns & exchangesAccepted within 30 days
Buyers are responsible for return shipping costs. If the item is not returned in its original condition, the buyer is responsible for any loss in value.
-
Ships fromHonolulu, HI
-
Cost to Ship$10.00 to United States, 43215
Enjoy free shipping to the US when you spend $35+ at this shop.
There was a problem calculating your shipping. Please try again.
If something goes wrong with an order, we've got your back for all eligible purchases. View program terms
Like electric trucks and carbon offsets for every delivery. View more
Reviews for this item
What buyers say
Summarized by AI from all item reviews
Great quality Easy to use Fast shipping As described Helpful seller Love it Looks great

Smooth and easy transaction. Super fast shipping. Packaged very well. Excellent customer service and communication. Exactly as pictured and described. Thank you!
Simple tool. Does exactly what it’s made for.
Good item to have around
Great customer service for this tool
All reviews are from verified buyers. Reviews are shown automatically based on factors like recency, whether they include comments, your chosen language, and whether the rating reflects the typical experience with the shop.
Photos from reviews
Meet your seller
Usually responds in a few hours
Smooth shipping Has a history of shipping on time with tracking.
Rave reviews Average review rating is 4.8 or higher.
More from this shop
-
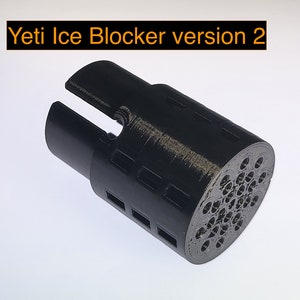
Yeti Ice Blocker v2 (Version 2)
$5.00
-
Ice Blocker for Yeti Rambler Chug Cap
$5.00
-

Carbon Fiber Clipboard
$70.00
-
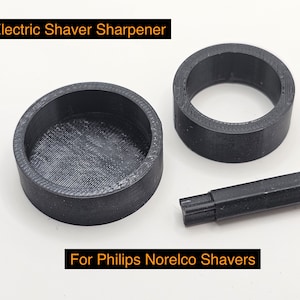
Sharpening Kit for Philips Norelco Electric Shaver
$0.50
-
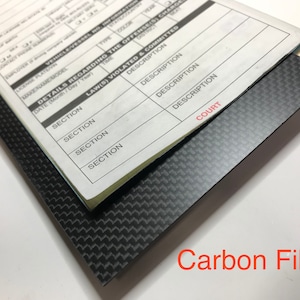
Citation Book Mini Clipboard for Police / Law Enforcement Tag / Ticket
$10.00
-
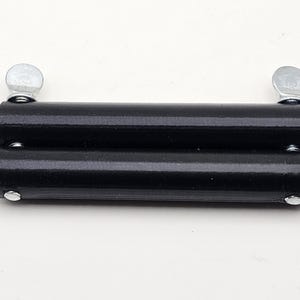
Tube / Toothpaste Squeezer / Wringer / Presser
$10.00
-
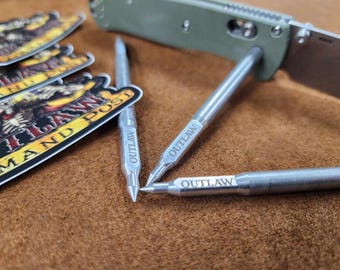
Benchmade Pivot Alignment Tool for Axis Lock knives (Benchmade) - Scale Swap
$18.99
-
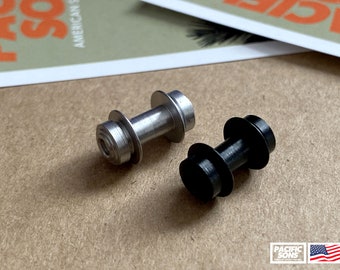
Super Smooth Axis Lock Bar for Benchmade Mini Griptilian 555
Sale Price $5.85
Original Price $6.50
-
Lightning Anodized Titanium Axis Bar for Benchmade Bugout/Mini/Bailout
Sale Price $17.95
Original Price $19.95
-
Titanium Axis Lock Bars for Benchmade Bugout, Mini Bugout, Bailout
Sale Price $7.20
Original Price $8.00
-
Super Smooth Axis Lock Bar for Benchmade Osborne 940
Sale Price $5.62
Original Price $6.25
-
TIMASCUS Axis Bar for Benchmade Bugout/Mini/Bailout
Sale Price $10.35
Original Price $11.50
-
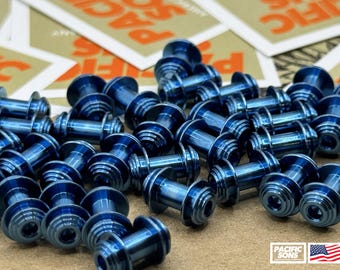
Blue Smooth Action Axis Bar for Benchmade Bugout 535 / Mini Bugout 533 / Bailout 537
Sale Price $5.85
Original Price $6.50
-
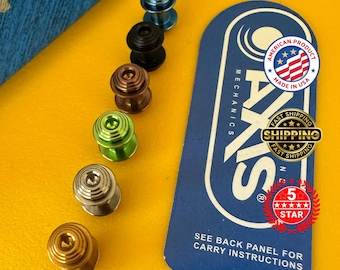
Titanium Axis Lock For Benchmade Griptilian (Not Mini) Custom Benchmade Knives
Sale Price $18.00
Original Price $24.00
-
Benchmade Infidel Knife Pocket Clip Screws - Stainless Steel T6 Torx (Set of 2)
Sale Price $6.79
Original Price $7.99
-
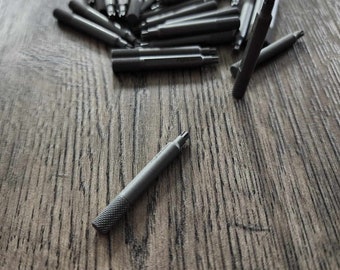
Benchmade Knives - Pivot Tool - Flytanium Gear
$22.00
-
T6 Torx Stainless Steel Screw Set – For Benchmade Infidel 3300 (14pcs)
Sale Price $13.59
Original Price $15.99
-
Axis Lock Bar for Benchmade Griptilian 551
Sale Price $5.85
Original Price $6.50
Disclaimer: As with all children's products, adult supervision is required. Products that contain small parts may pose a choking hazard and should not be used by children under 3. Sellers are responsible for following applicable laws and regulations, including posting items with accurate labeling and warnings. Etsy assumes no responsibility for the accuracy, labeling, or content of sellers' listings and products. Always read labels, warnings, directions and other information provided with the product before using it. If you have any questions, message the seller. See Etsy's Terms of Use for more information.


Looking for more? Find it on Etsy