


5 views in the last 24 hours
Price: $20.00
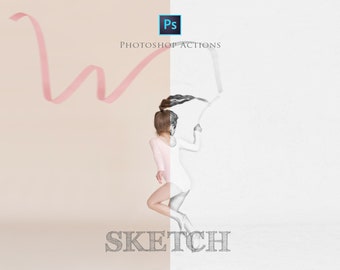
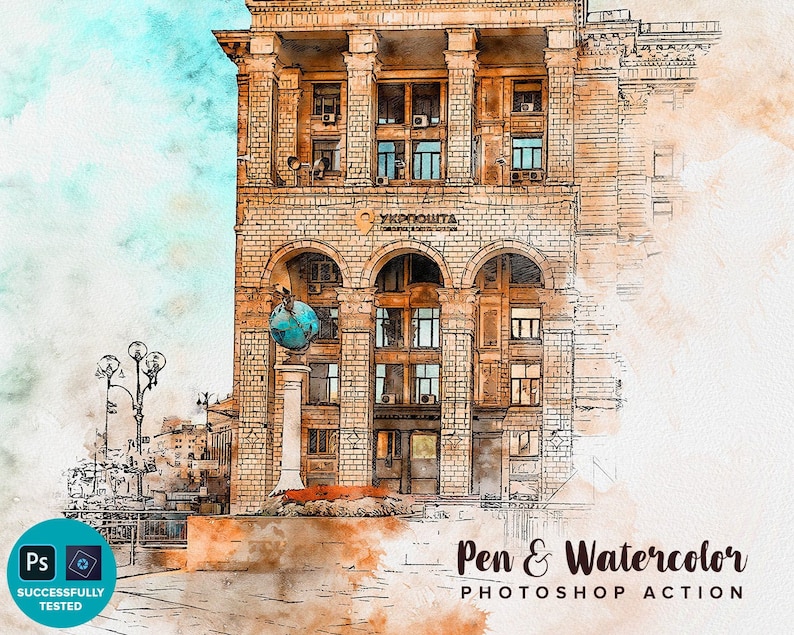
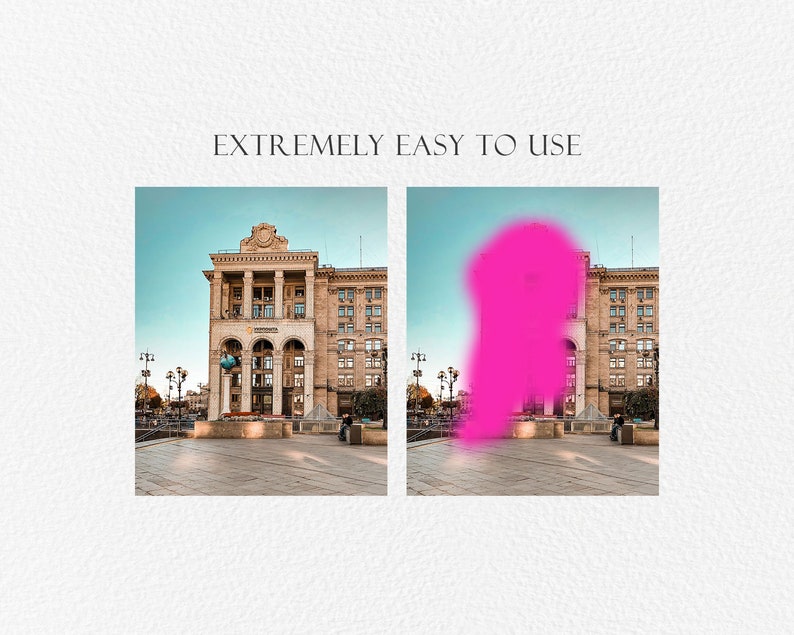
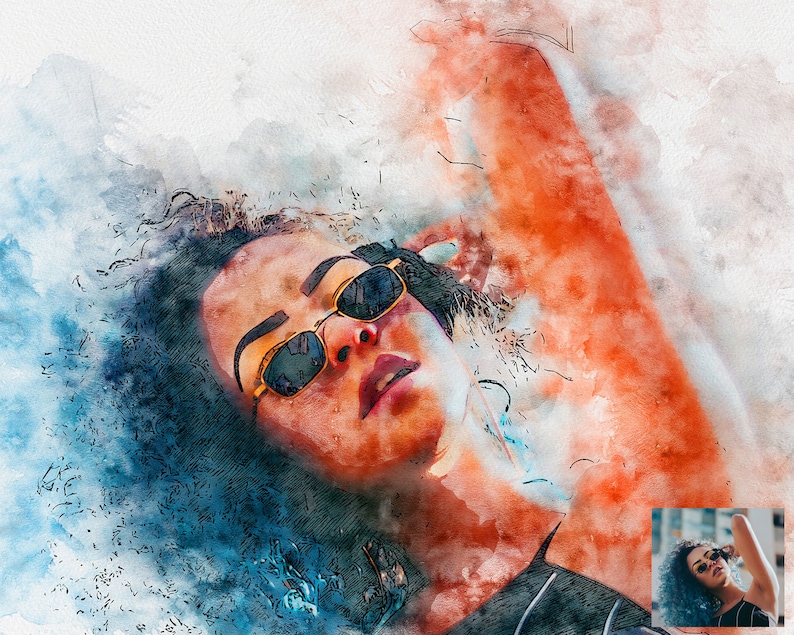
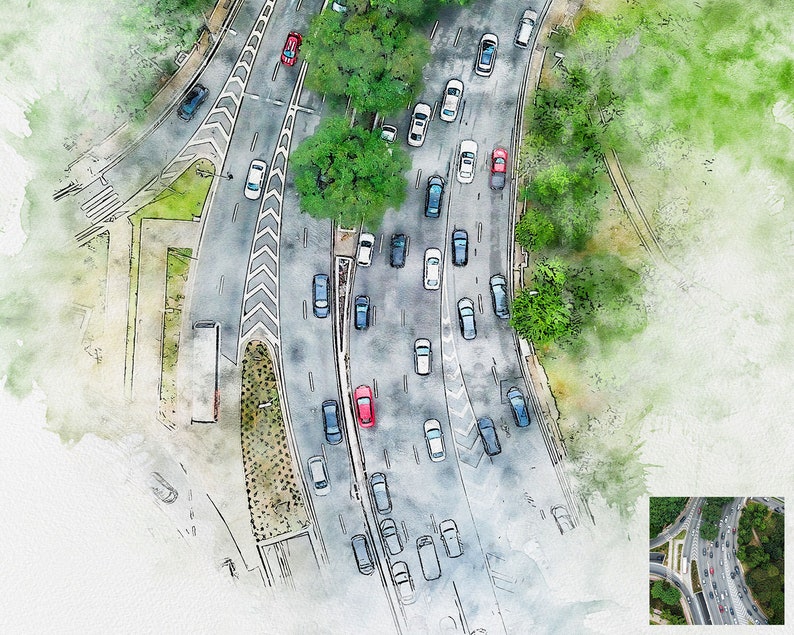
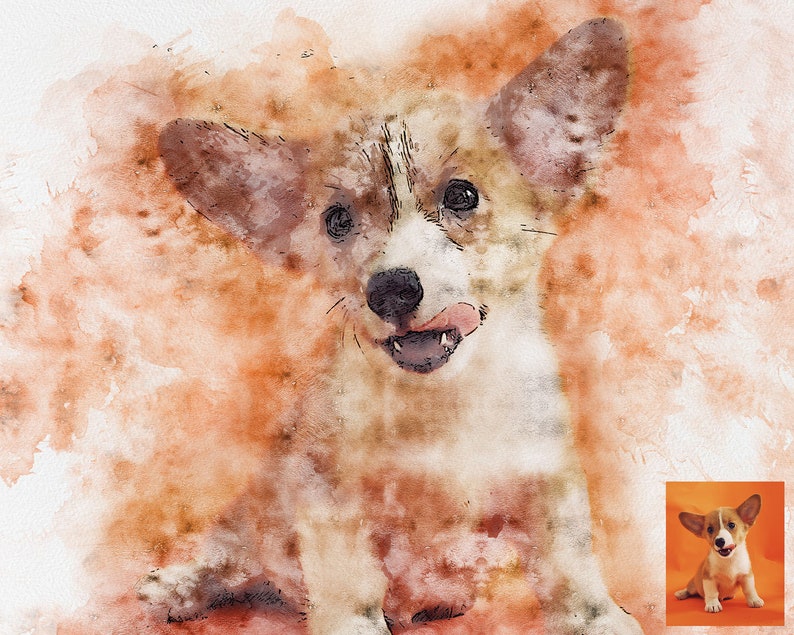
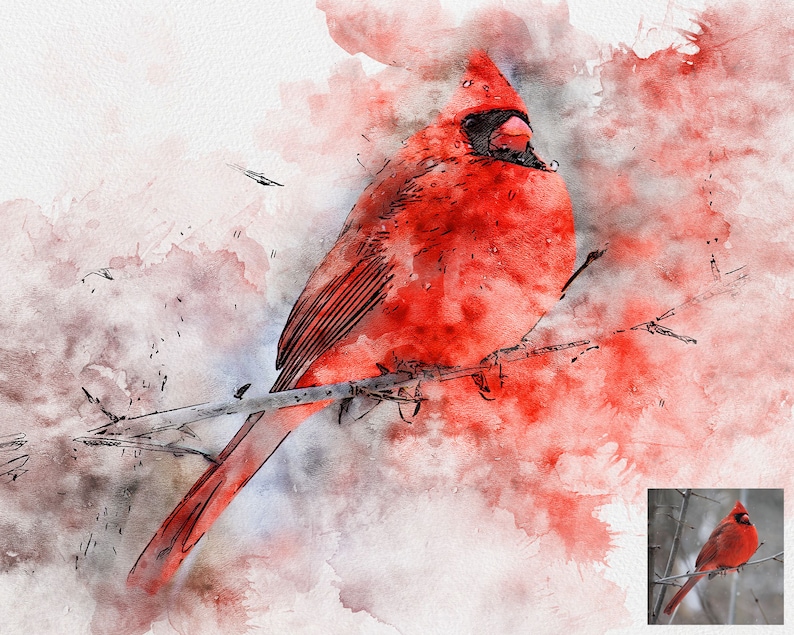
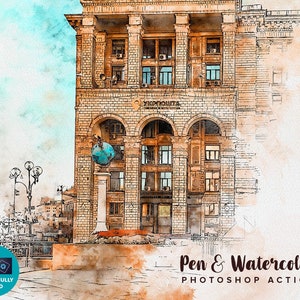
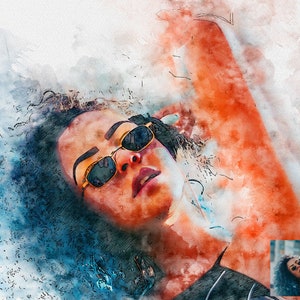
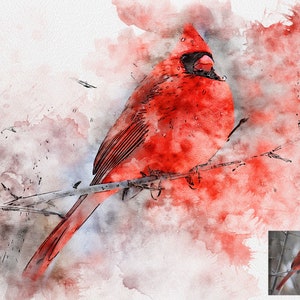
Pen and Watercolor Photoshop Action | Unique Pen Sketch and Watercolor Painting Actions | Painterly Action | Watercolor Photoshop Effect
Star Seller
Star Sellers have an outstanding track record for providing a great customer experience—they consistently earned 5-star reviews, shipped orders on time, and replied quickly to any messages they received.
You can only make an offer when buying a single item
Star Seller. This seller consistently earned 5-star reviews, shipped on time, and replied quickly to any messages they received.
Instant Download
Your files will be available to download once payment is confirmed. Here's how.
Instant download items don’t accept returns, exchanges or cancellations. Please contact the seller about any problems with your order.
Etsy Purchase Protection: Shop confidently on Etsy knowing if something goes wrong with an order, you'll get a full refund for all eligible purchases — see program terms

Captcha failed to load. Try using a different browser or disabling ad blockers.
903 reviews
5 out of 5 stars

Took some time to work out how to use but very happy with the end result. Would be improved with a slower step by step tutorial video but I got there in the end. Thanks so much!

Katie Payne Mar 23, 2024

Photos from reviews
More from this shop