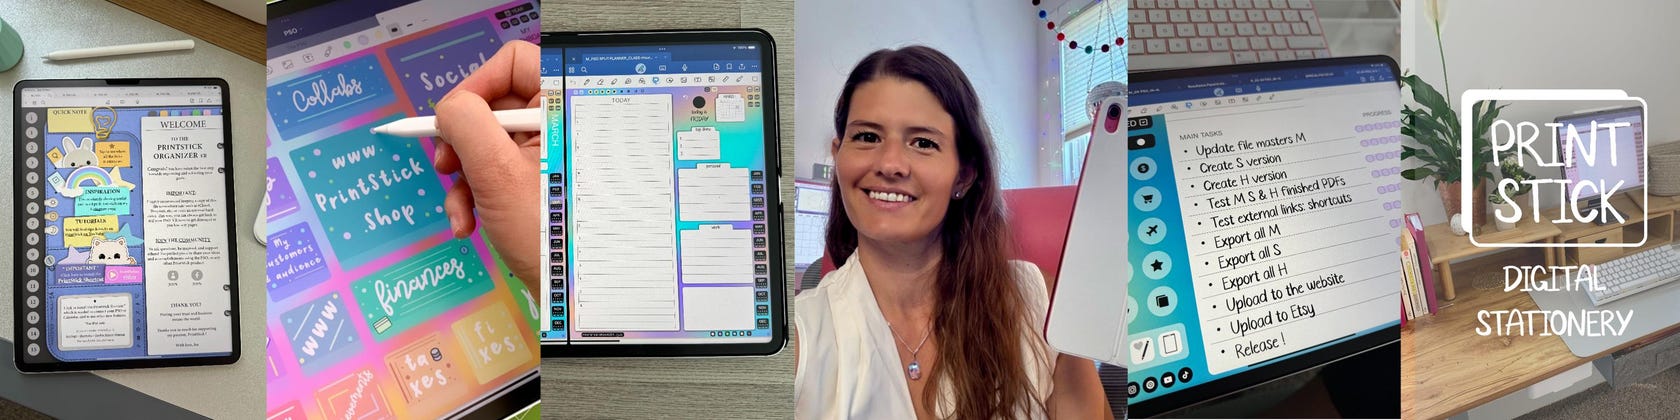









Turning my passion for design into tools to help you better organize, digitally!
Featured items
All items
Announcement
Last updated on Sep 4, 2024
Reviews
4.9
(2399)
Average item review
We calculate this number using a recency-weighted average of all ratings, with a rating's value decreasing by half each year to best reflect the current experience.


Shop policies
Last updated on
February 16, 2023
Accepted payment methods
Accepts Etsy Gift Cards and Etsy Credits
Returns & exchanges
See item details for return and exchange eligibility.
Cancellations
Cancellations: not accepted
Please contact the seller if you have any problems with your order.
More information
Last updated on
Dec 17, 2025
Frequently asked questions
How To Use Cut Files (Black PNGs) - Steps 1, 2 & 3
The black .png files included in your download are for tracing your .jpg files on Silhouette Studio; you need to import both types of files.
Step 1- Import the .png file* into Silhouette Studio (the black shapes).
Step 2- Click on the image to select it and change its size to 8.5” wide, making sure that the 'Lock Aspect' box is checked. Then center the image in the middle of the page.
Step 3- Go to your tracing tool and click on 'Select Trace Area'. Then make a big rectangle selecting all the black shapes you just loaded. Uncheck the 'High Pass Filter' box and click on 'Trace Outer Edge'. You will now have cut lines and you may delete the black image (click on any black shape and hit 'Delete' on your keyboard).
How To Use Cut Files (Black PNGs) - Step 4
Step 4- Import the .jpg file* onto your library, and place it on your workspace, over the cut lines you just created. Change the size of the image the same way you did before, making sure that the 'Lock Aspect' box is checked and enter 8.5" wide. Center image and send it to the background (Object-Arrange-Send to Back)
*If the .png and .jpg files come with a number, make sure that they match when working with them in your Silhouette Studio workspace (Ex: import: BHPKit-01.jpg and BHPKitCUT-01.png).
You should now be able to see your cut lines over the image. Now just send to printer, adjust cut settings and start cutting!
Looking for more? Find it on Etsy