


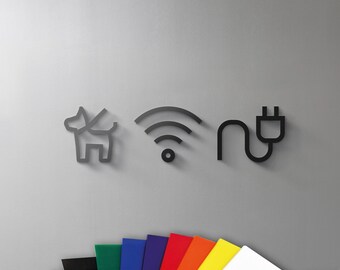
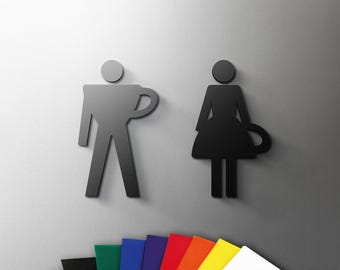
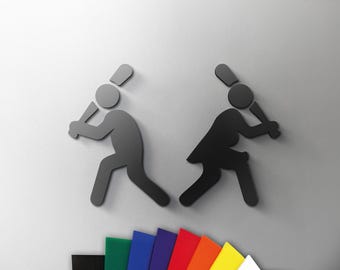

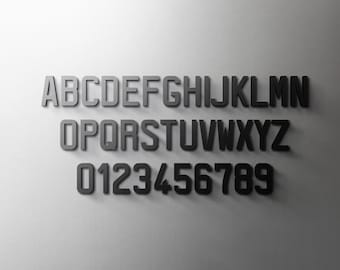








Creativity meets precision
Behind the Scenes: How your modern & minimalist Acrylic Wayfinding are made:
1. Concept & Design
Identify the purpose and environment
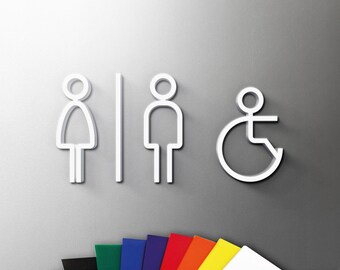
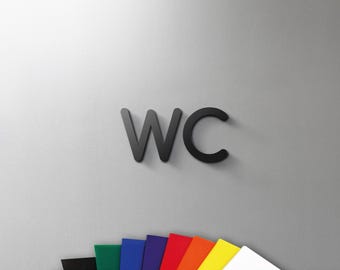
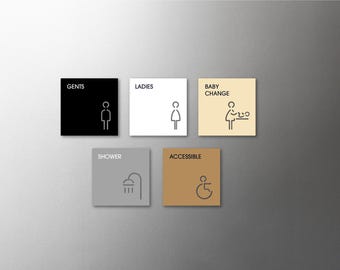
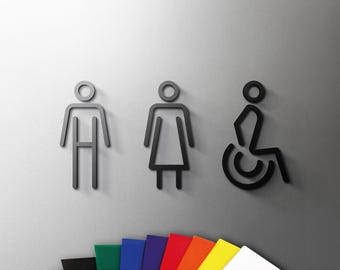
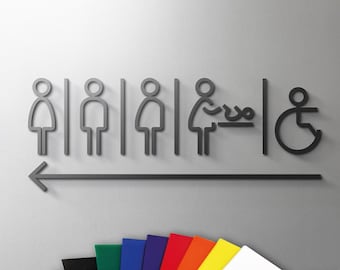
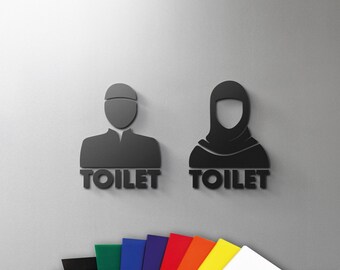
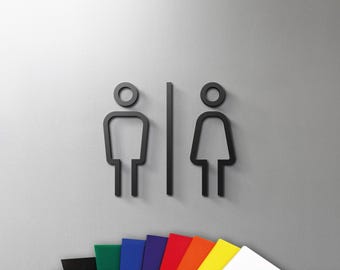
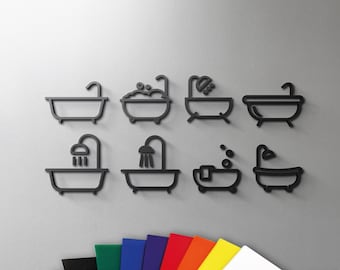
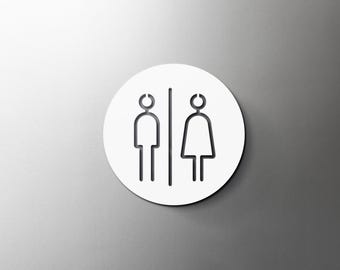
We begin by defining the sign’s goal: a clean, minimalistic restroom marker that blends seamlessly with modern interiors.
Sketching and layout
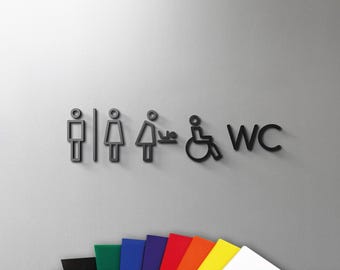
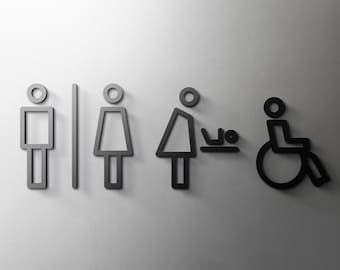
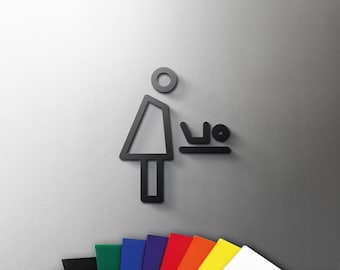
Simple, crisp iconography is chosen to ensure universal recognition. Designers outline proportions, spacing, and overall visual balance.
Digital rendering
The artwork is transferred into vector format, which ensures every curve and line will cut smoothly and accurately in production.
Material planning
The design is calibrated specifically for 3mm acrylic so that the final product is sturdy, sleek, and lightweight.
2. Material Selection & Sourcing
Choosing premium acrylic sheets
High-clarity, 3mm thick acrylic is selected for its durability, smooth finish, and resistance to discoloration.
Inspecting for quality
Each sheet is checked to ensure it is free of scratches, warps, or cloudiness.
Selecting the adhesive
Industrial-grade 3M adhesive backing is sourced for secure mounting. Only strong, surface-safe adhesives are chosen.
3. Cutting & Shaping
Laser cutting the acrylic
The design file is loaded into a precision laser cutter, which produces crisp, polished edges with minimal finishing needed.
Removing the protective film
The film on the face of the acrylic is left intact during cutting to prevent marks, then carefully peeled away for finishing.
4. Finishing & Detailing
Edge polishing
Any micro-residue from laser cutting is polished away to ensure a smooth, glossy perimeter.
Surface cleaning
Each piece is wiped with a lint-free cloth to remove dust and fingerprints.
5. Applying the Adhesive Backing
Cutting 3M adhesive to size
The adhesive sheets are trimmed precisely to match the rear surface of the sign.
Hand-applying the adhesive
The backing is aligned by hand for perfect symmetry, then pressed firmly to ensure a bubble-free bond.
Sealing with a protective film
The peel-off film remains on the outward face of the adhesive until installation.
6. Quality Check
Visual inspection
Every sign is checked for clarity, smooth edges, and flawless finish.
Adhesion test
A light bend test ensures the adhesive layer is fully secure and ready for installation.
Accuracy check
Icon placement and proportions are reviewed to ensure the minimalist design is consistently clean and balanced.
7. Packaging & Handling
Fingerprints removed once more
Signs are cleaned again before packing so they arrive spotless.
Scratch-safe packaging
Each sign is wrapped in protective material to keep the acrylic pristine during transit.
Customer-ready presentation
Simple, modern packaging reflects the clean style of the sign itself.
