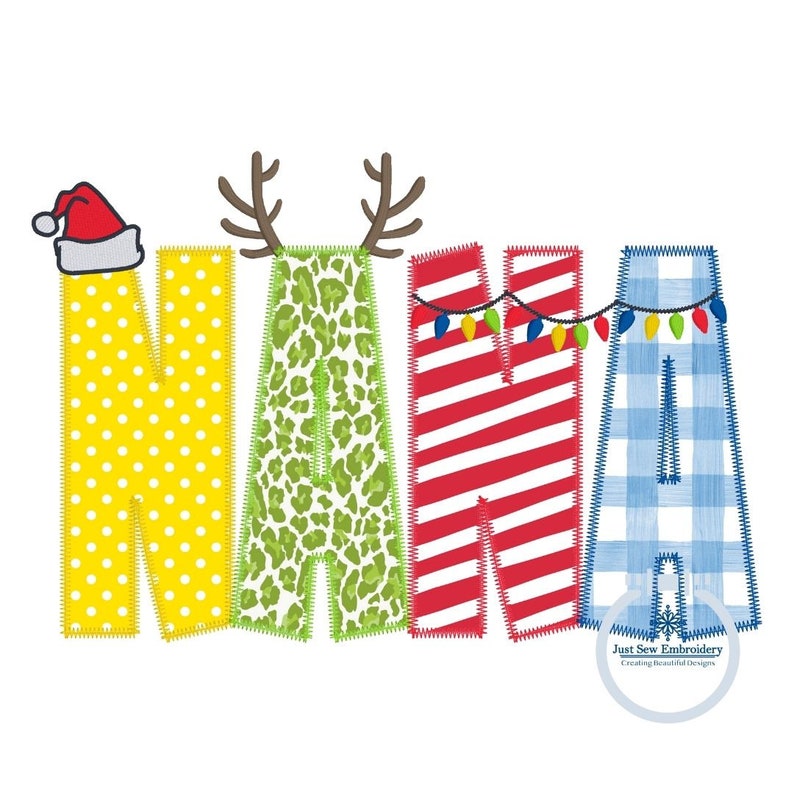
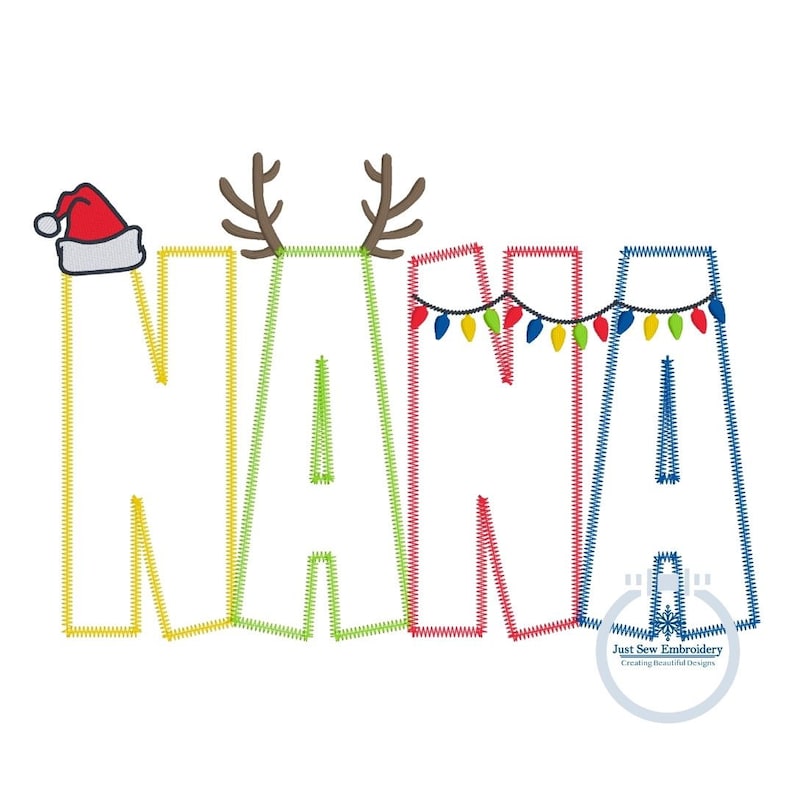


NANA Christmas Applique Embroidery Design Zigzag Applique Five Sizes 5x7, 8x8, 6x10, 7x12, and 8x12 Hoop
NowPrice:CA$5.89
Original Price: CA$7.37
20% off
Sale ends on 31 October
You can only make an offer when buying a single item.
Highlights
Treat yourself or your NANA to this really cute Christmas applique embroidery design with a quick stitching zigzag edge!!
This listing includes five sizes:
5x7 hoop - 4 3/4 x 7 1/16 inches with 8,459 stitches
8x8 hoop - 5 1/4 x 7 13/16 inches with 9,400 stitches
6x10 hoop - 6 1/4 x 9 5/16 inches with 11,259 stitches
7x12 hoop - 7 1/16 x 10 1/2 inches with 12,706 stitches
8x12 hoop - 7 7/8 x 11 11/16 inches with 14,125 stitches
This is not a patch. No physical product will be sent to you. This is an embroidery file and you must have an embroidery machine to use this product.
Available in PES, DST, EXP, HUS, JEF, VP3, and XXX.
This design may be used to decorate items for personal use or for sale, however the actual design may not be copied, sold, reproduced, or shared in any way. That is a violation of copyright laws.
This is a digital file available for immediate download. I cannot offer refunds on digital designs. If there is an issue with the stitched design, please let me know and I will do my best to correct your issue.
Where hoop sizes are mentioned, I am referring to the following hoop sizes:
Hat (60mm x 130mm)
4x4 (100mm x 100mm)
5x7 (130mm x 180mm)
6x10 (160mm x 260mm)
8x8 (200mm x 200mm)
7x12 (180mm x 300mm)
8x12 (200mm x 300mm)
9.5x14 (240mm x 360mm)
10.5x16 (272mmx460mm)
APPLIQUÉ INSTRUCTIONS:
Fabric Prep: Appliqué fabric should be washed and dried prior to using so that it’s preshrunk. Also, I recommend applying heat n bond lite to the back of the fabric, then peel off the paper backing before placing the material on your embroidery project. Do not apply heat n bond lite for raggy edge applique.
Appliqué files have three steps and you need to keep the thread colors different for these three steps so your machine will stop (single needle machine). Even if you don’t change the thread on the machine, the different colored thread in the design will force the machine to stop.
Step 1 Placement: Place your hooped project on the machine and run the first color. This is the placement stitch to show where to lay the fabric.
Step 2 Tackdown: Lay your fabric over the placement stitch and run the second stitch. This is the tackdown stitch to hold the fabric in place. For raggy edge applique, I recommend adding a piece of flannel in addition to the fabric you are using. Flannel frays very easily and adds more dimension to the raggy edge.
Step 3 Finishing Stitch: Remove the hoop from the machine, but DO NOT unhoop your project. Trim the appliqué fabric as close to the stitches as possible without cutting into the stitches. For raggy edge applique, trim the fabric leaving approximately 1/4 inch of fabric past the stitches. Place the hoop back on the machine and run the third and final step which is the edge stitch or finishing stitch.
For designs with two different fabrics, the order is usually bottom layer placement stitch, bottom layer tackdown stitch, top layer placement stitch, top layer tackdown stitch, bottom layer edge stitch, top layer edge stitch. Trim fabric after each tackdown stitch before proceeding to the edge stitch.
Happy Stitching!
Instant Download
Your files will be available to download once payment is confirmed. Here's how.
Instant download items don’t accept returns, exchanges or cancellations. Please contact the seller about any problems with your order.
Etsy Purchase Protection
Shop confidently on Etsy knowing if something goes wrong with an order, we've got your back for all eligible purchases —
see programme terms

Be the first to review this item

Rave reviews Average review rating is 4.8 or higher.
More from this shop
Visit shop-

Digital download
MAMA Applique Embroidery Design Satin Edge Stitch Academic Font Mother's Day Gift Four Sizes 5x7, 8x8, 6x10, and 8x12 Hoop
Sale Price CA$5.89
Original Price CA$7.37
-

Digital download
MAMA Diamond Stitch Applique Embroidery Machine Design Varsity Font Mother's Day Gift Five Sizes 5x7, 8x8, 9x9, 6x10, and 7x12 Hoop
Sale Price CA$5.89
Original Price CA$7.37
-

Digital download
MAMA Arched Satin Applique Embroidery Design Academic Font Six Sizes 5x7, 8x8, 9x9, 6x10, 7x12, and 8x12 Hoop
Sale Price CA$5.89
Original Price CA$7.37
-

Digital download
MOM Arched Applique Embroidery Design Academic Font Satin Edge Five Sizes 5x7, 6x10, 8x8, 7x12, and 8x12 Hoop Also 5x12 PES ONLY
Sale Price CA$5.89
Original Price CA$7.37
-
Digital download
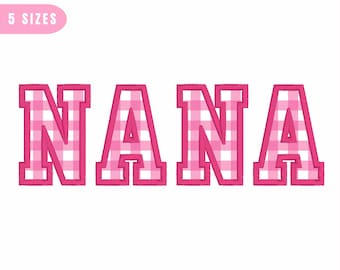
Nana Applique Embroidery Design Satin Edge Stitch Academic Font Gift for Mom Four Sizes 4x4 5x7, 6x10, 7x12 and 8x12 Hoop Instant Download
Sale Price CA$4.30
Original Price CA$6.63
-
Digital download
Nana Applique Embroidery Design, Nana Embroidery Design, Nana Embroidery File, Nana Embroidery Applique, Nana Embroidery Font
CA$8.82
-
Digital download
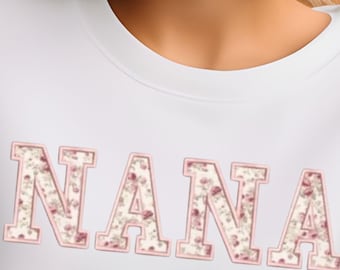
Nana Applique Embroidery Design – DIY Gifts (Digital File)
CA$7.35
-
Digital download
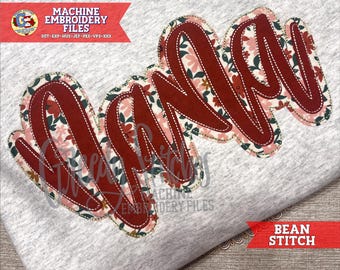
Nana Double Applique Bean Stitch Machine Embroidery Design | Nana Double Stack Applique | Nana PES | Nana DsT | Nana Applique PES | Nana VP3
CA$5.89
-
Digital download
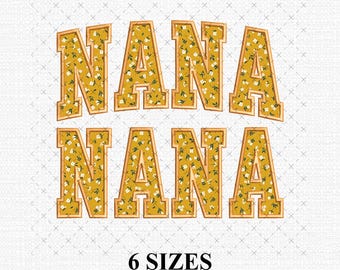
Nana Applique Embroidery Design, Mother's day Embroidery File, Instant Download
CA$6.26
-
Digital download
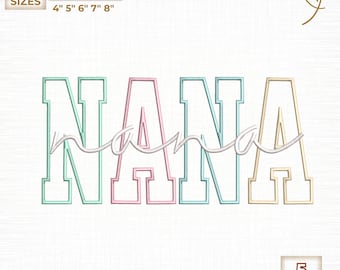
Nana Applique Embroidery Design, NANA Varsity Satin Applique Embroidery Design, Nana Machine Embroidery Design, 5 Sizes - Instant Downloads
Sale Price CA$4.79
Original Price CA$9.57
-
Digital download
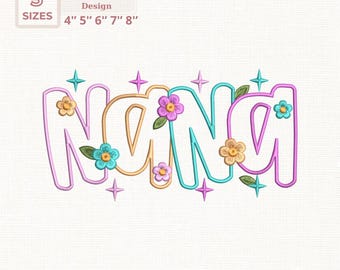
Nana Applique Embroidery Design, NANA Floral Satin Applique Embroidery Design, Nana Machine Embroidery Design, 5 Sizes - Instant Downloads
Sale Price CA$4.60
Original Price CA$9.21
-

Digital download
Nana Arched Embroidery
CA$5.88
-
Digital download
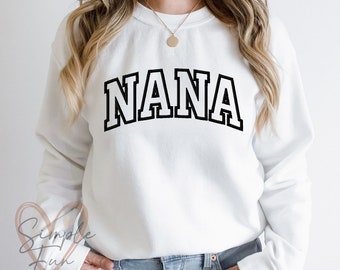
NANA Applique Embroidery,NANA Embroidery Design,Machine Embroidery File,Simple fun
CA$5.29
-

Digital download
Coquette Nana Applique Embroidery Design: 4 Sizes (Instant Download)
Sale Price CA$4.24
Original Price CA$5.30
-
Digital download
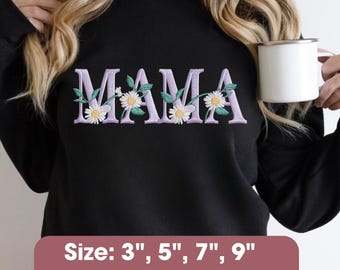
Nana Flowers Embroidery Design featuring Coquette perfect for Mother's Day machine embroidery design 4 sizes gifts for Mom Grandma Nana
Sale Price CA$8.54
Original Price CA$11.39
-
Digital download
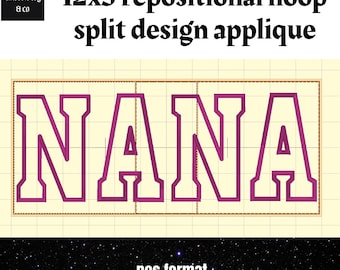
Nana applique 12x5 repositional hoop split embroidery design
CA$5.89
Shoppers with similar taste loved these
-

Digital download
Holy Night Nativity Set Book Crochet Pattern
CA$7.85
-

Digital download
Crochet Nativity Set Pattern: Angel, Mary, Joseph, Jesus and animals (PDF Pattern)
Sale Price CA$8.05
Original Price CA$10.73
-

Digital download
Nativity Crochet Pattern: Christmas Amigurumi Scene (PDF Download)
CA$10.80
-

Digital download
Amigurumi Nativity Scene (Crib) | Crochet Pattern (ESP-ENG)
CA$22.10
-

Digital download
Crochet Amigurumi Christmas Holiday Nativity pdf Pattern
CA$8.84
-

Digital download
PATTERN ONLY Nativity Scene Mary Joseph Jesus Donkey Sheep Melchior Balthasar Gaspar Camel Krippe Manger amigurumi three Magi
Sale Price CA$13.23
Original Price CA$33.08
-

Digital download
Amigurumi Nativity Set, Christmas Crochet Pattern, Baby Jesus Mary Joseph, Mini Nativity Set / English - Spanish
Sale Price CA$9.28
Original Price CA$13.26
-

Digital download
Mini Amigurumi Nativity Scene Crochet Pattern – 11 Characters | Christmas PDF
Sale Price CA$11.03
Original Price CA$14.72
-

Digital download
CROCHET PATTERN Nativity Set | + Video Tutorial | Sustainable Christmas Holiday Nativity Scene | Christmas Home Decor | Easy Pattern
CA$14.73
-

Digital download
Crochet Nativity Set Pattern, Mary, Joseph, Jesus, Kings, Shepherds (DK)
CA$7.85
-

Digital download
CROCHET PATTERN: Crochet Nativity Set pdf DOWNLOAD
CA$17.66
-

Digital download
Christmas Crochet Nativity Pattern: Mary, Joseph, Jesus (PDF)
CA$23.57


